
This post may contain affiliate links. Please read our disclosure policy.
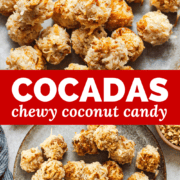
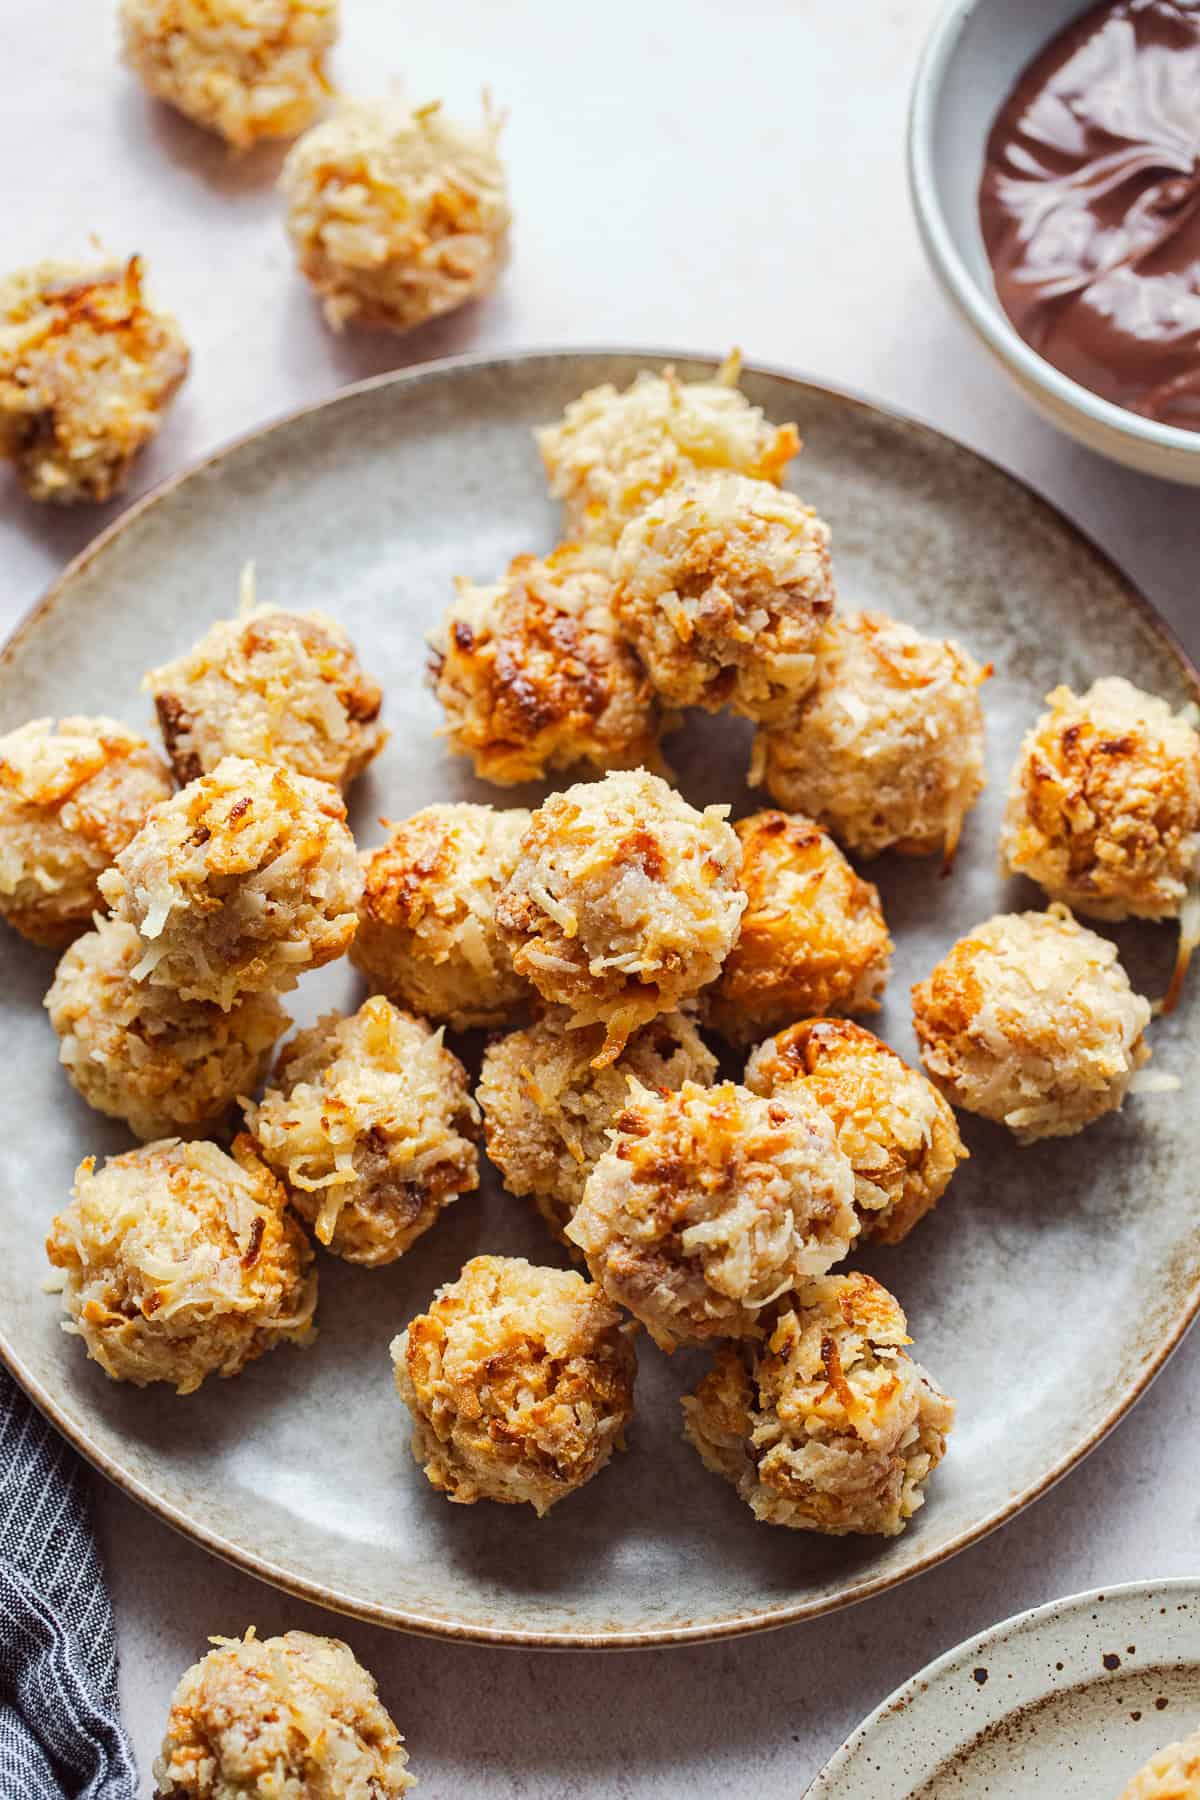
Cocadas are one of my favorite Mexican candies! Sweetened shredded coconut and condensed milk get baked until golden, rolled into little balls, and broiled for toasty tops and the chewiest centers.
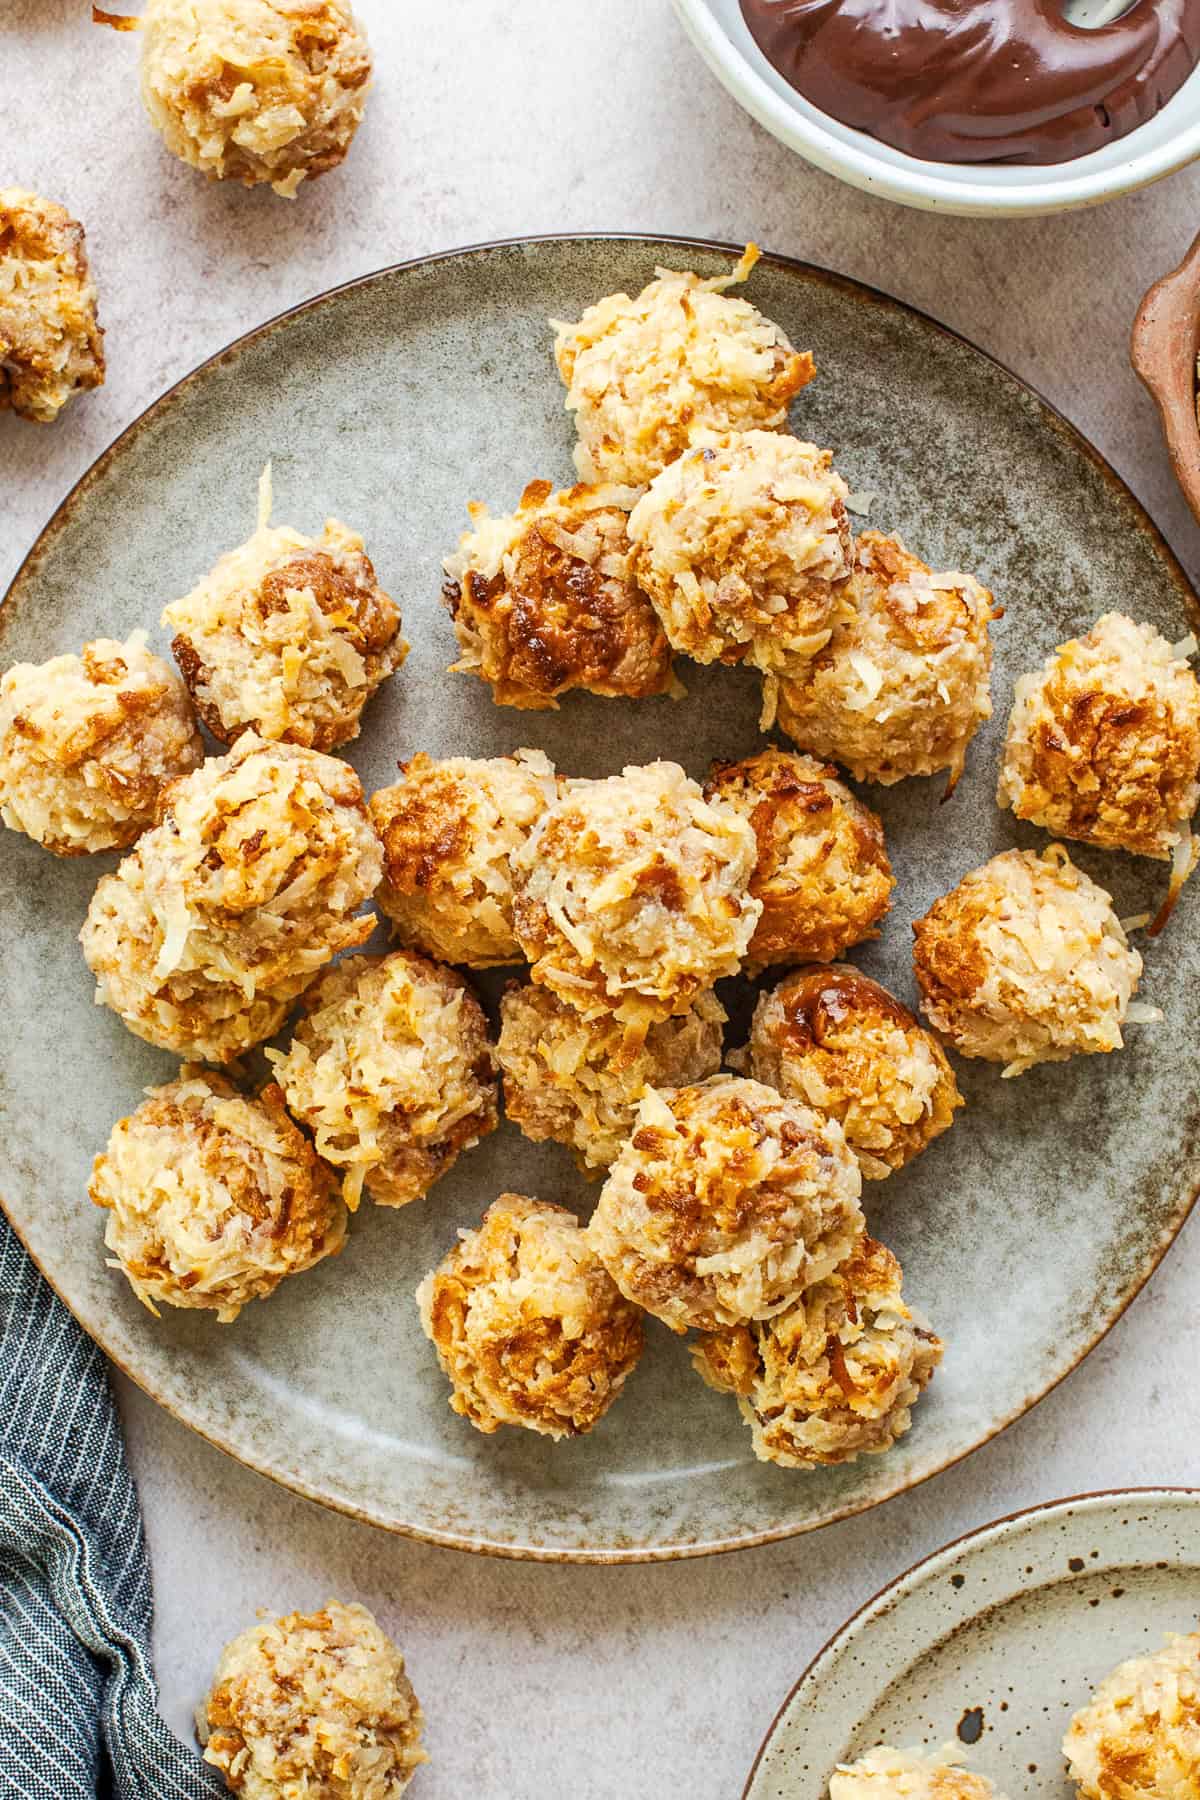

I wasn’t a big fan of cocadas as a kid. Coconut just wasn’t my thing back then. But as I got older, I started loving coconut, and that’s when cocadas really won me over. These days I love just about any kind of cocada, especially banderas de coco (the coconut candy bars striped red, white, and green like the Mexican flag). But when I make cocadas at home, I come back to this easy baked version.
It’s adapted from Ericka Sanchez’s recipe, and I love how simple it is. It’s just two ingredients, and they’re sweet in the best way. The coconut gets so satisfyingly chewy that I didn’t want to add anything that would take away from it. The one thing I changed is the timing. I tried letting the mixture cool for an hour before rolling, but it got so firm it was hard to shape. Now I only give it about 10 minutes.
After rolling, I pop them under the broiler for a minute to toast the tops, since most of that golden color from the pan gets lost when you roll them. They’re one of my go-to holiday treats, and my kids love helping roll them (just make sure everyone washes their hands first!).
What Are Cocadas?
Cocadas are coconut candies made all over Latin America, and the name comes straight from coco. In Mexico, you’ll see them in pretty much every candy store, and here in the US, I find them at Mexican grocery stores all the time. They come in all kinds of shapes and colors, from little golden mounds to banderas de coco.
The ones I see in stores come in all kinds of textures, and this is my easy, 2-ingredient take that bakes right in the oven.
They’re similar to coconut macaroons, but macaroons are usually made with egg whites, which makes them lighter and airier. Cocadas are denser and chewier.
Ingredients You’ll Need
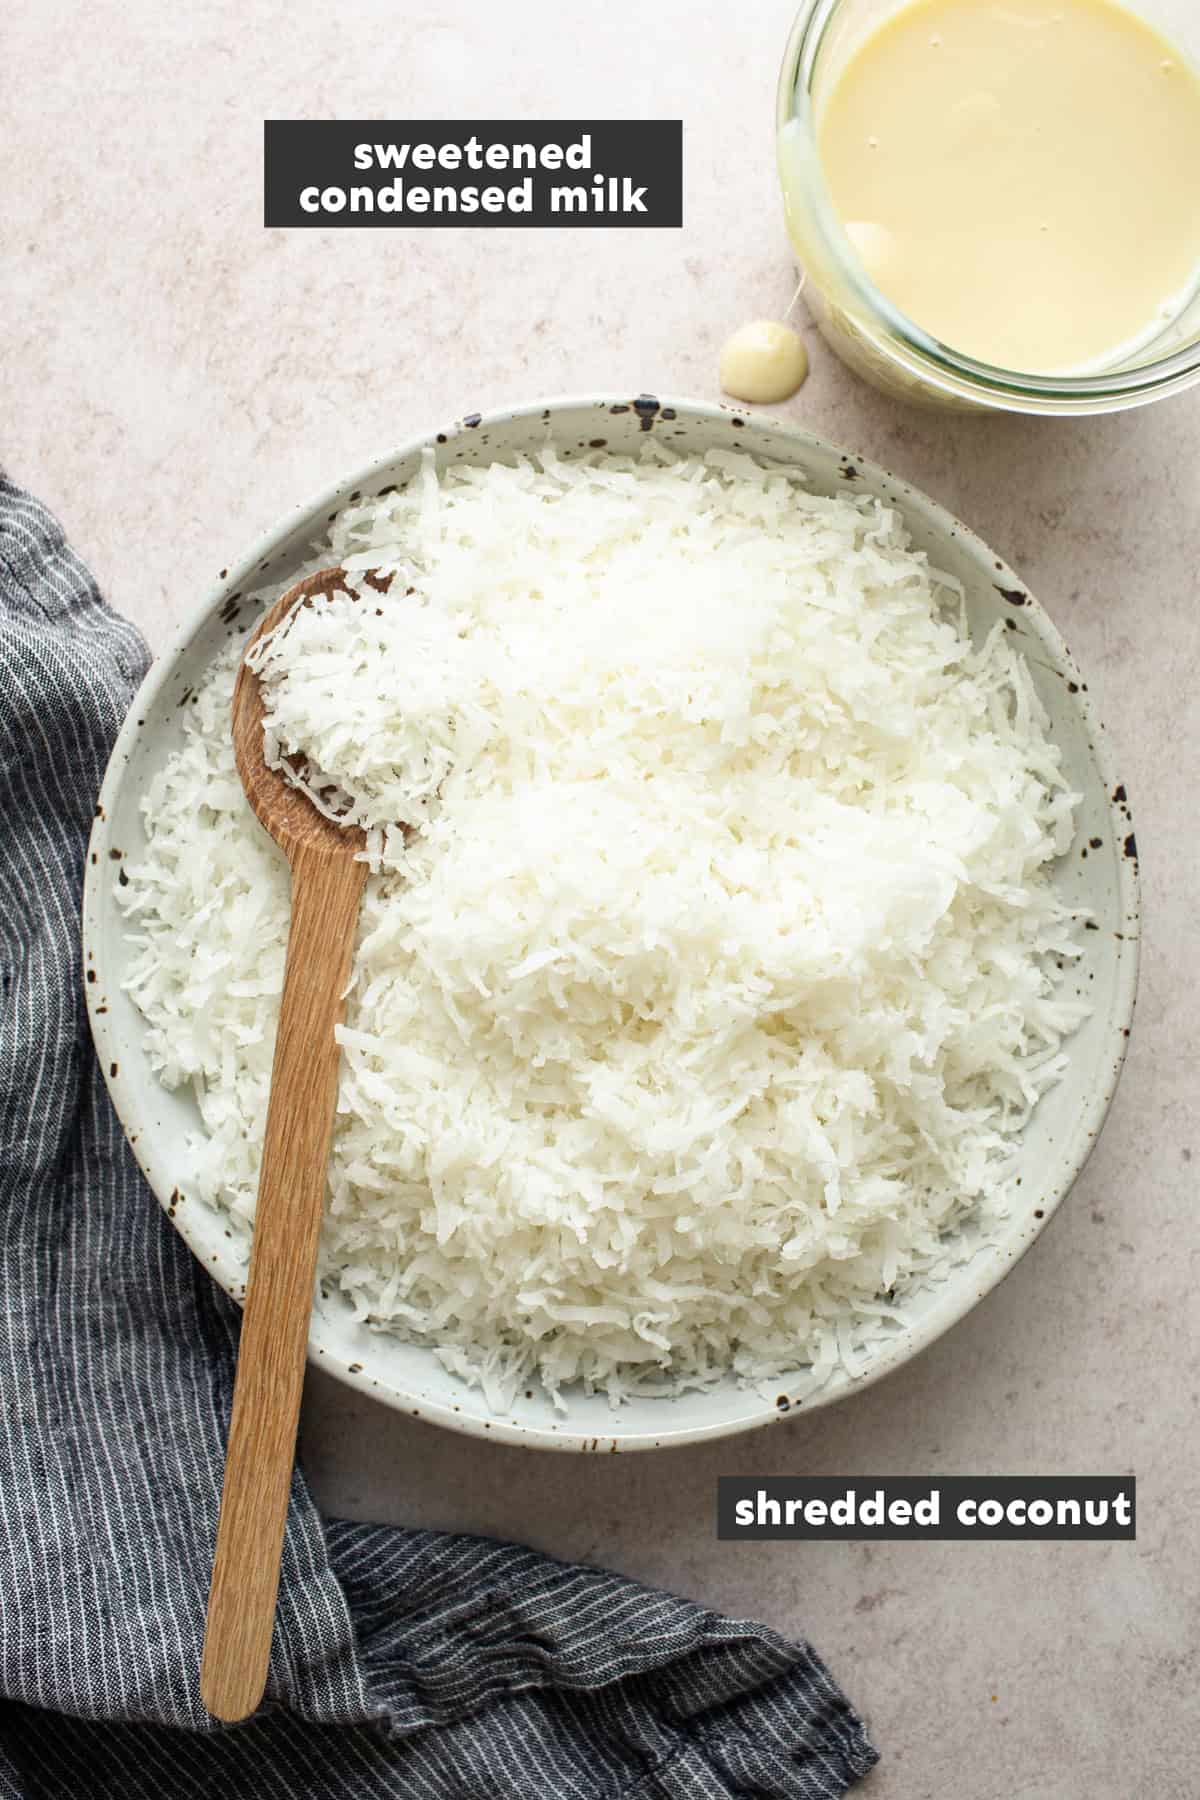
- Sweetened condensed milk: This is what holds everything together and gives cocadas their sweet, chewy centers. You’ll need two cans.
- Sweetened shredded coconut: Be sure to use sweetened coconut for the right amount of sweetness and flavor. A 14-ounce bag is about 5 to 5½ cups, so one bag is all you need.
For the full recipe, scroll to the recipe card at the bottom of the post.
How to Make Cocadas
These come together with just a few simple steps.
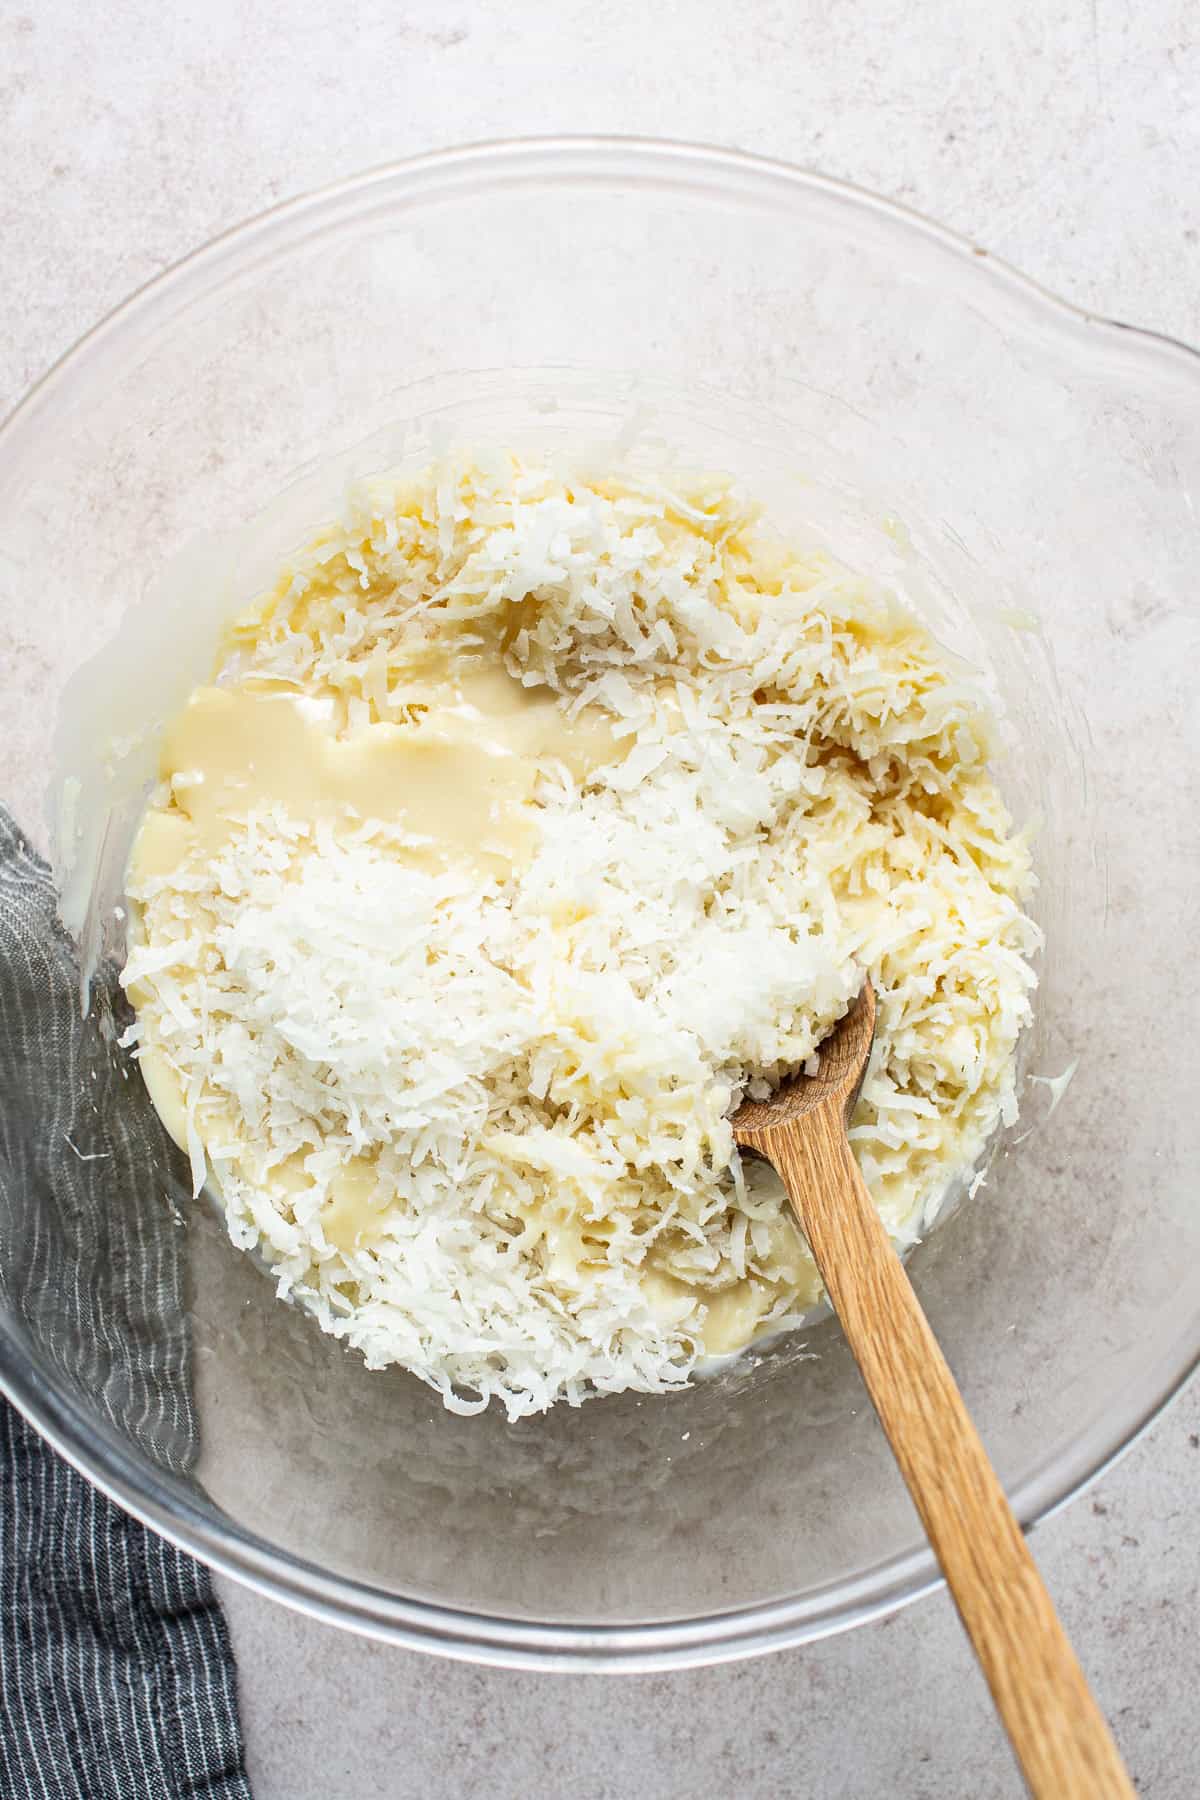
- Mix. Stir the sweetened condensed milk and shredded coconut together in a large bowl until all the coconut is evenly coated.
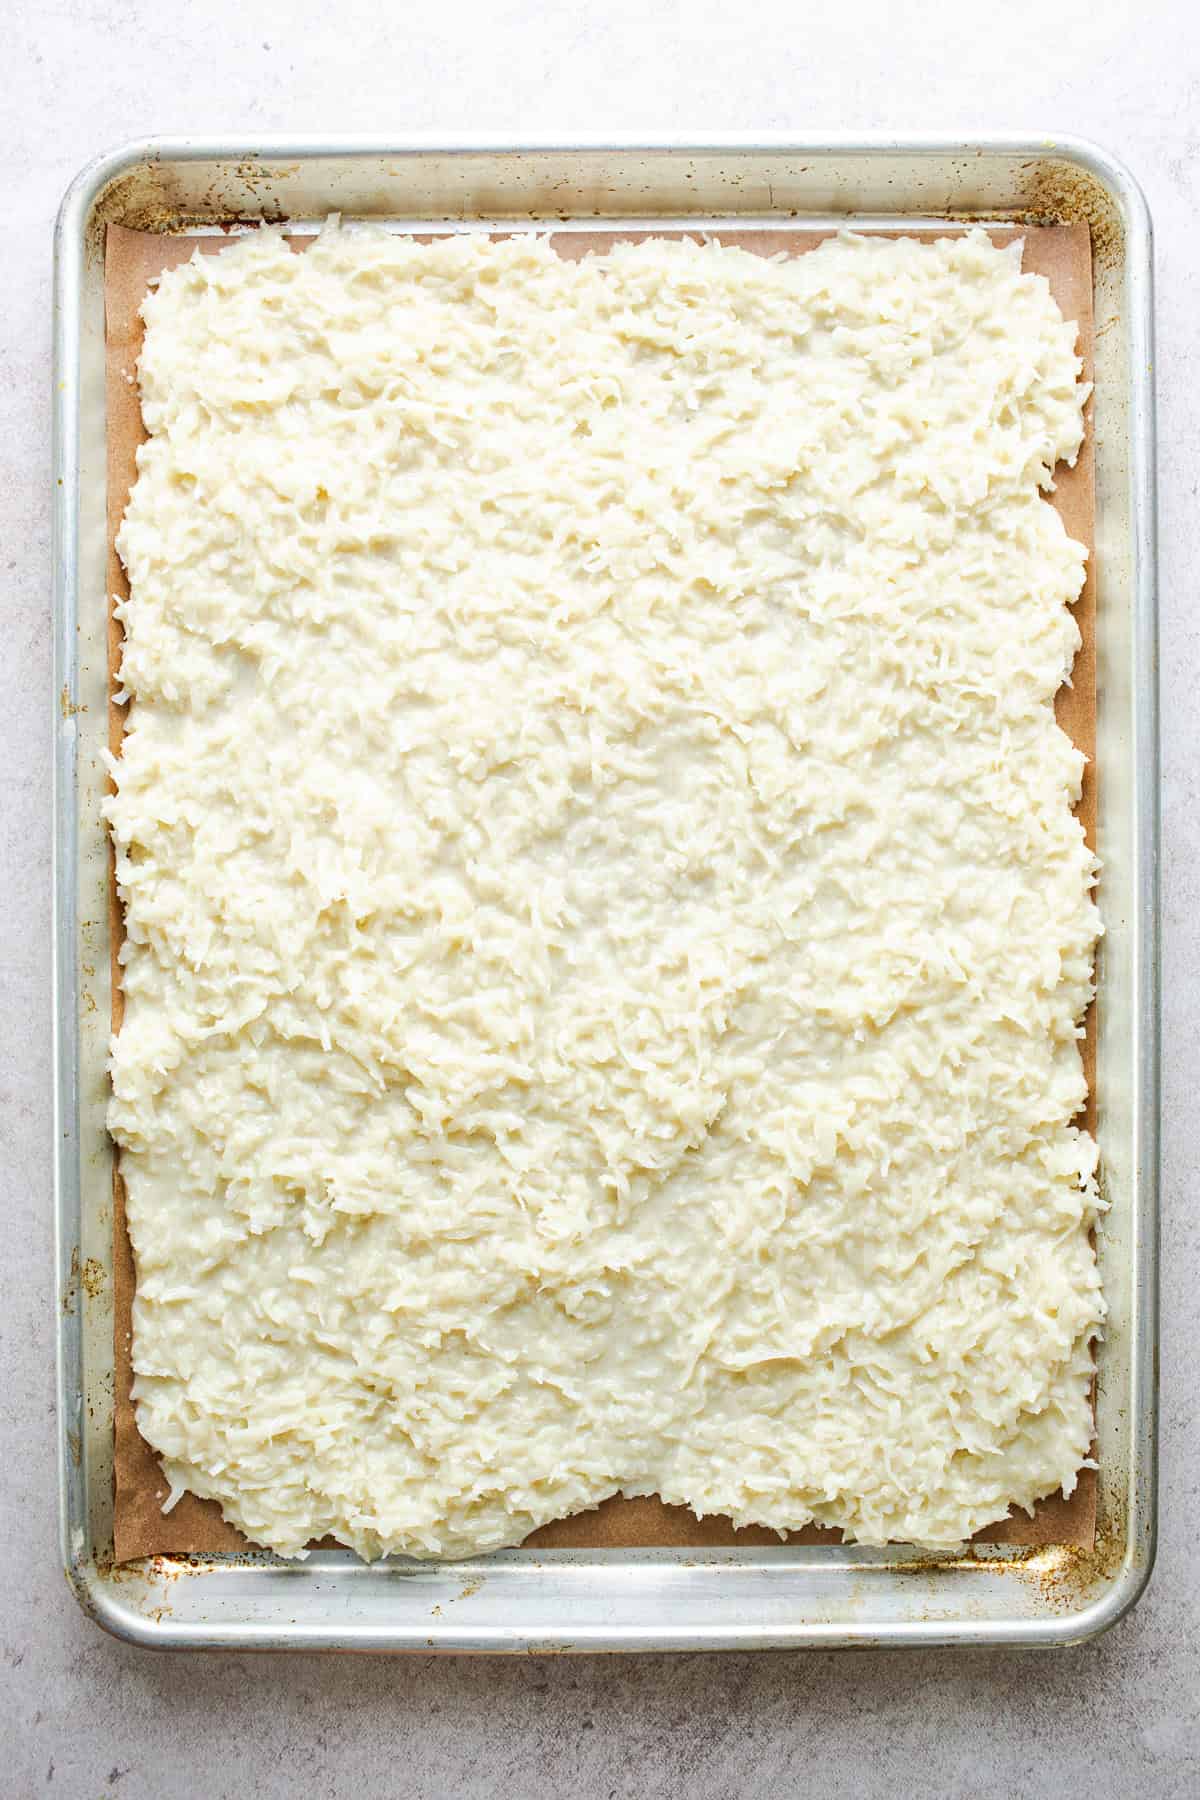
- Bake. Spread the mixture in an even layer in a 9×13-inch baking dish lined with parchment paper. Bake at 350℉ until the top is golden brown.
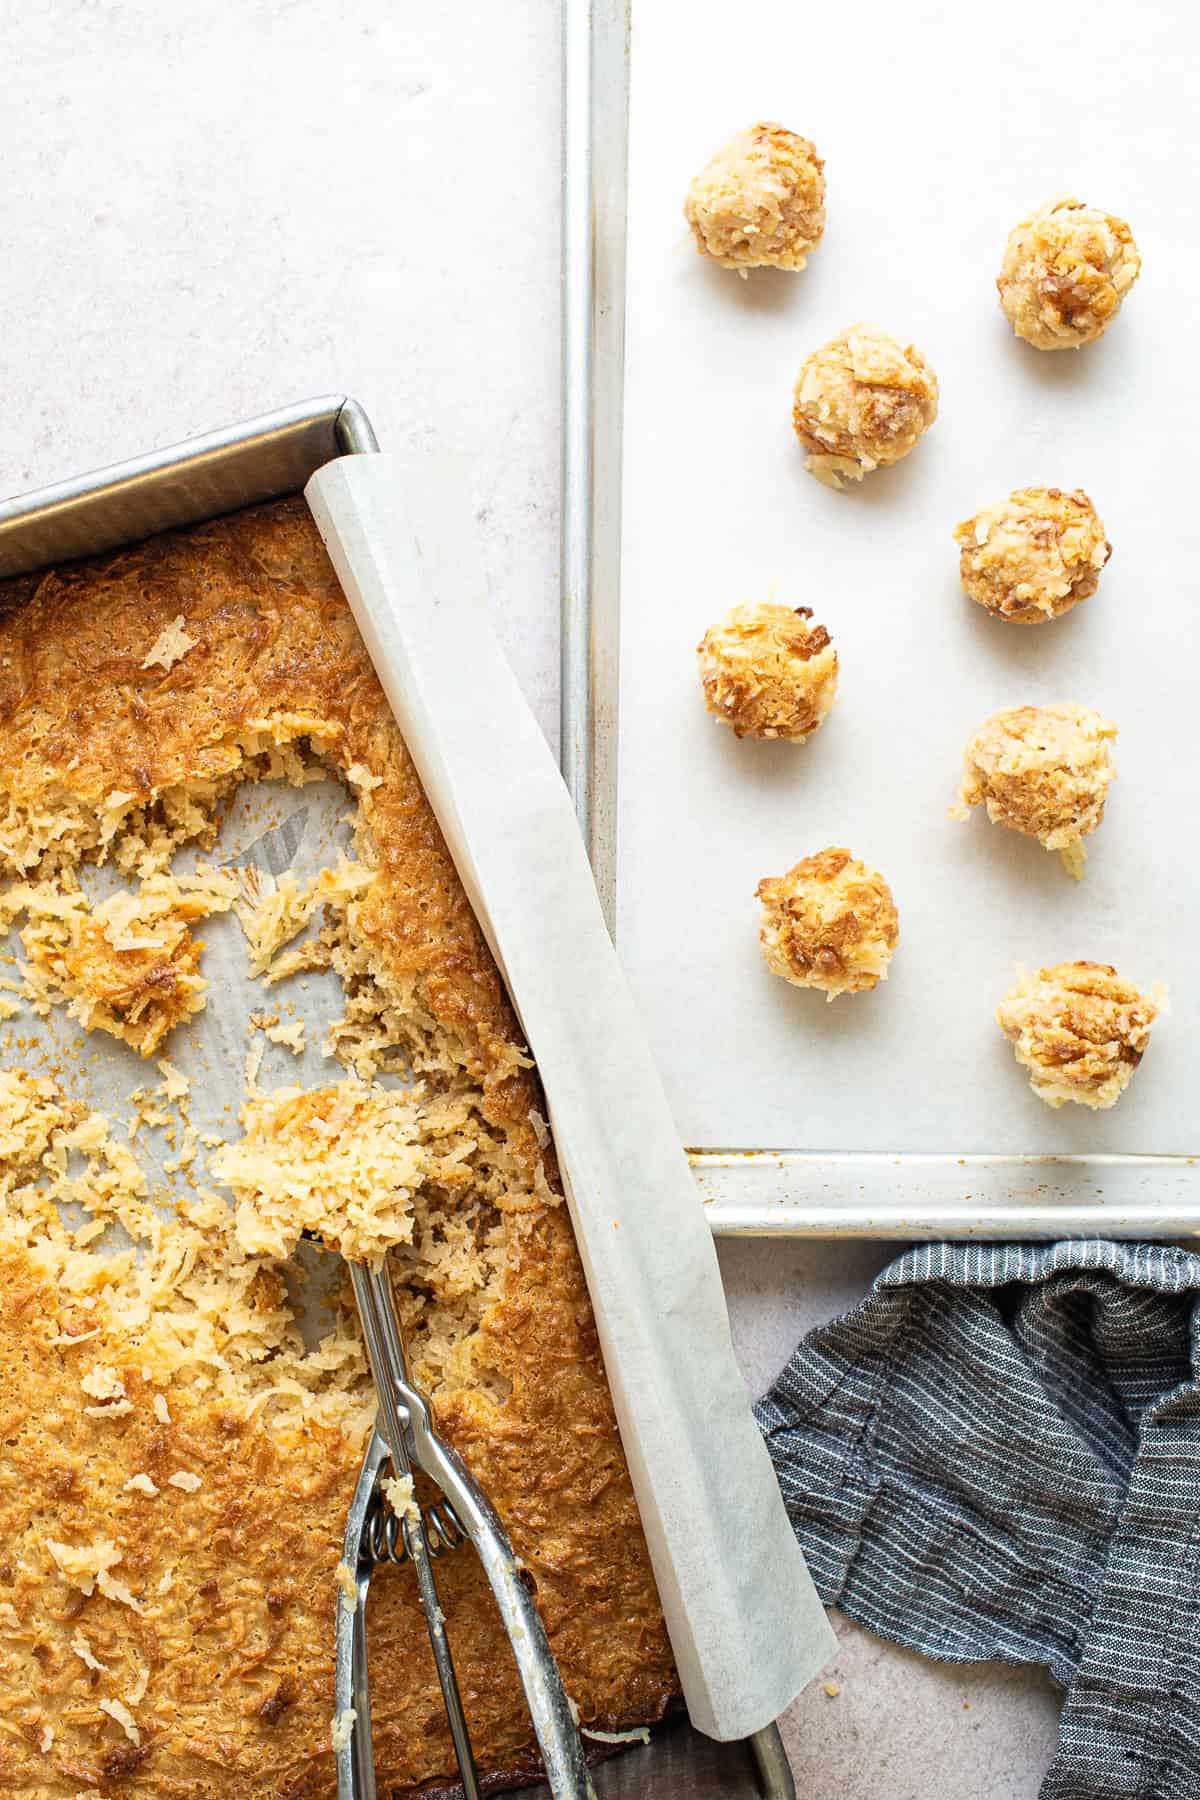
- Cool briefly, then roll. Let it cool for 10 minutes, then scoop about 1½ tablespoons at a time and roll into balls. Any longer and it gets too firm to roll.
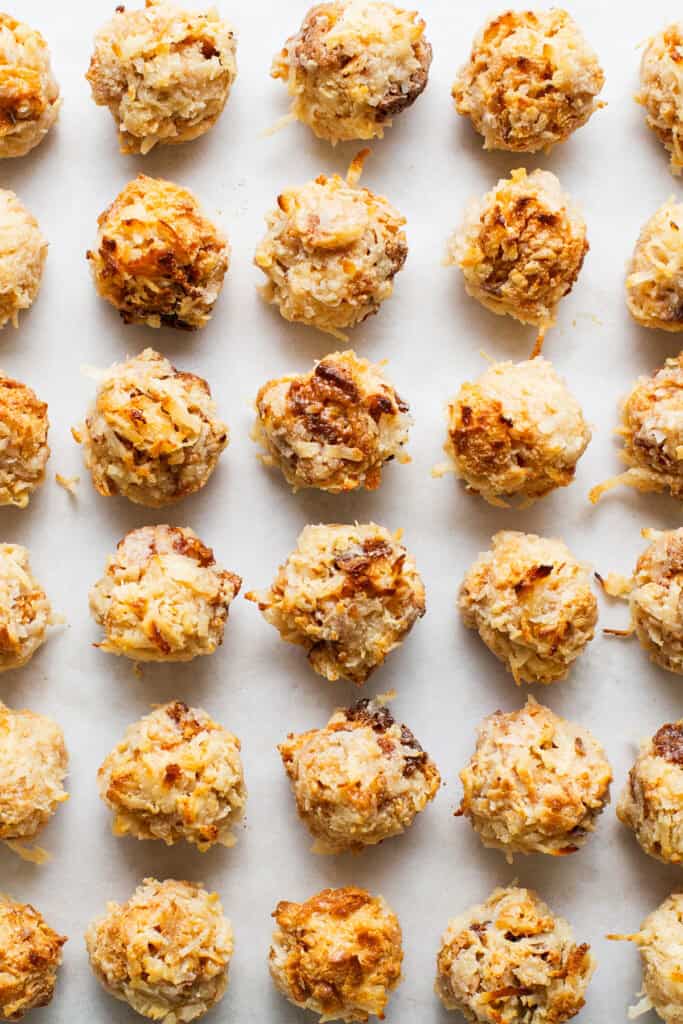
- Broil. Place the balls on a baking sheet and broil for 30 to 60 seconds, just until the tops get a little color. Serve warm, or let them cool for a chewier bite.
Helpful Tips
- Bake first, then shape. Some recipes have you roll the cocadas and then bake them. I find that baking the mixture in one layer first holds them together better, and it’s a lot less messy.
- Don’t worry about dark edges. The edges bake up darker than the middle, and that’s totally normal.
- Use a cookie scoop. I use a 1½-tablespoon cookie scoop to get each cocada most of the way round, so I barely have to handle it when I roll.
- Watch the broiler. Stay right there and pull them as soon as the tops have a little color, so they don’t burn.
Variations To Try
These are easy to switch up once you’ve made the classic version.
- Add nuts or dried fruit. Stir about ½ cup of chopped nuts or dried fruit into the mixture before baking for extra flavor and texture. Macadamias, almonds, peanuts, raisins, dried mango, and dried pineapple are all great.
- Dip or drizzle with chocolate. Once the cocadas have cooled completely, dip the bottoms in melted chocolate or drizzle it over the tops for an extra sweet, chocolatey twist.
- Add some color. Cocadas are often tinted all kinds of bright colors, and I recommend gel food coloring if you want to try it.
- Swap in dulce de leche. For a deeper, caramel-like flavor, use half dulce de leche and half sweetened condensed milk. I haven’t tried it with this recipe yet, so if you do, let me know how it goes in the comments!
Cocadas FAQs
You don’t have to, but I always do. When I skipped it, I lost a lot of that pretty golden color, since most of the browned top gets rolled into the middle. A quick broil brings it back.
That means it cooled a little too long. Just warm the pan back up in the oven until it’s soft enough to roll again.
Yes! You can make them up to 4 days ahead, which makes them a great holiday treat to get done early.
Yes! Coconut and sweetened condensed milk are naturally gluten-free.
If you tried this cocadas recipe or any other recipe on my website, please leave a star rating and let me know how it went in the comments below. Thanks so much!
Cocadas (Mexican Coconut Candy)
Ingredients
- 2 (14-ounce) cans sweetened condensed milk
- 14 ounces sweetened shredded coconut
Instructions
- Preheat the oven to 350℉. Line a 9×13-inch baking dish with parchment paper.
- In a large bowl, stir together the sweetened condensed milk and shredded coconut until all the coconut is coated.
- Spread the mixture into an even layer in the baking dish. Bake on the middle rack for 35 minutes, until the top is golden brown.
- Let it cool for 10 minutes. While it cools, move an oven rack to the top spot, right under the broiler, and turn the broiler on.
- Scoop the mixture into balls, about 1½ tablespoons each (you’ll get 24 to 28), and roll each one between your palms. Place them on a baking sheet.
- Broil for 30 to 60 seconds, just until the tops are lightly golden. Watch them closely so they don’t burn.
- Serve warm, or let them cool completely for a chewier texture.
Notes
- Storage: Keep cocadas in an airtight container for up to 4 days at room temperature or up to 1 week in the fridge. To freeze, store them in a freezer-safe container for up to 3 months.
- Too firm to roll? If the mixture cools too long and hardens, warm the pan back up in the oven for about 5 minutes at 350℉ until it softens enough to roll.
- Use a cookie scoop. A 1½-tablespoon cookie scoop gets each cocada most of the way round, so you barely have to handle them.
- Adapted from Ericka Sanchez’s recipe.
Nutrition
Nutrition information is automatically calculated, so should only be used as an approximation.