
This post may contain affiliate links. Please read our disclosure policy.
The only corn tortilla recipe you’ll ever need! Here’s everything you need to know about making homemade corn tortillas, including the ingredients and equipment you need, the step-by-step instructions from start to finish, and helpful tips and tricks.
There are a handful of foods that my family eats every single day, and corn tortillas are one of them! They are a staple in my Mexican house and are like a big warm hug from my family.
Homemade corn tortillas are better than store-bought, healthy, and are a great gluten-free option for those that can’t have flour tortillas.
They are also extremely versatile and can be eaten in so many different ways – as tacos, quesadillas, tortilla chips, or as a simple side that’s perfect for soaking up delicious saucy dishes.
Corn Tortilla Ingredients
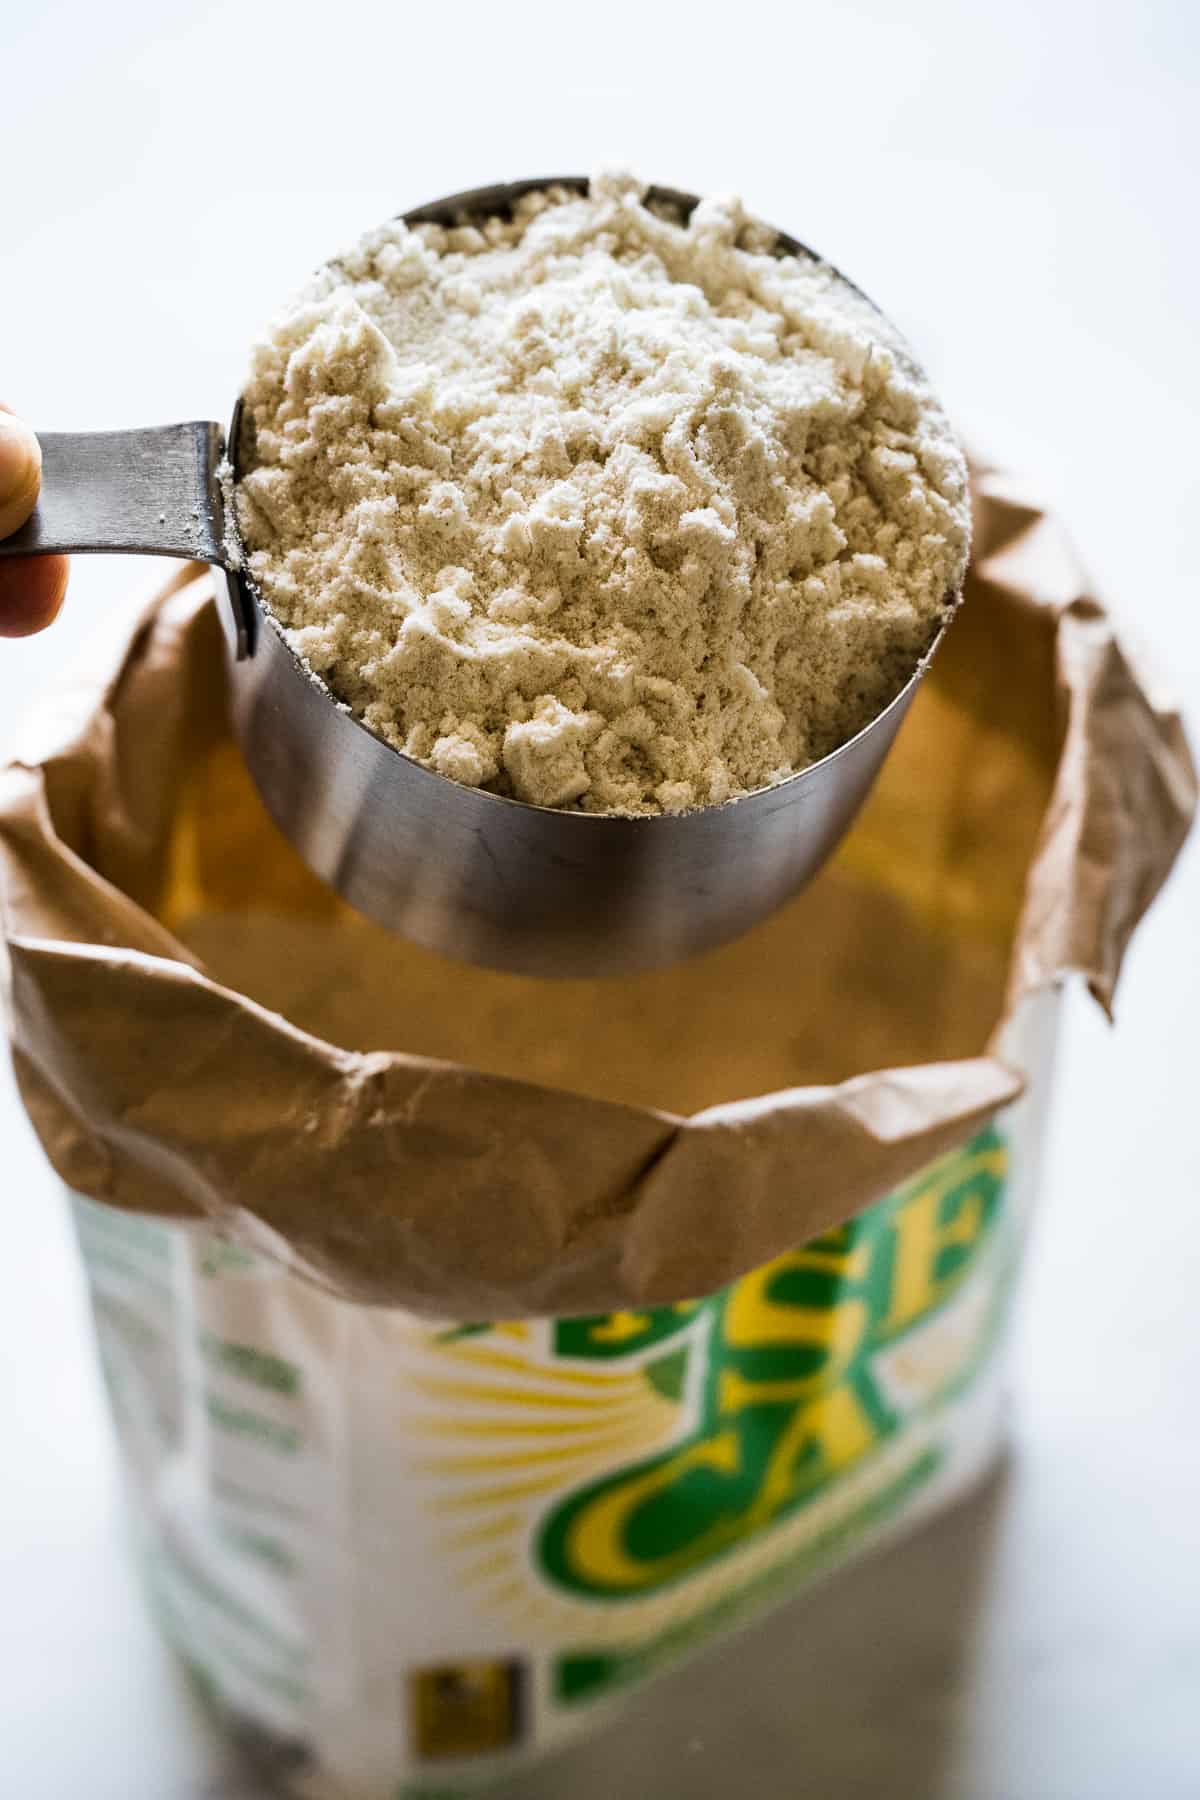
- Masa harina: This is a type of corn flour made from nixtamalized corn that has a unique flavor and texture and is essential for making authentic Mexican corn tortillas. There are many brands of masa harina out there, and the most popular one is Maseca which is what I used to make the tortillas in these photos. Other popular brands include Masienda, Bob’s Red Mill, and King Arthur. Masa harina comes in white, yellow, red, or blue corn varieties and they can all be used to make corn tortillas using this recipe!
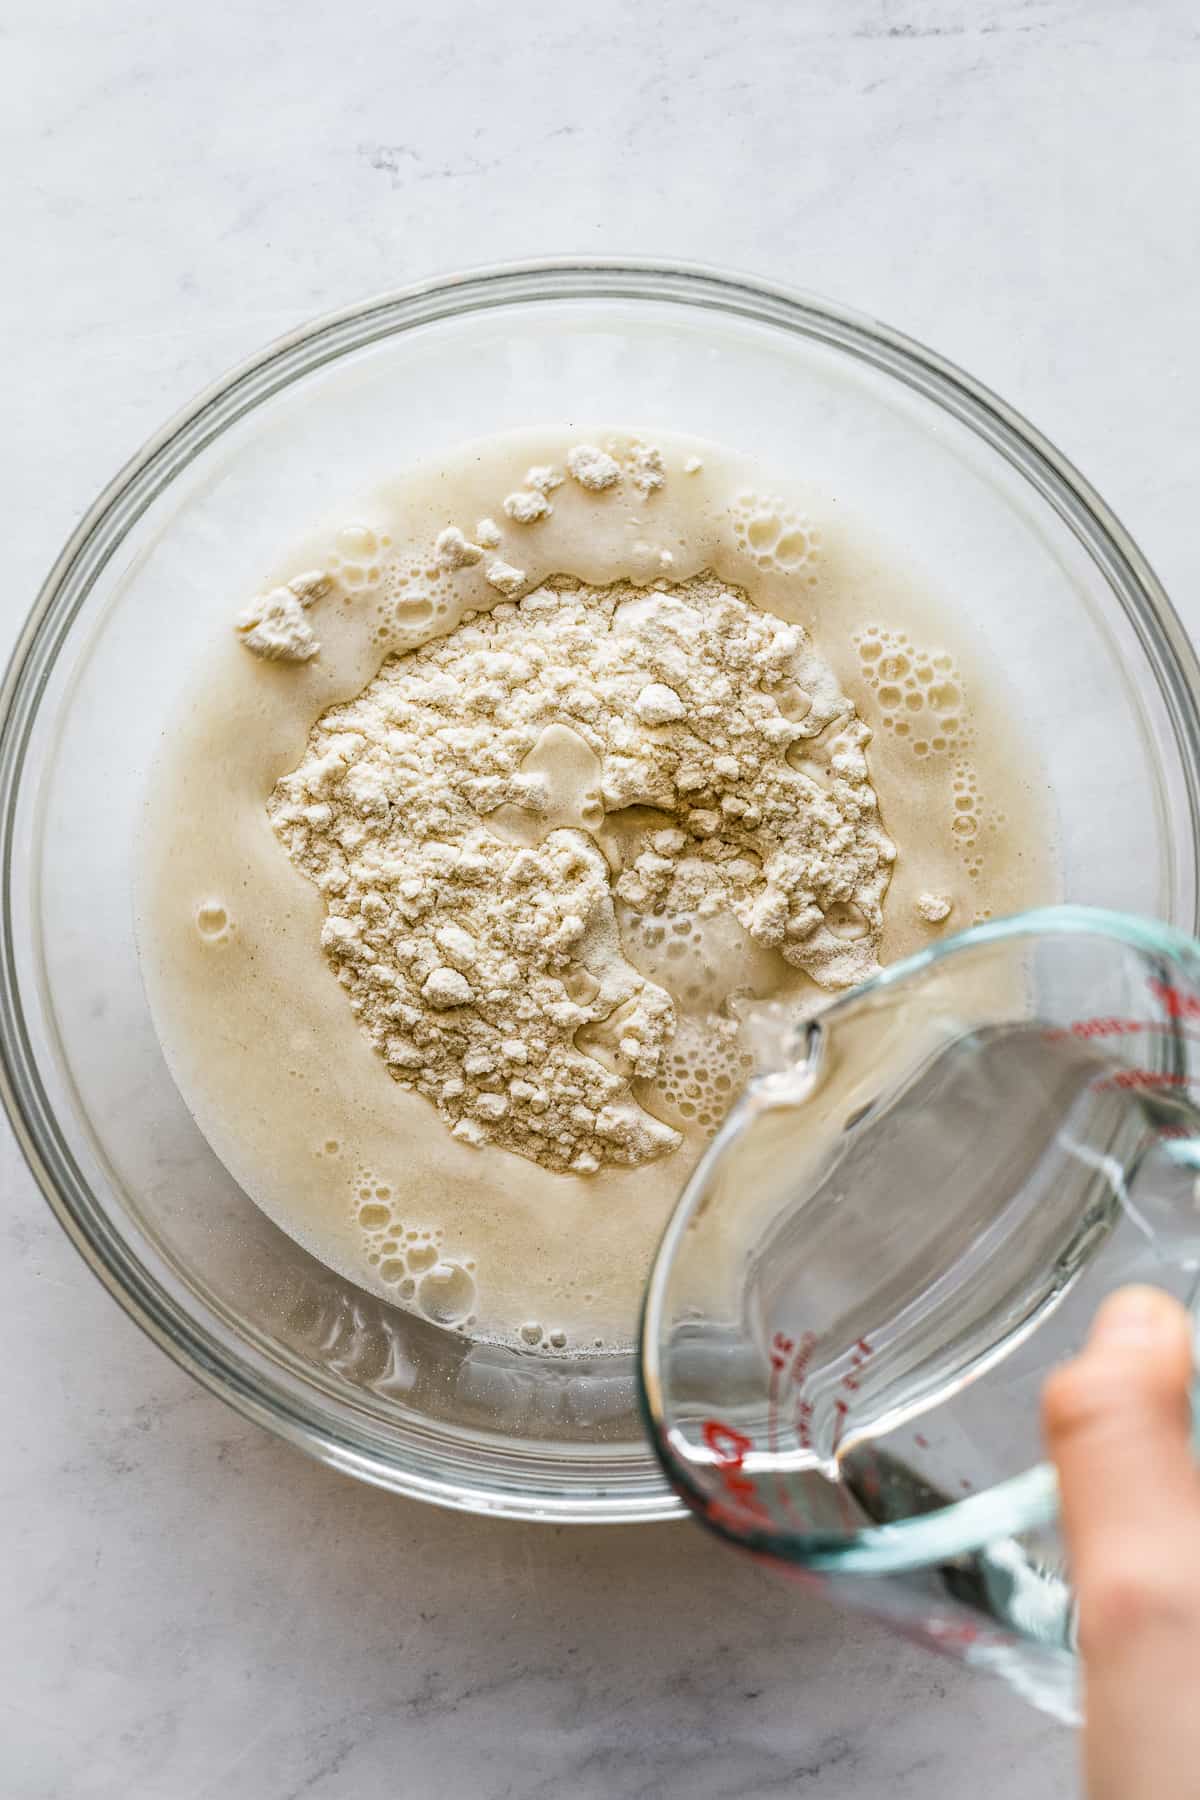
- Warm water: You’ll need water to rehydrate the masa harina to form a dough. The amount of water you’ll need will vary depending on the brand of masa harina as well as the overall moisture level in your home. A good starting amount is 1 ½ cups, then adding more as needed.
- Salt: I like adding a little salt to my tortillas. It really brings out the corn flavor and makes you want to eat the tortillas by themselves because they’re just that good! I recommend using fine salt instead of a coarser kosher salt.
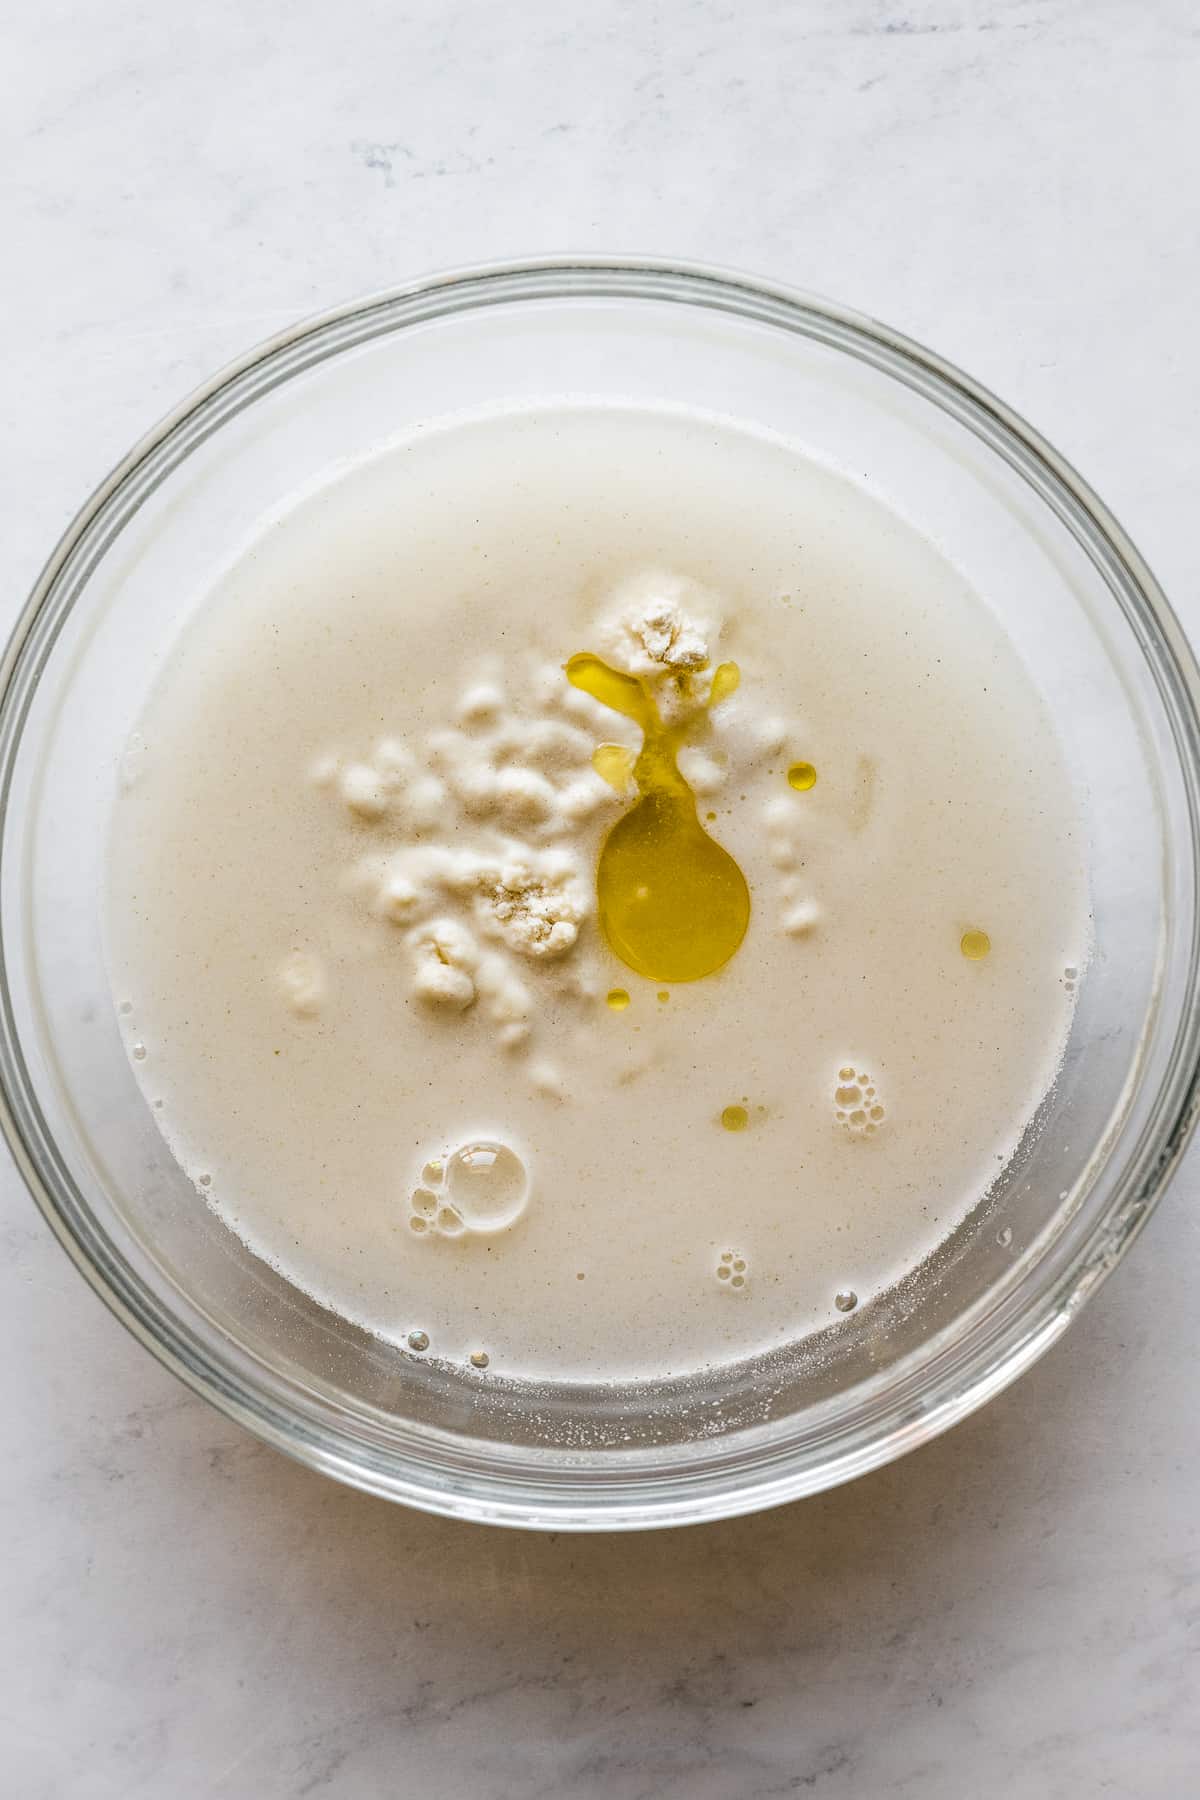
- Fat (optional): A little extra-virgin olive oil or lard is added to help keep the tortillas pliable for longer, as well as to add a touch of flavor. Lard is traditionally used, but olive oil also works! Some tortilla purists don’t add fat at all. It’s all personal preference! If you don’t want to add any, you can leave it out.
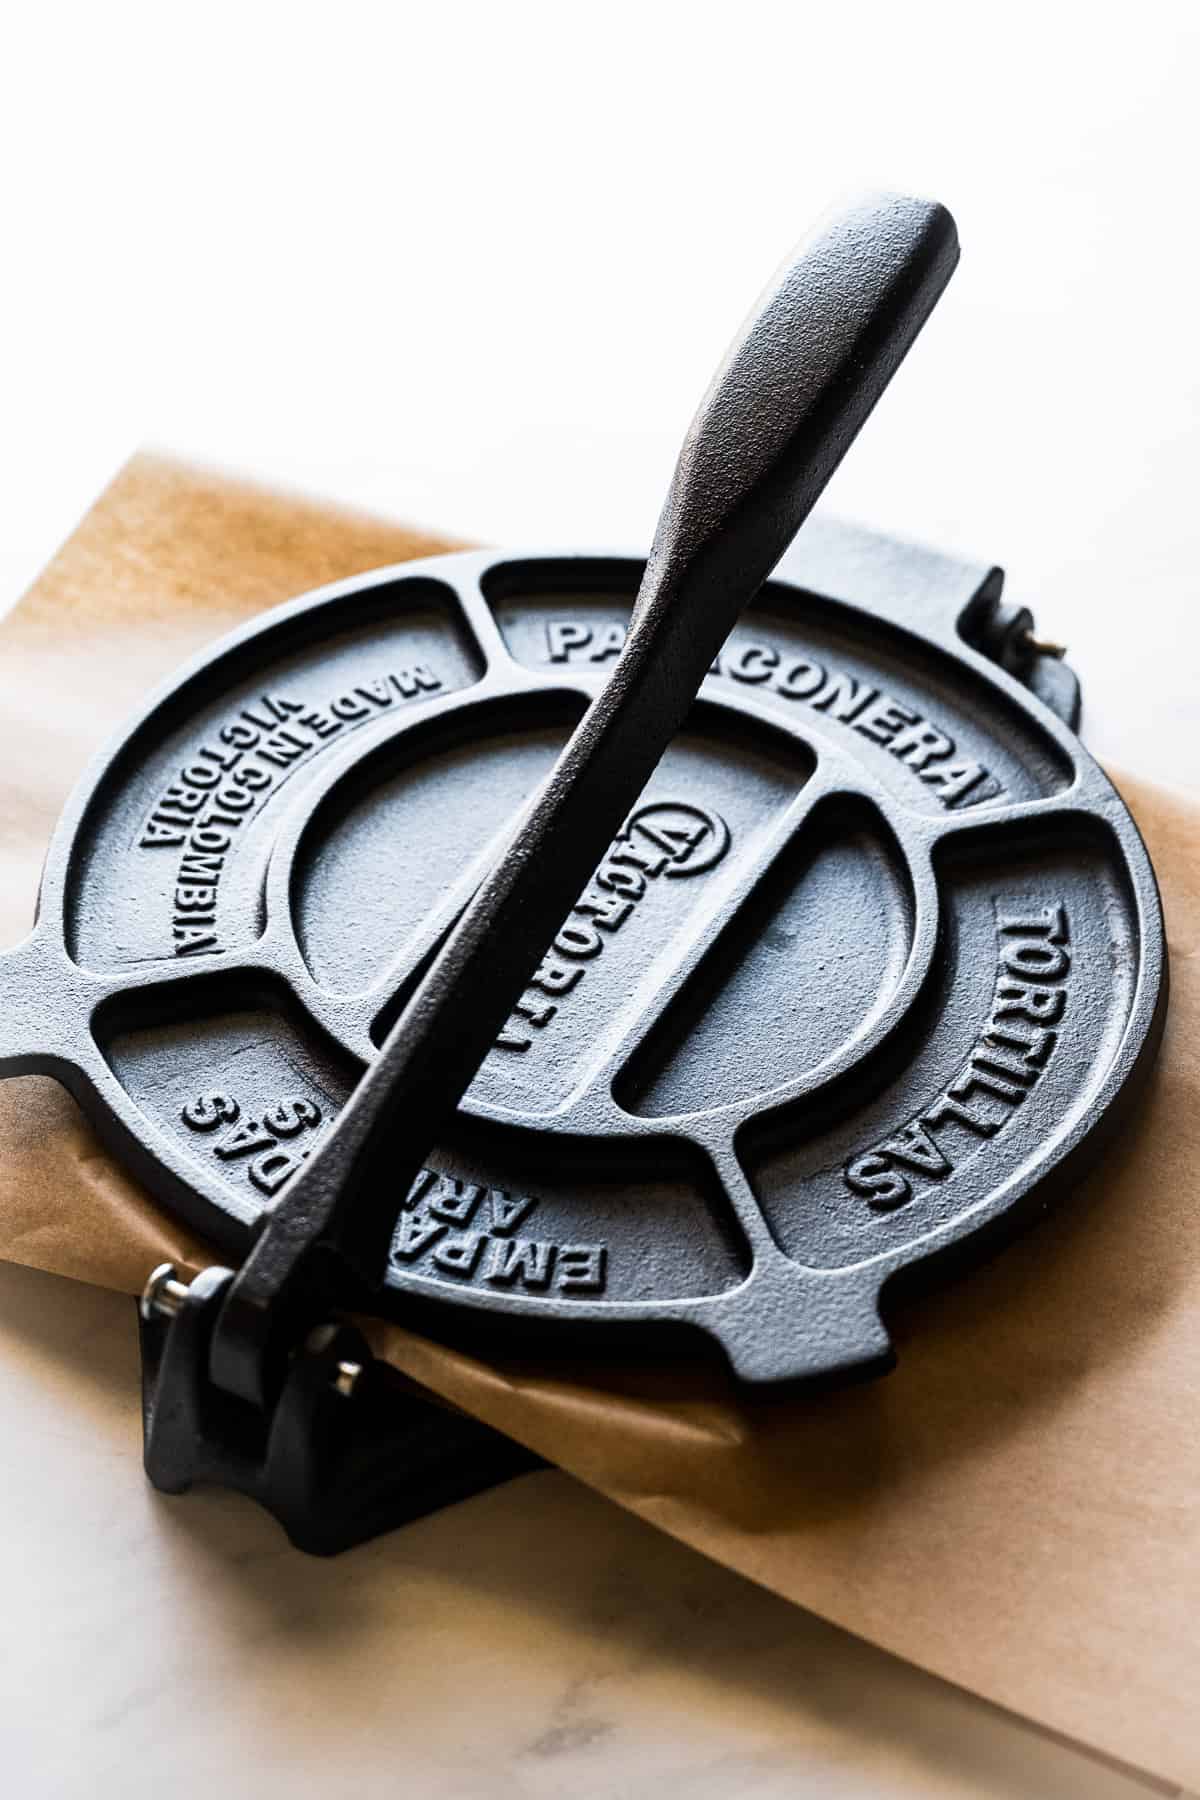
- Tortilla press (optional): Having a tortilla press makes the process of making homemade corn tortillas so much easier! I highly recommend getting one if you don’t already. They’re relatively inexpensive and you’ll get some good use out of it. If you don’t have one, you can press your tortillas in between pieces of parchment paper using a large glass baking dish. The trick is to press them as evenly as possible so that they’re the same thickness all around.
- Nonstick skillet, comal, or cast-iron pan: Any of these options are great for cooking your tortillas. I’ve tried each option separately and I personally prefer using a good nonstick skillet even though a comal or a cast-iron griddle is traditionally used. If you have all three types of pans, try cooking a few tortillas in each one to see which one you prefer. There’s no wrong answer!
- Parchment paper or plastic: You can use either for pressing your tortillas. For the plastic option, I like using a large plastic storage bag (like a Ziploc) and cutting the side seams off of it so that it makes one large rectangular piece of plastic.
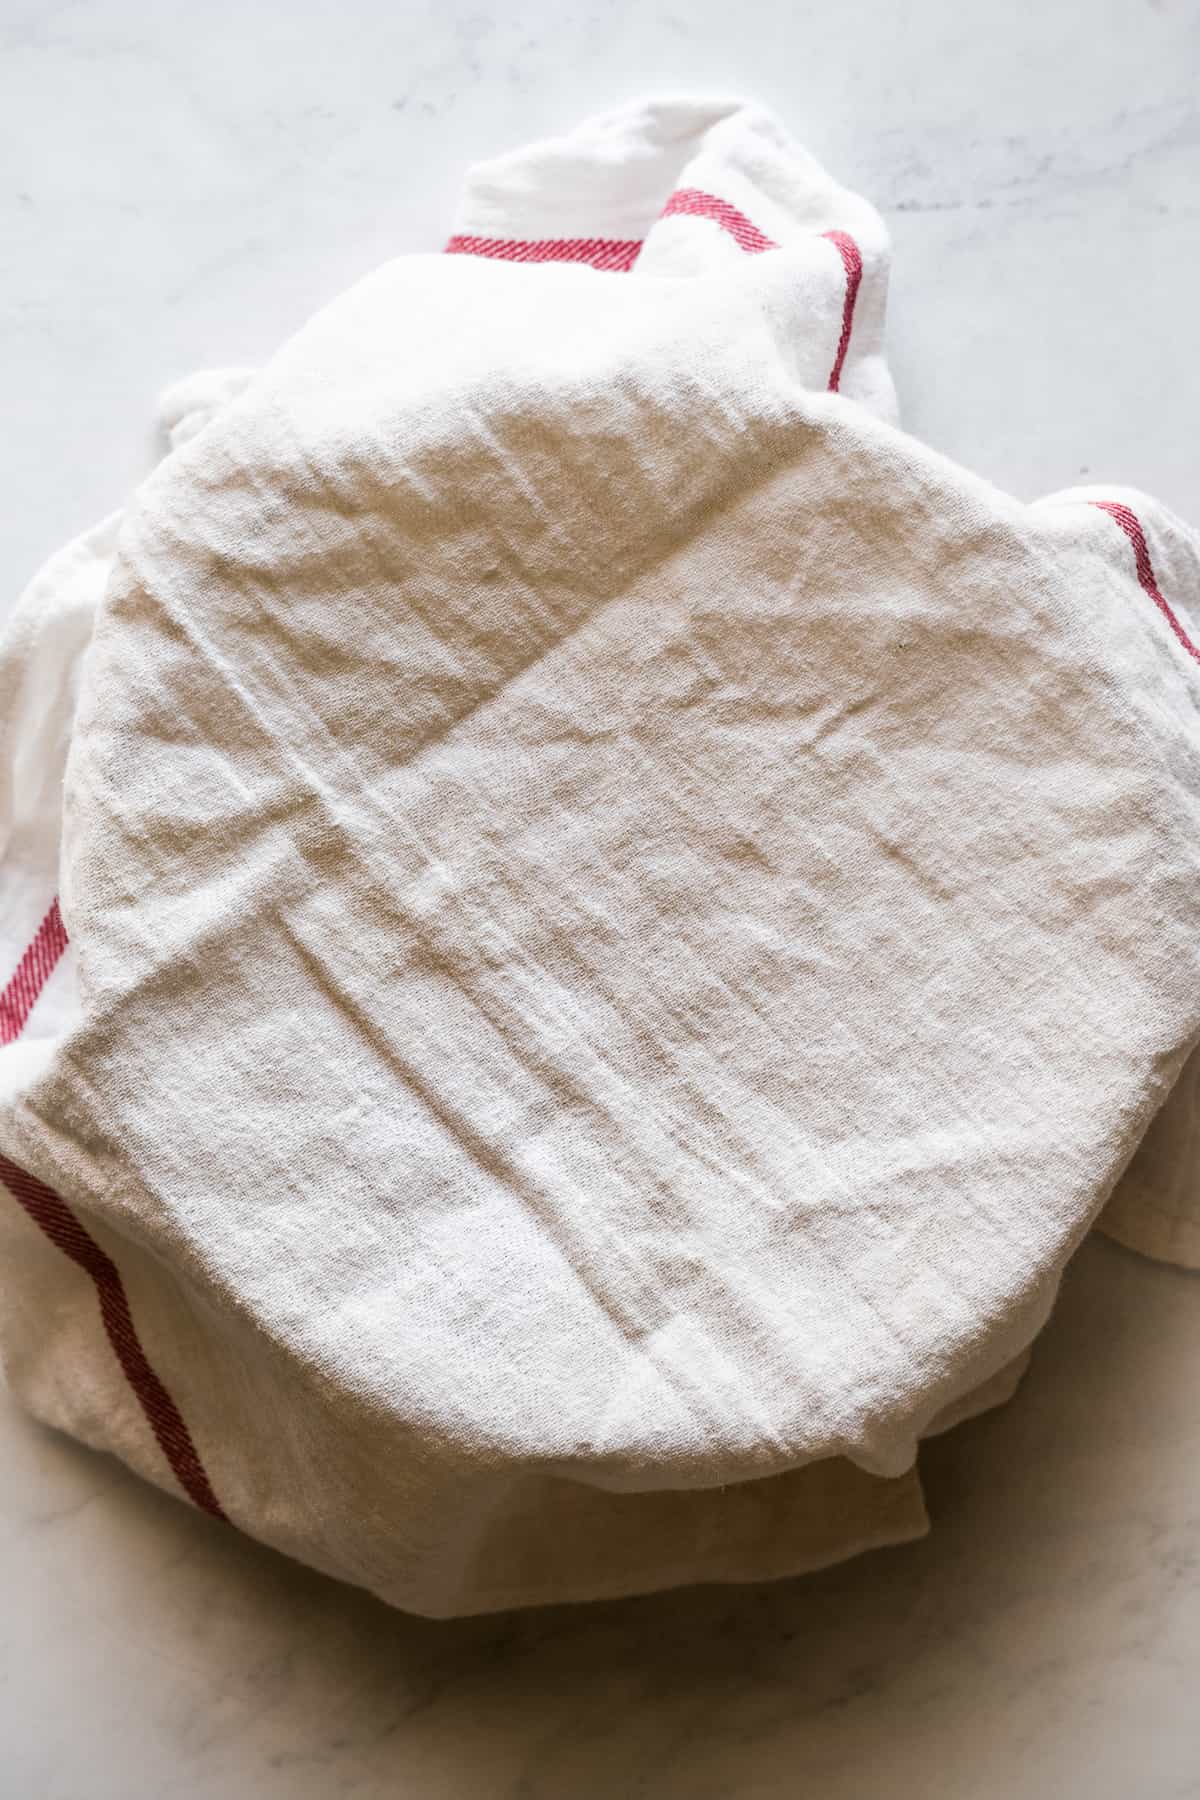
- Tortilla warmer (optional): To keep the tortillas warm while you cook them all up, put them in a tortilla warmer or cover them in a clean kitchen towel and place them in a large plastic storage bag to keep in the heat and moisture. This will keep them pliable and hot for when you’re ready to eat!
How to Make Corn Tortillas
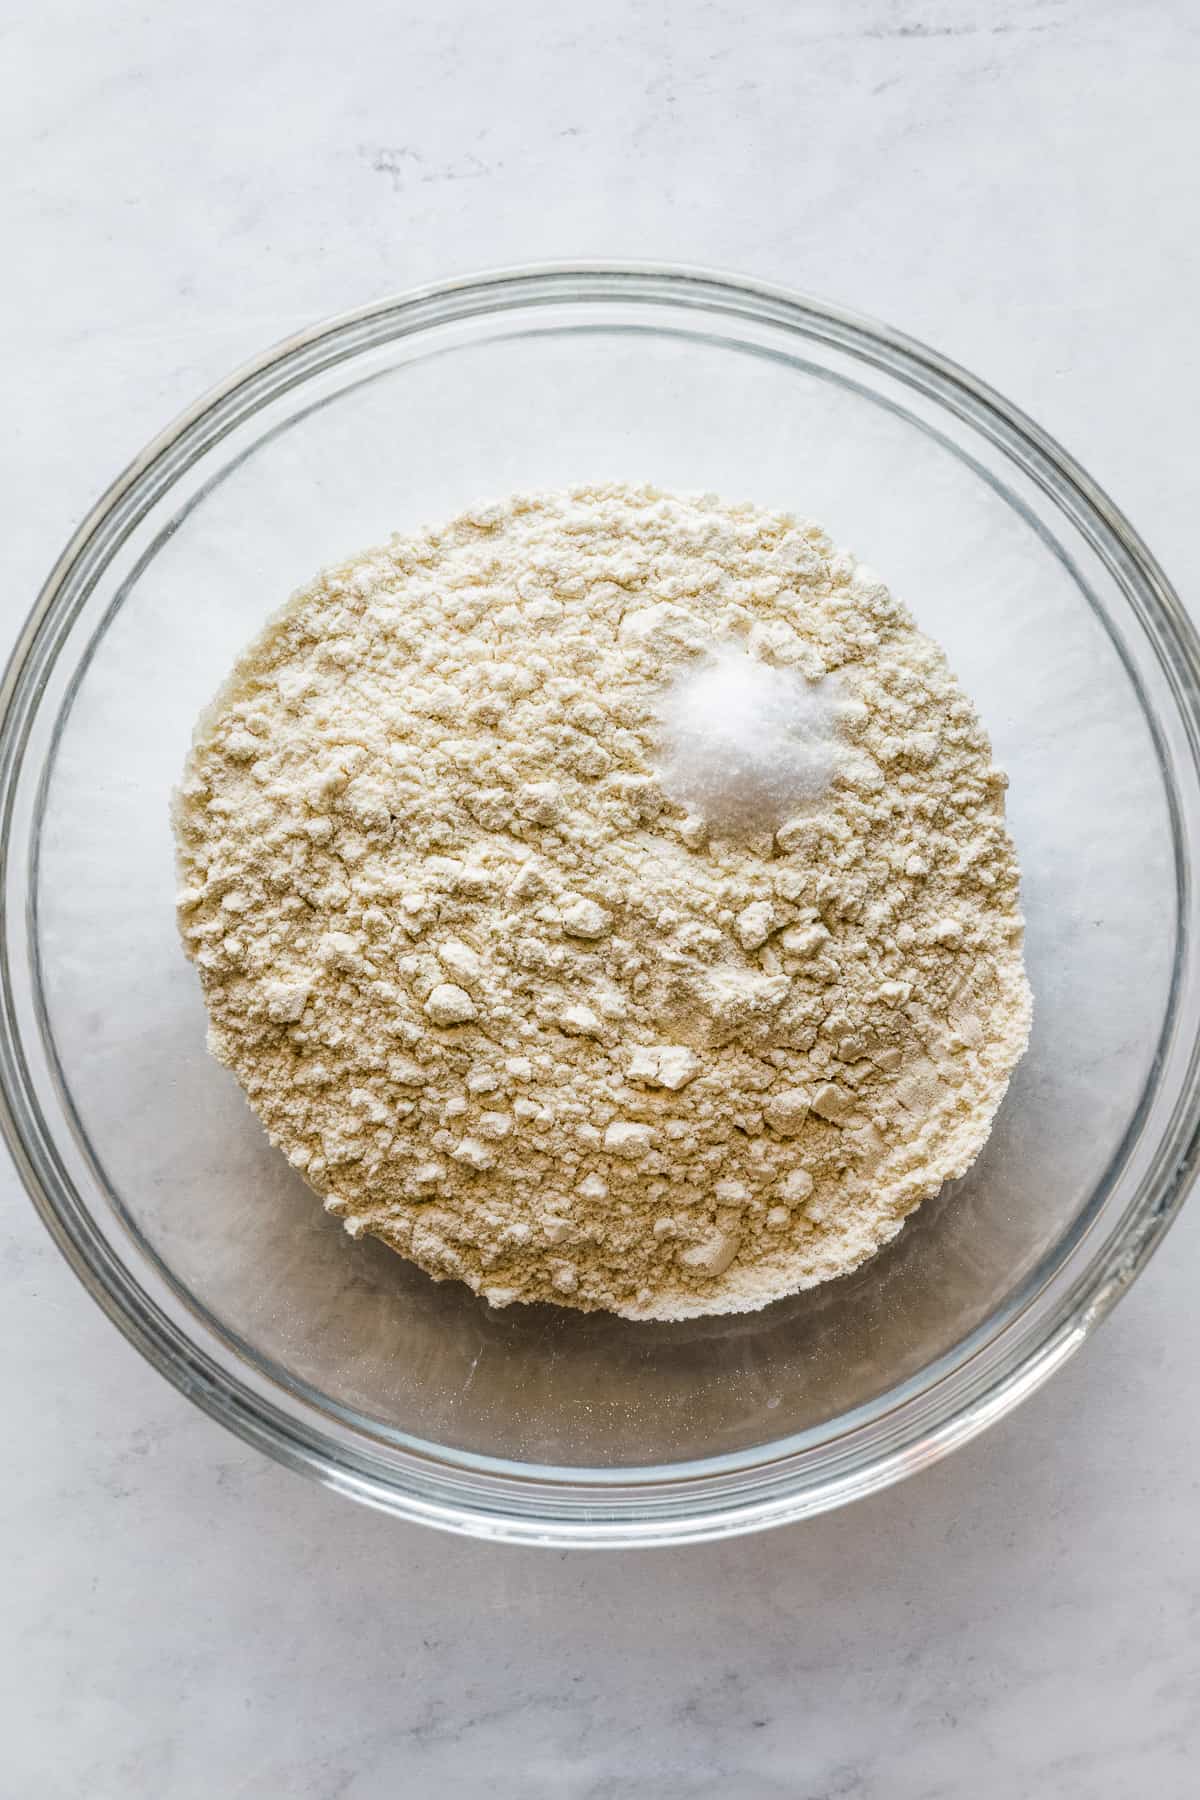
Step 1: In a large bowl, combine the masa harina and salt. Stir in the water and oil until a dough forms.
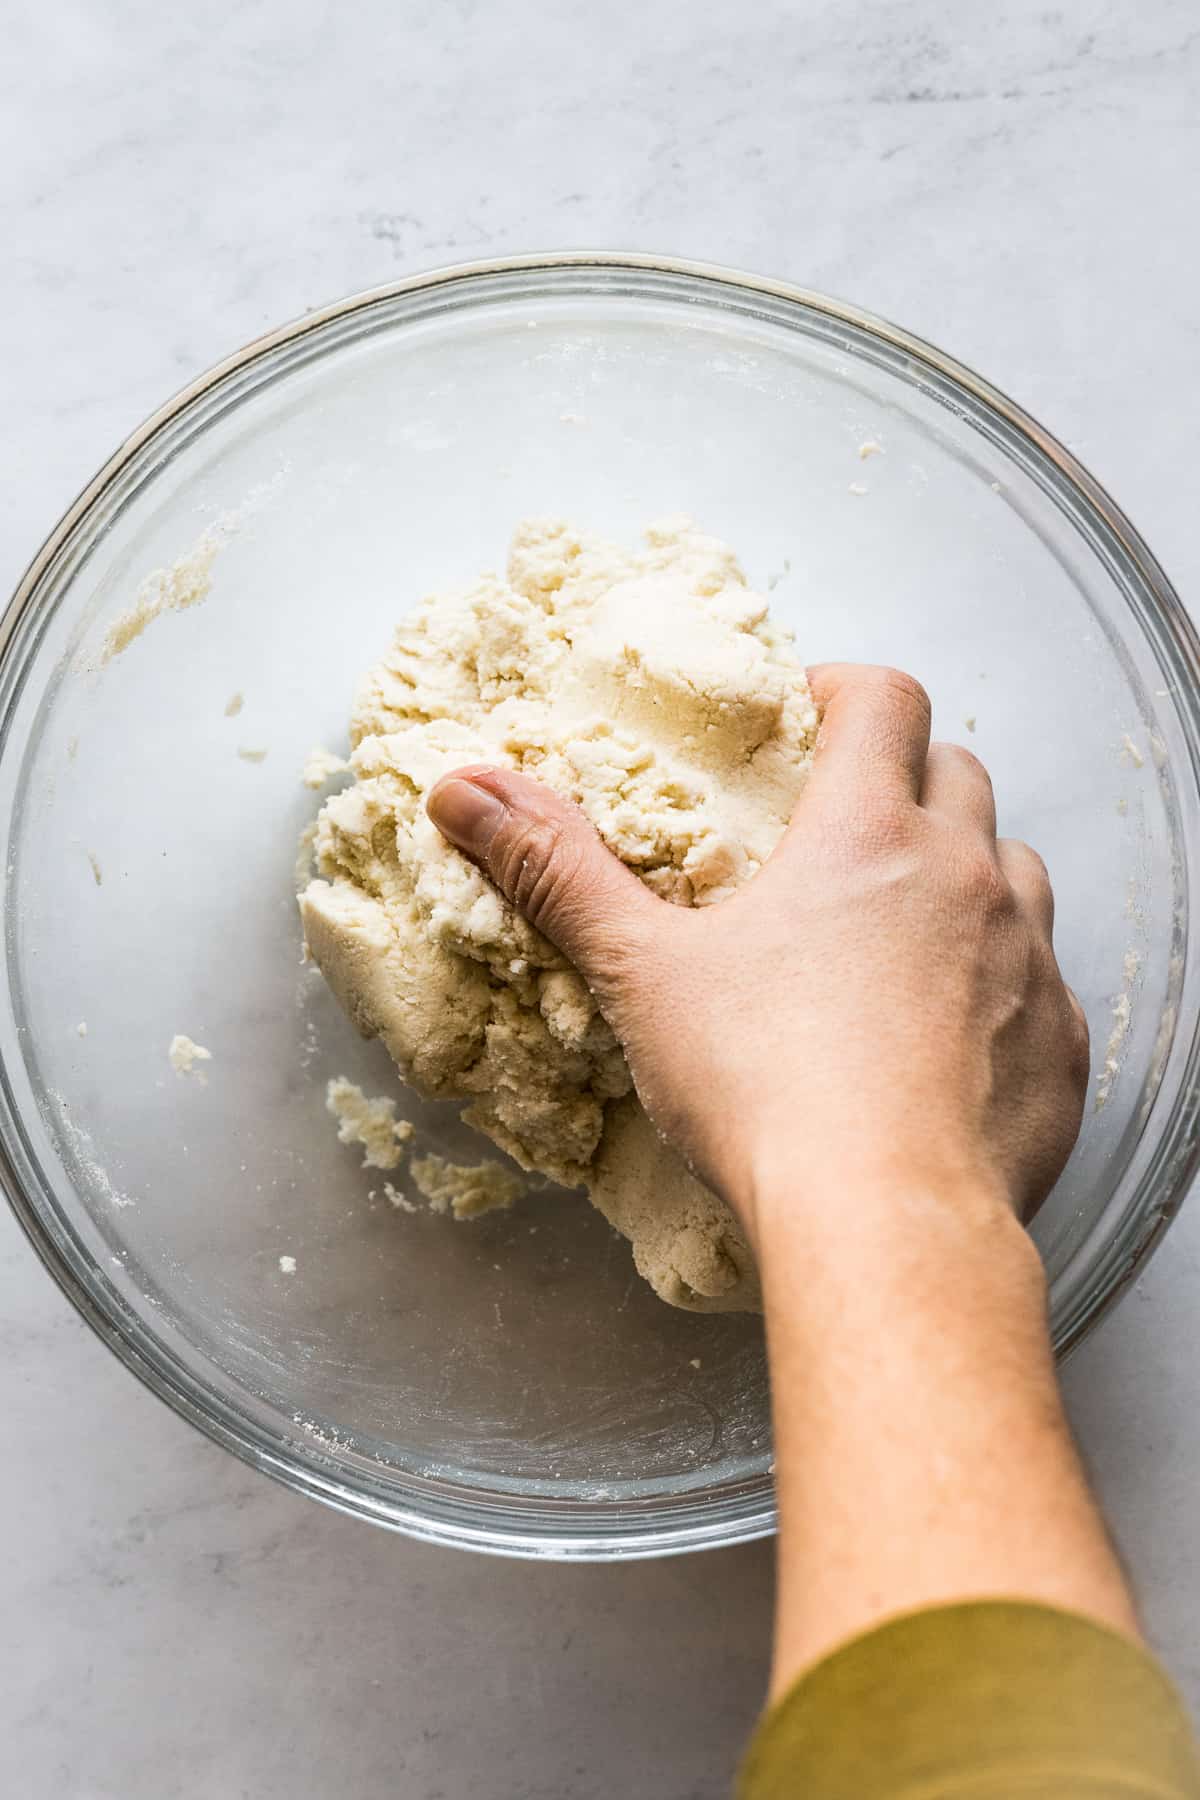
Step 2: Using your hands, knead the dough for about 3 minutes until it fully comes together and all the water is absorbed. To make sure it’s ready, grab a small piece and roll it into a ball. Press down on it with a finger or the palm of your hand, and if the edges of the dough crack, the dough is too dry. If the dough really sticks to your skin, it’s too wet. Add more water or masa harina as necessary. (See more tips below on how much water to add.)
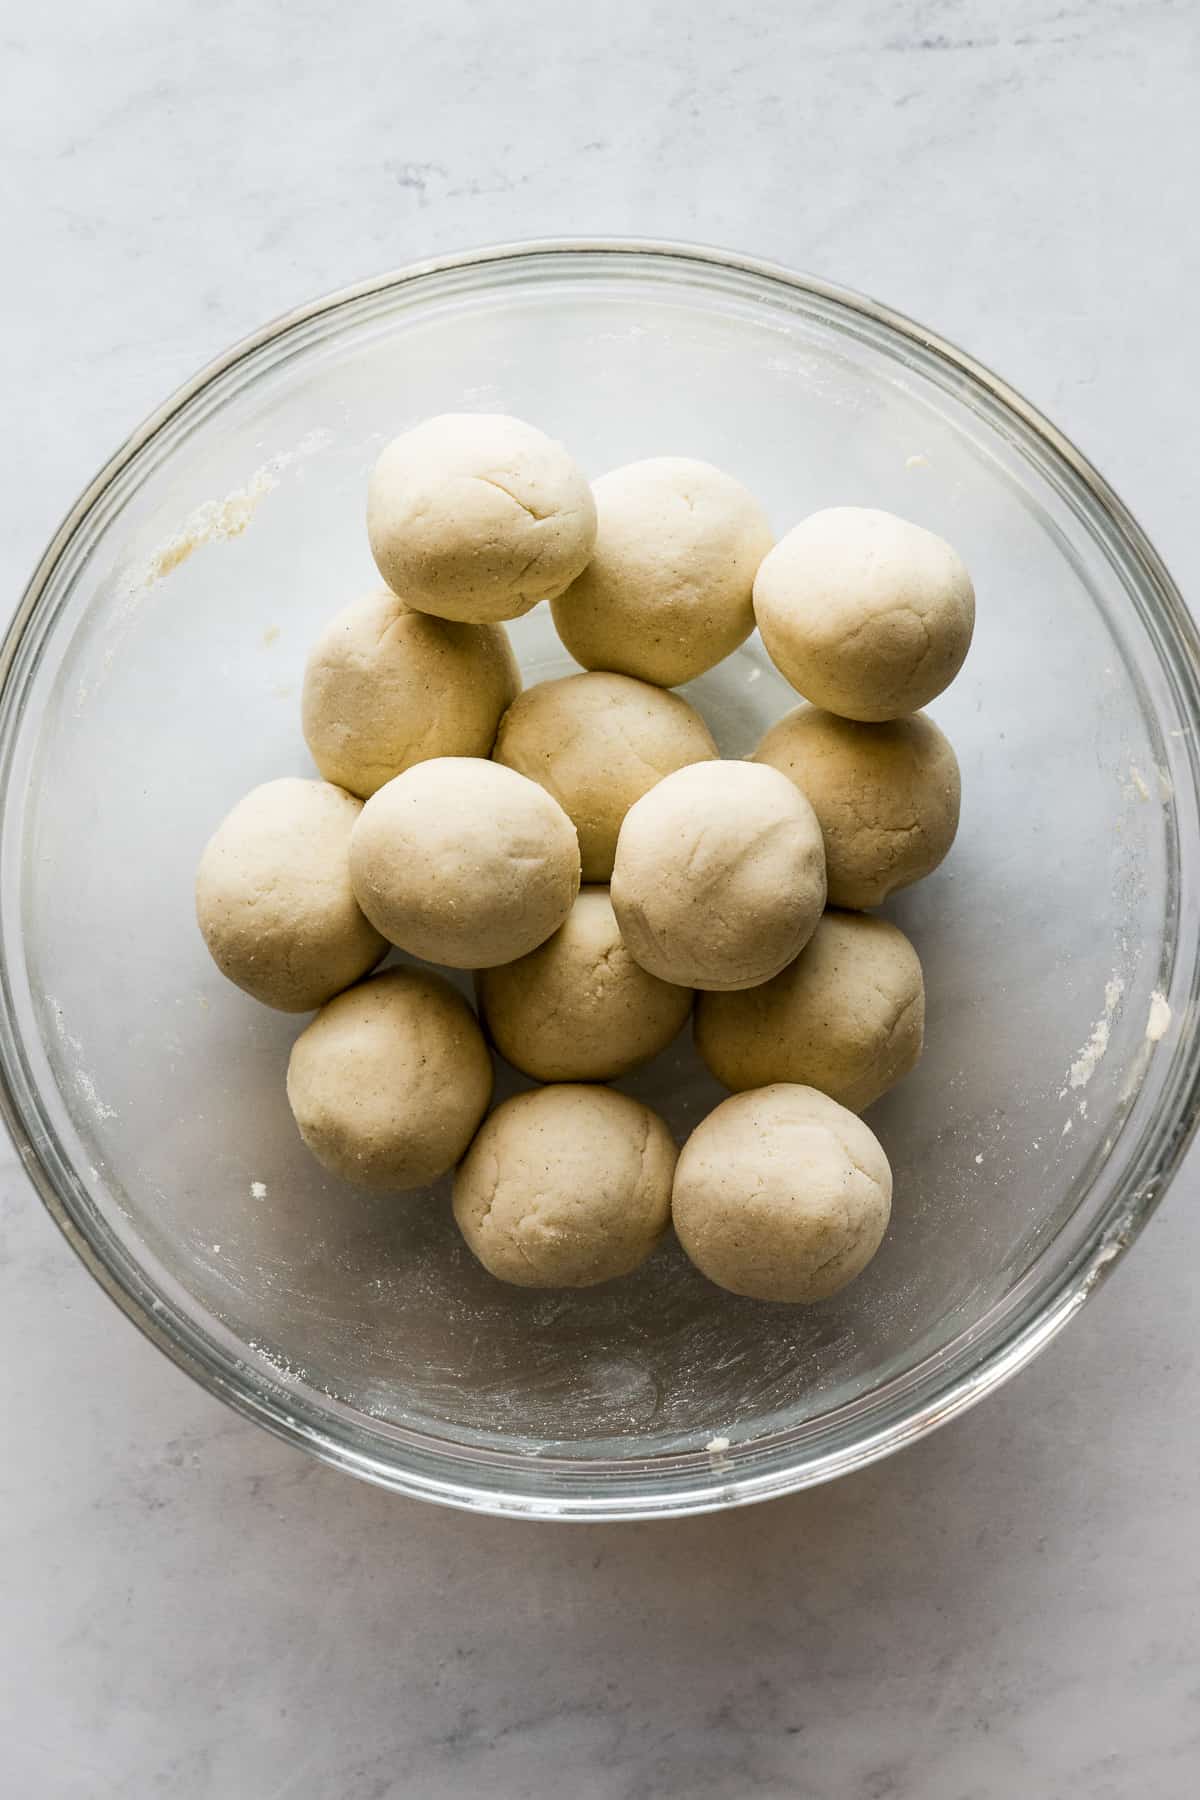
Step 3: Divide the dough into 14 equal portions, then roll each into a ball. Cover them with a clean damp cloth or plastic wrap to keep the dough moist while you press and cook the tortillas.
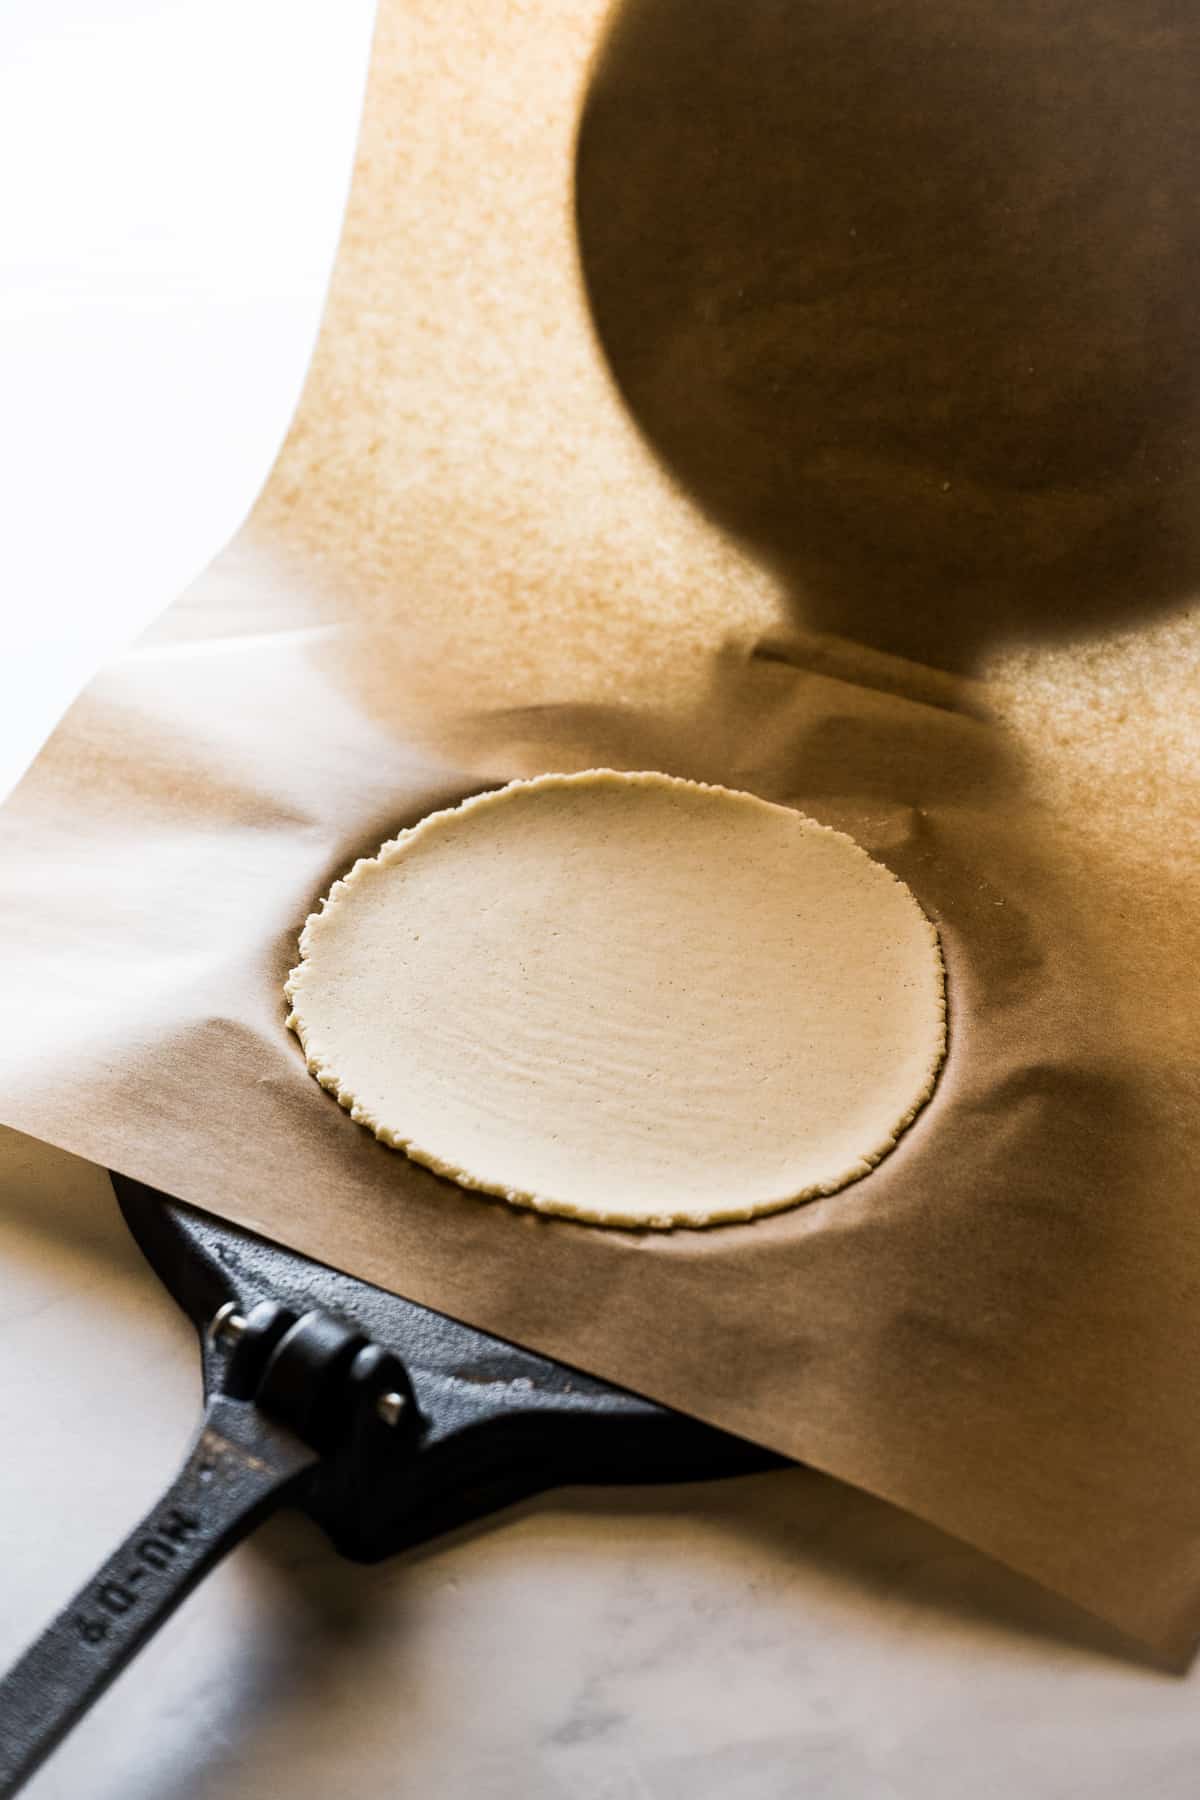
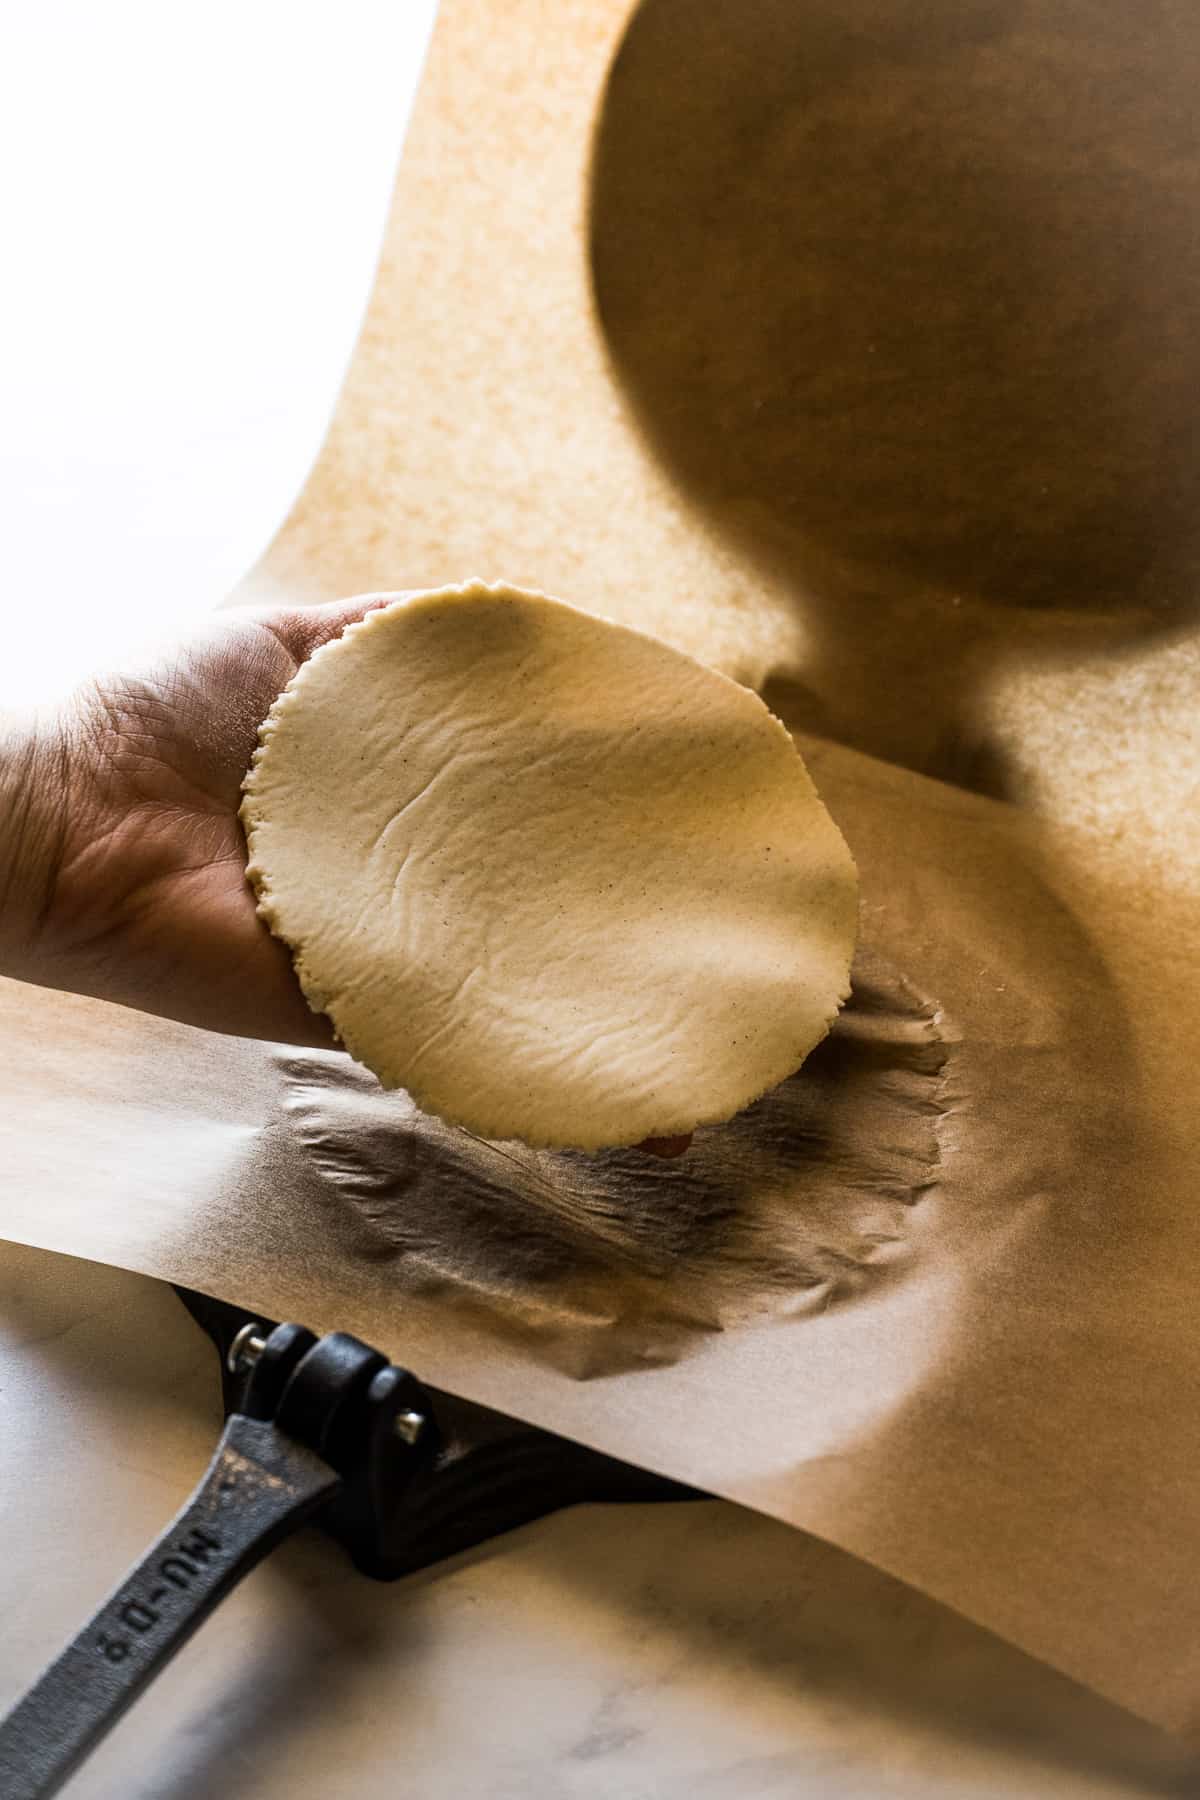
Step 4: Lay some plastic or parchment paper on the open tortilla press and place 1 dough ball on the bottom half. Fold the other side of the plastic or parchment paper over the dough and gently close and press the upper portion of the tortilla press to flatten it out. Open the tortilla press and carefully peel back the plastic or parchment paper and transfer the tortilla to your hand.

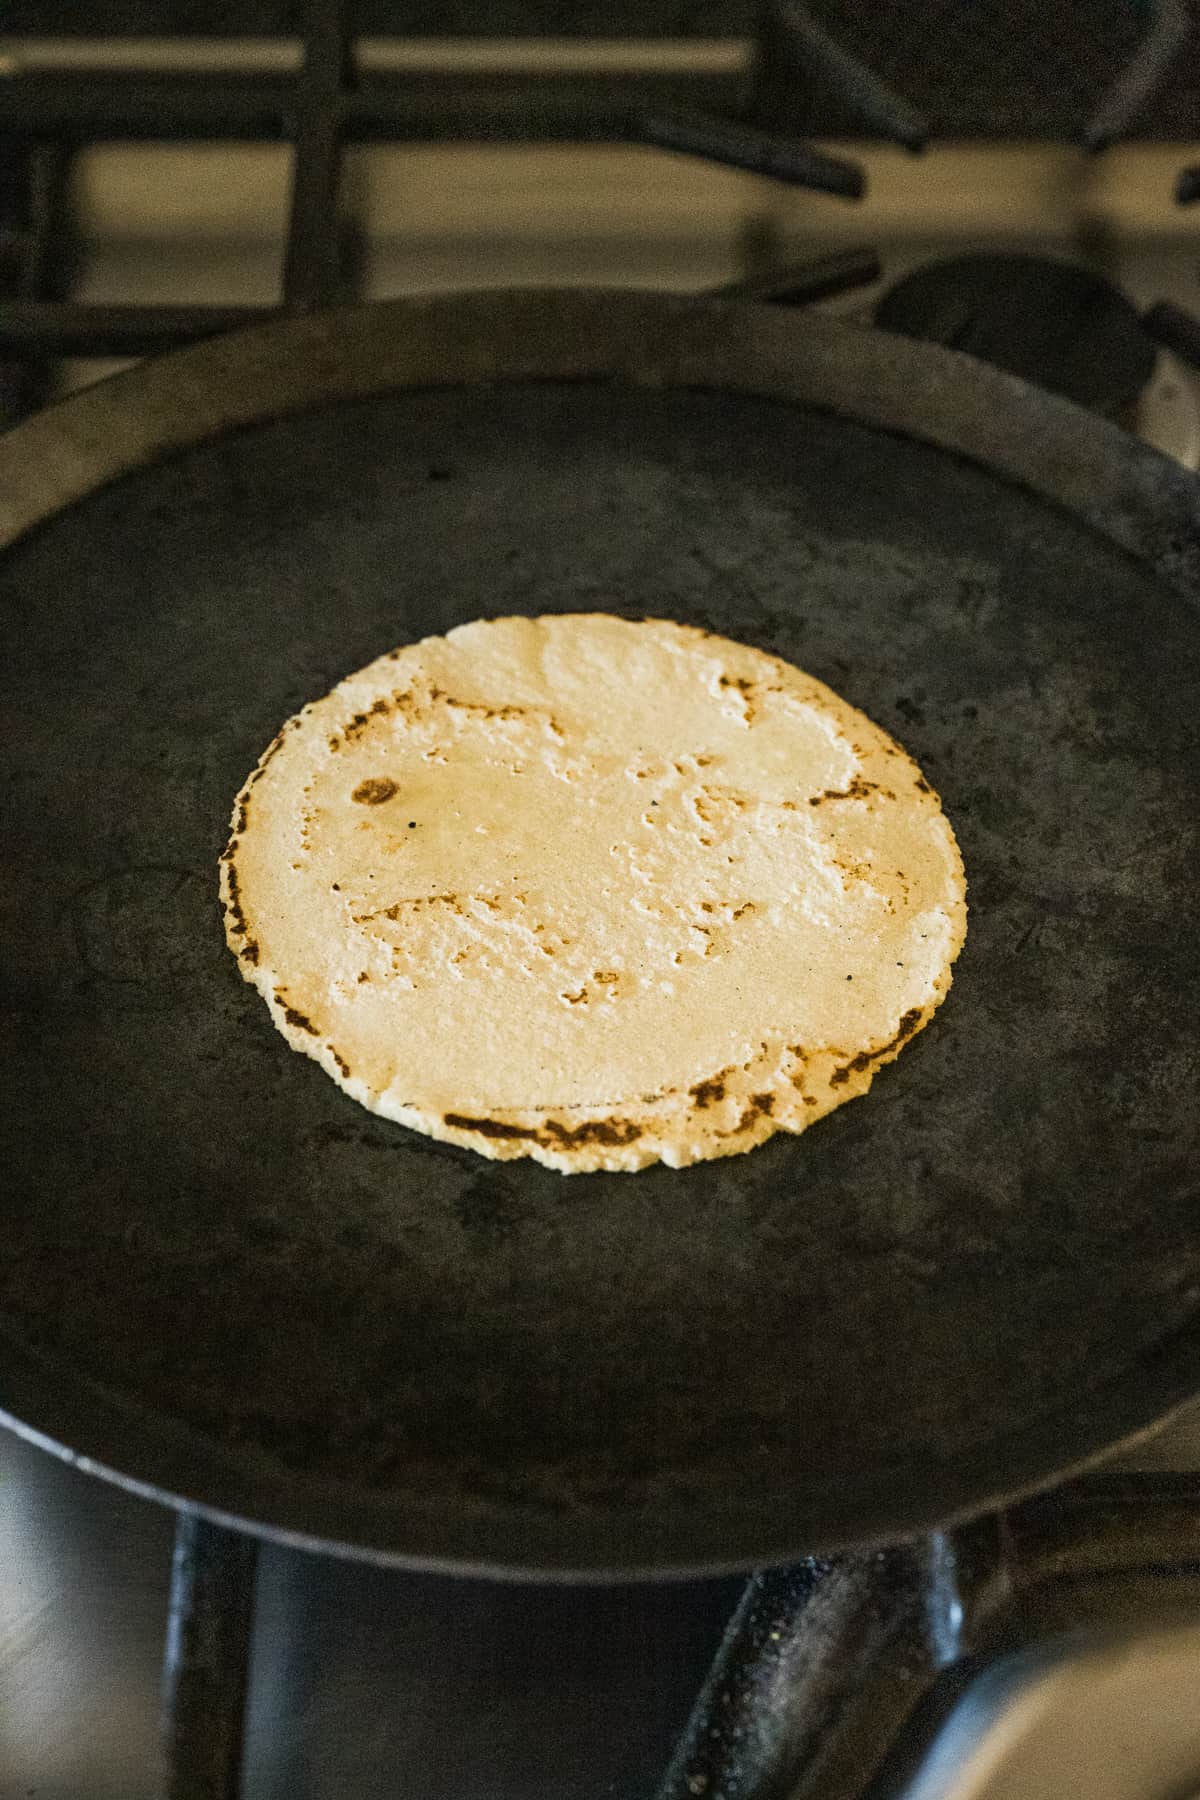
Step 5: Cooking 1 or 2 at a time, place the tortilla on a hot nonstick skillet, comal, or griddle and cook for 15 to 20 seconds. Flip and cook the other side for 15 to 20 more seconds. Flip the tortilla again and cook for another 30 seconds on each side.

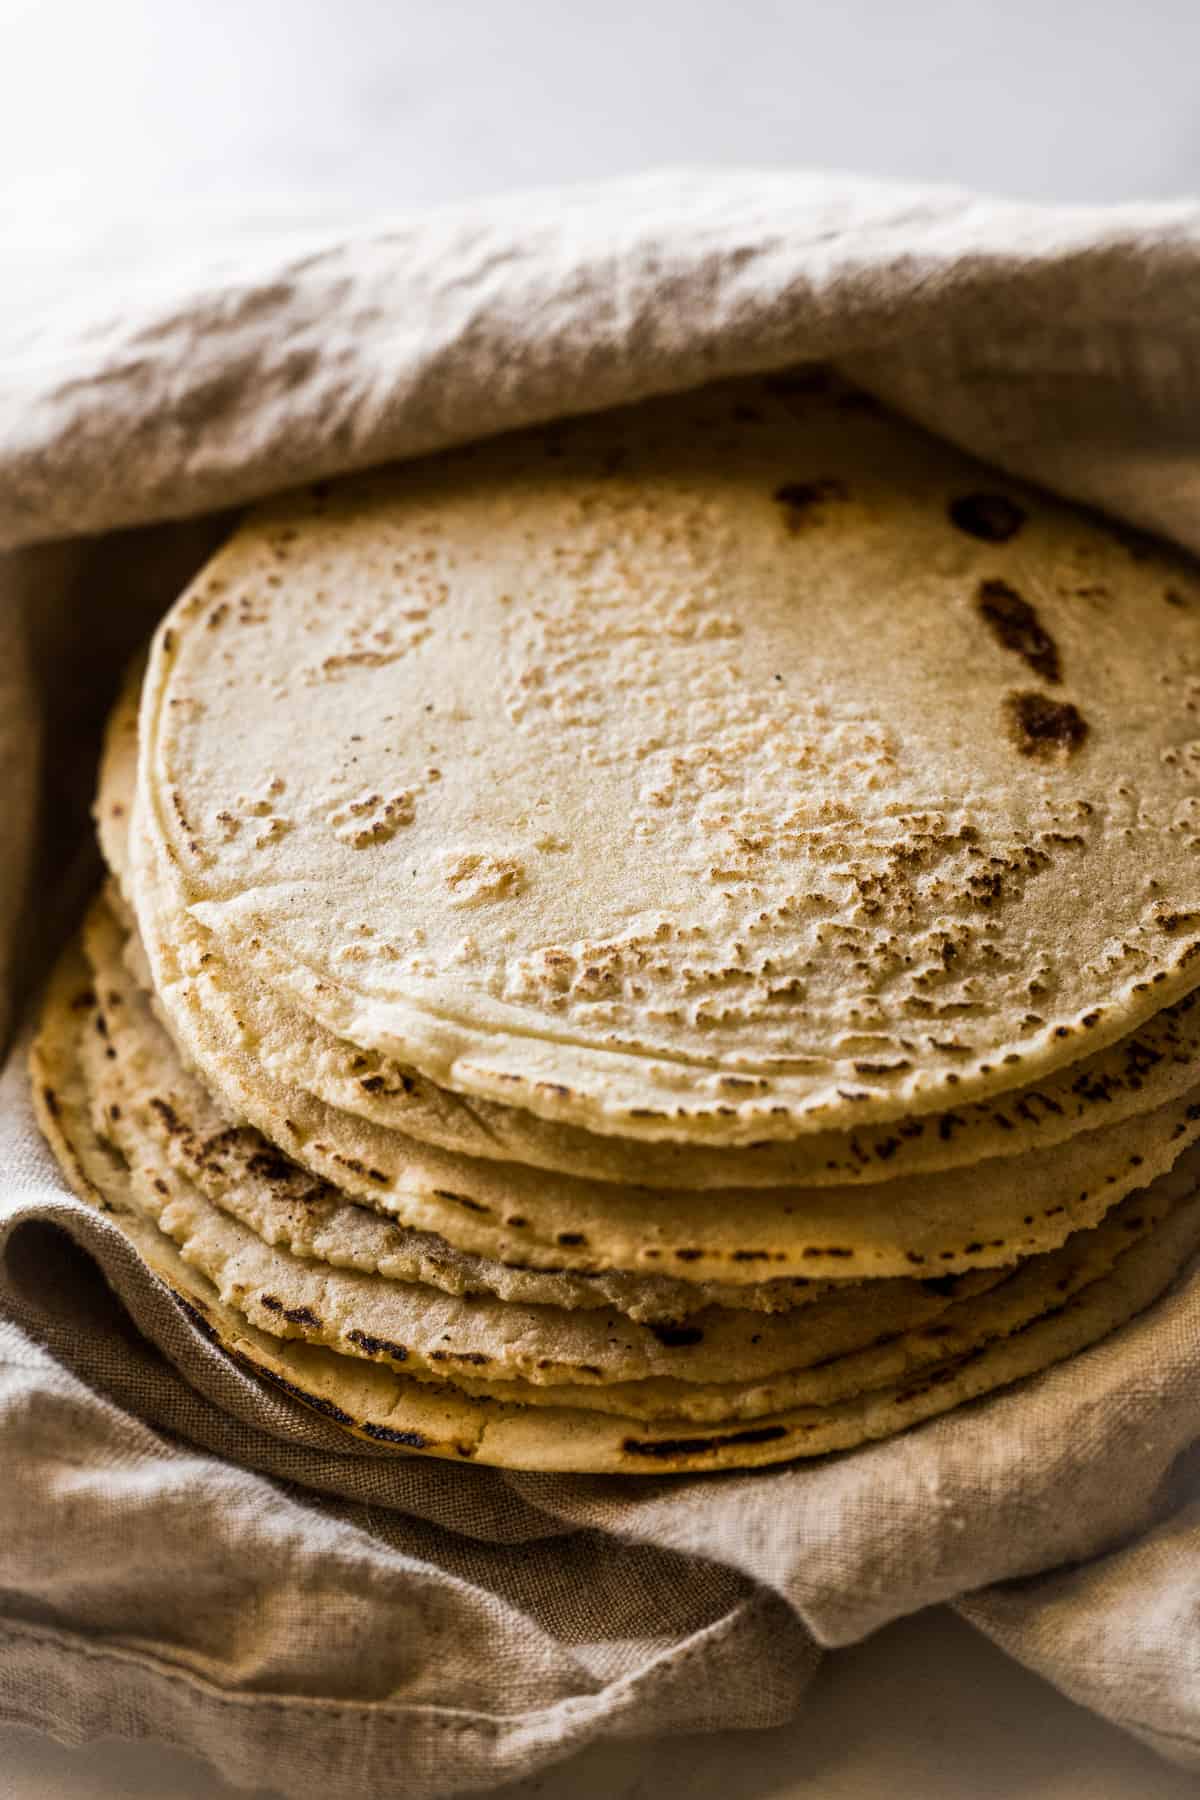
Step 6: Place the cooked tortillas in a tortilla warmer or wrap them in a clean kitchen towel and place them inside a resealable plastic bag to keep them warm and soft.
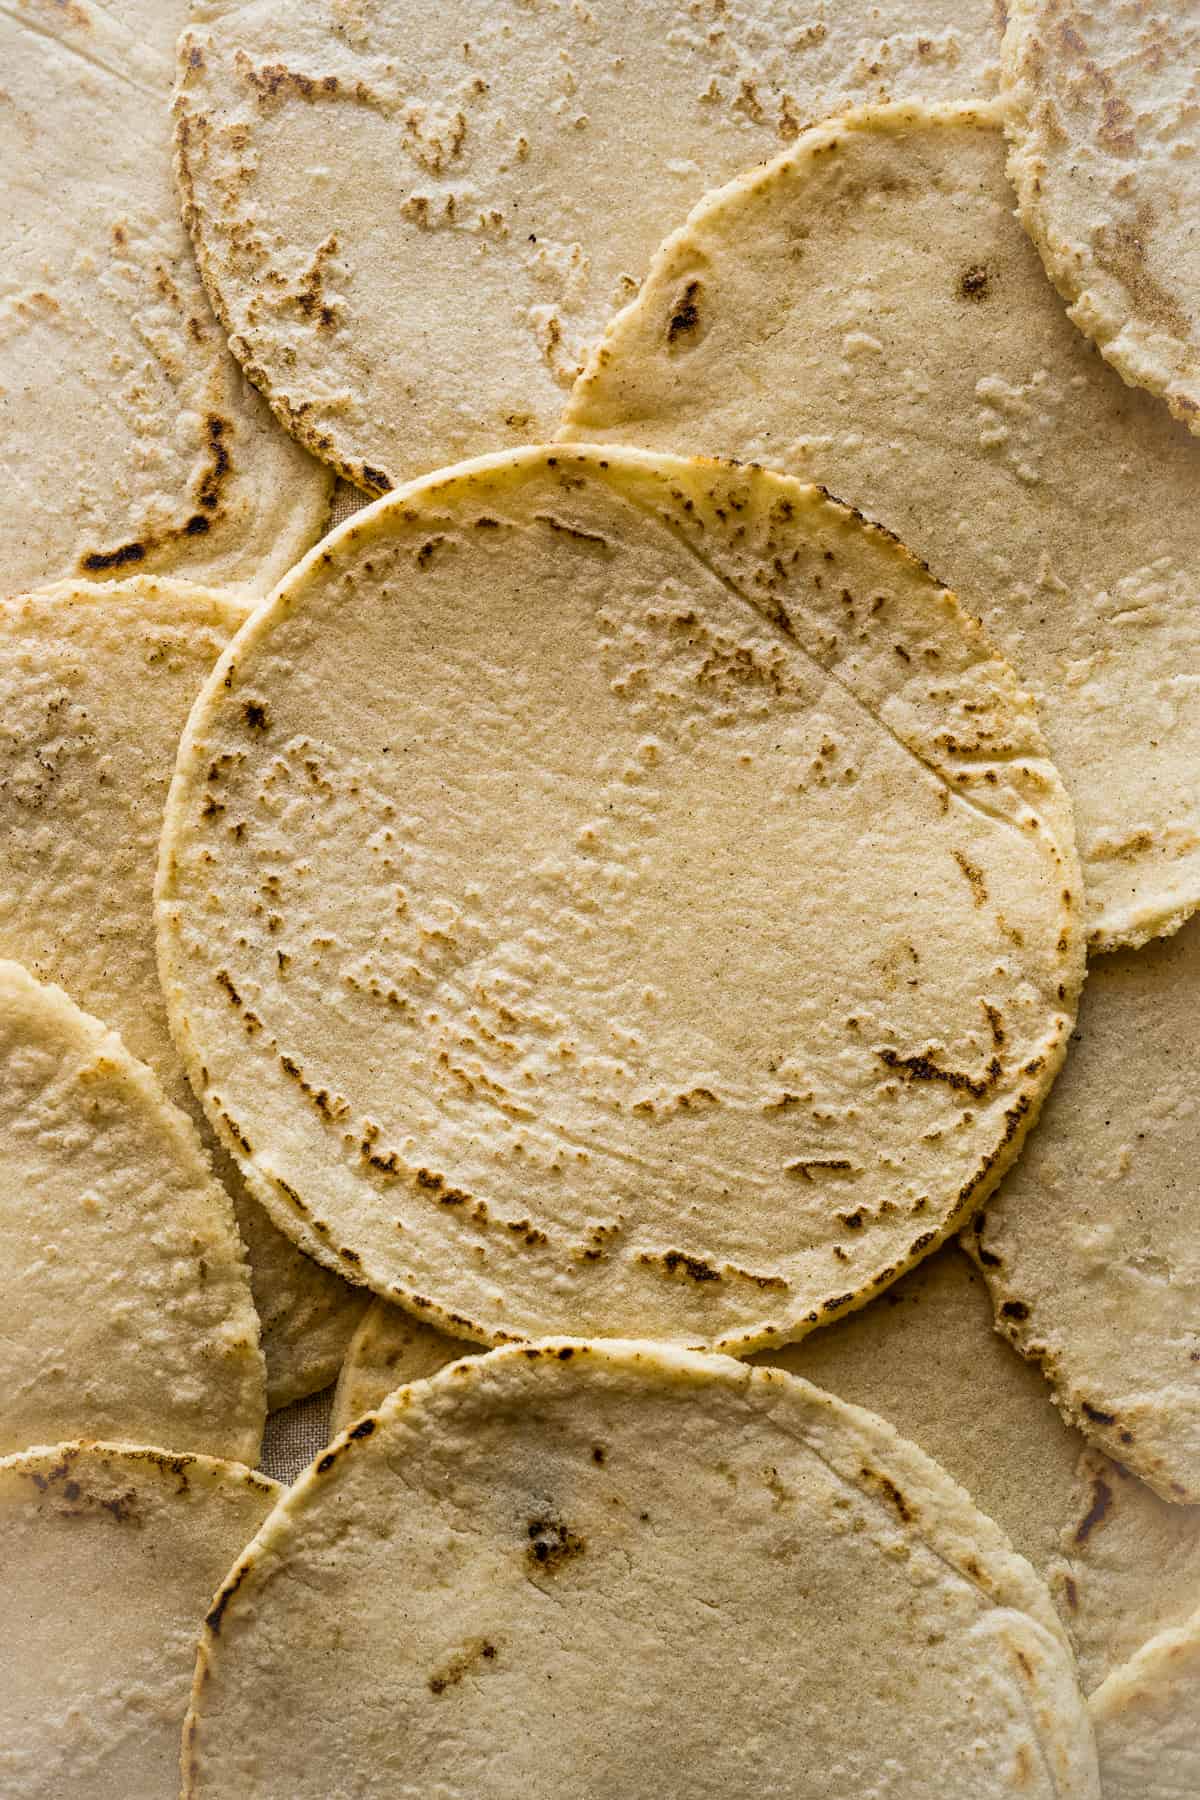
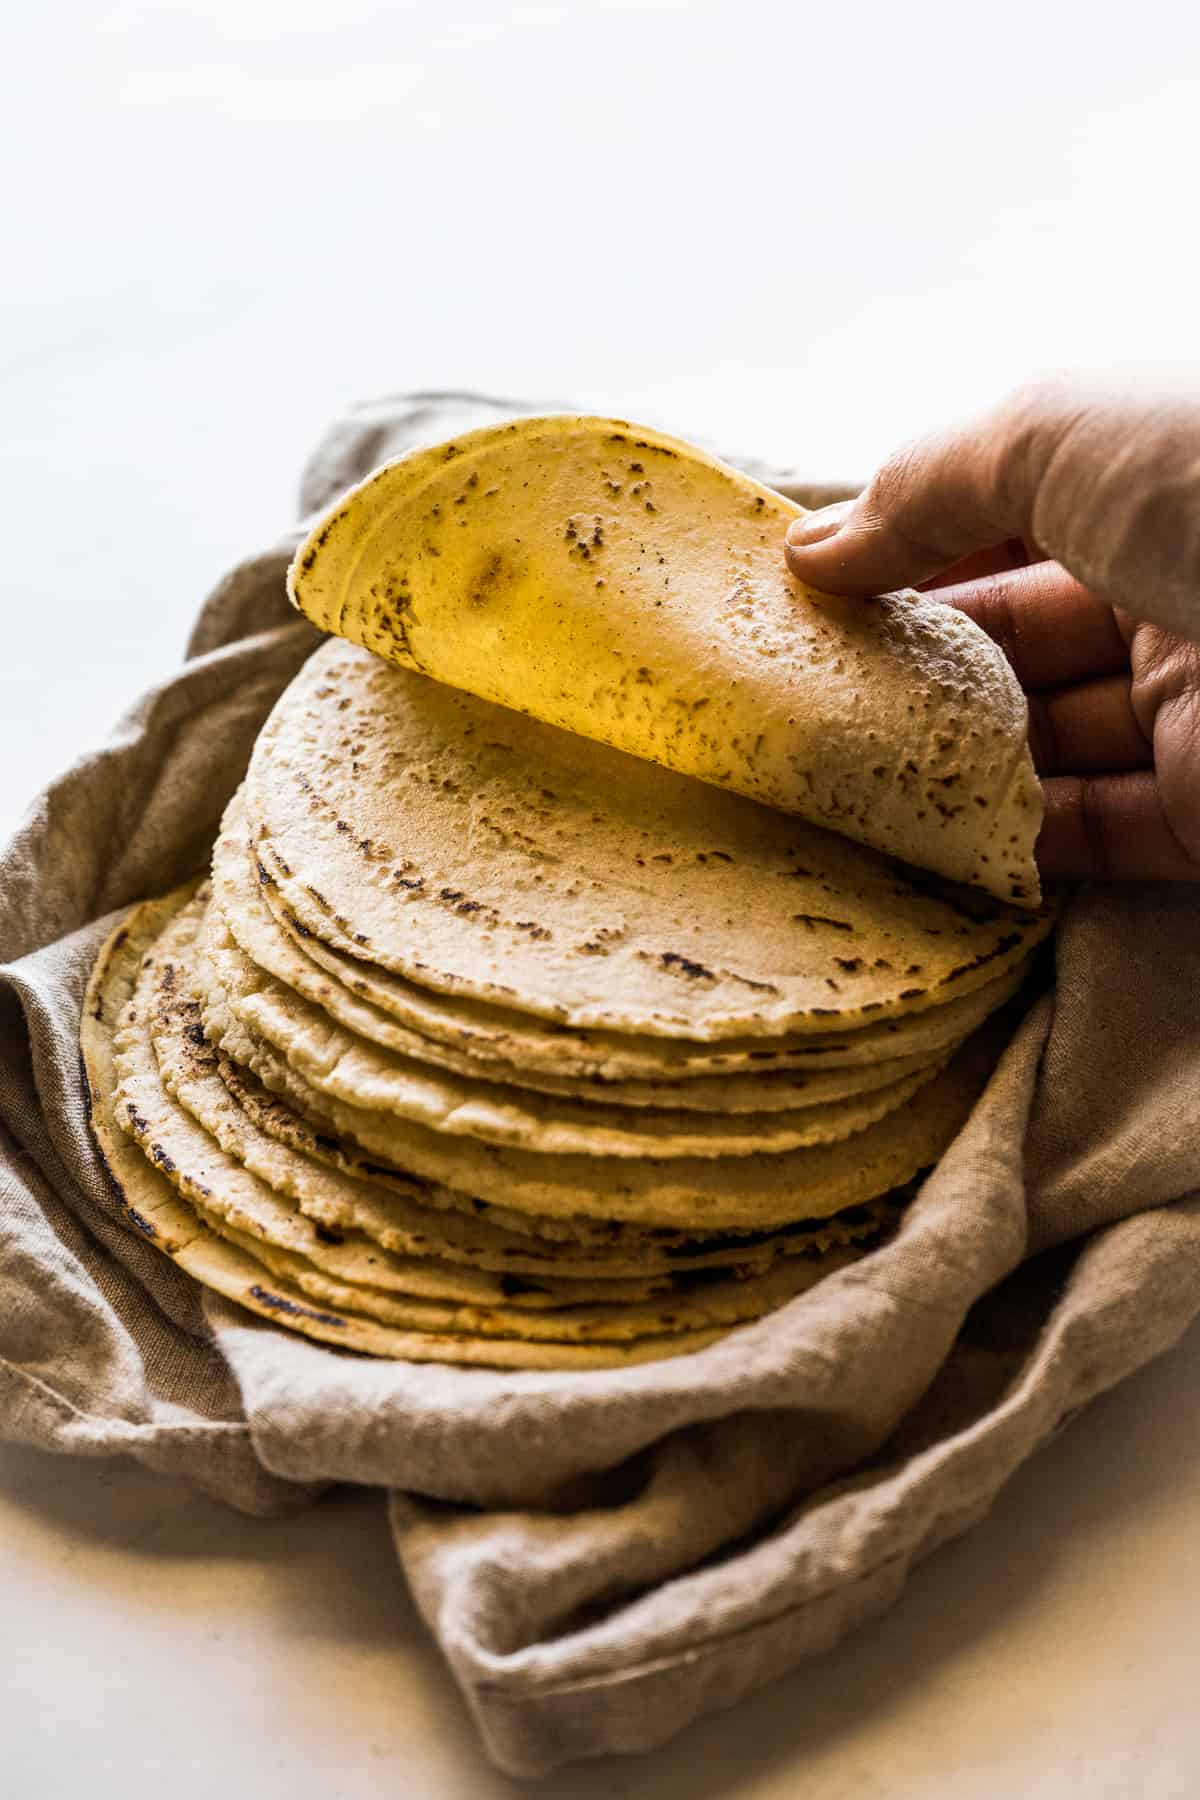
Once you taste homemade corn tortillas, you’ll never go back to store-bought. The time it takes to make them is so worth it!
Recipe Tips
- Water content: Getting the moisture level of the dough just right can be a little tricky, especially if it’s your first time making corn tortillas. I recommend starting with 1 ½ cups water and then adding more as needed. You’ll need to knead the dough with your hands to get a feel for how wet the dough is. I like to get the dough to the point where it’s as wet as it can possibly be before it gets difficult to work with, meaning if the dough is really sticking to your hands and isn’t coming together, it’s too wet.
- A quick test to see if your dough needs more water: Take a piece of dough and roll it into a ball. Press down on the middle of the ball with a finger or the palm of your other hand. If the edges of the flattened ball crack, it’s too dry and needs more water. It may feel like it doesn’t need more water, but if it cracks, trust me – just knead in a tablespoon or two of water at a time until it passes this test.
- Getting your corn tortillas to puff: This is the ultimate sign that you’ve got the perfect tortilla cooked under the perfect conditions. It takes some practice, but once you get a feel for the dough and your kitchen stove, you can do it! The main thing that affects whether your tortilla puffs is the moisture level in the dough. The more moisture the better because the steam created when you cook the tortilla on the hot pan is what creates the puff. If you think your moisture level is right, look at how hot your pan is. Are you cooking the tortilla too long on one side so by the time you flip it over it has already dried out? I like to cook the tortilla for 15 seconds on one side, flip, and cook it for 15 seconds on the other side. Then flip it again and cook it about 30 seconds before flipping it one last time. The first two flips create a sort of sear on the tortilla that helps keep in the steam!
- No tortilla press? That’s okay. You can flatten your corn tortillas with a large baking dish. Just place the ball of dough in between two pieces of parchment paper and press down on the baking dish as evenly as possible.
How to Keep Tortillas Warm
To keep your corn tortillas warm and pliable when serving, place them inside a tortilla warmer or wrap them in a clean kitchen towel and place them inside a large plastic storage bag (like a Ziploc) to help them retain heat and moisture.
Storing Corn Tortillas
To store, let them cool slightly (or completely) before wrapping them in a towel and placing them inside a large plastic storage bag. Store them in the refrigerator for up to one week.
Reheating Corn Tortillas
The best way to reheat homemade corn tortillas is to heat them in a skillet or comal on the stove over medium-high heat or directly over an open flame.
I don’t recommend reheating them in the microwave as they will likely dry out and crack.
Recommended Tools
- Tortilla press. A must-have tool for making homemade corn tortillas. Makes the process so easy!
- Tortilla warmer. Love this for keeping tortillas warm at the dinner table.
Ways to Use Corn Tortillas
- Tacos: Add your favorite taco fillings like carnitas, chorizo, or carne asada.
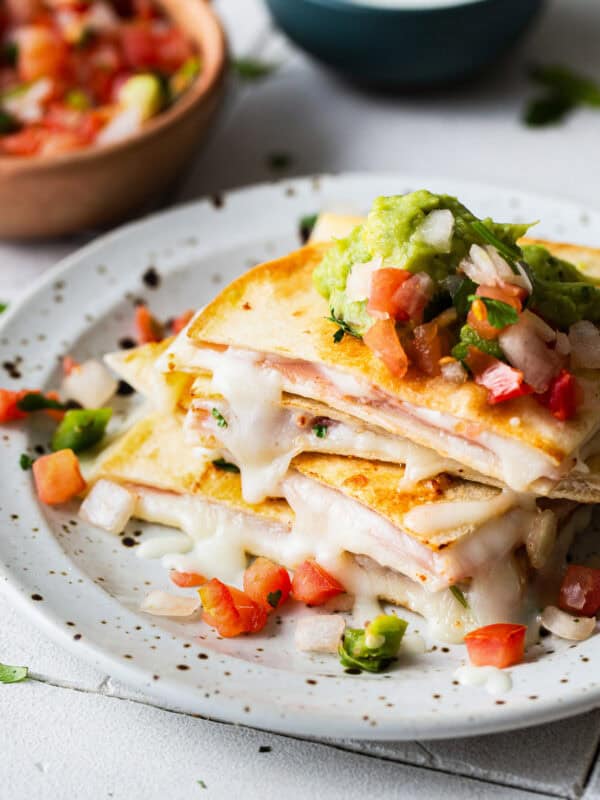
- Quesadillas: Melt some shredded cheese in between two tortillas for a quick lunch.
- Tostadas: Lightly fry the corn tortillas to create a crispy tostada, then layer the top with beans, cheese, and your favorite toppings.
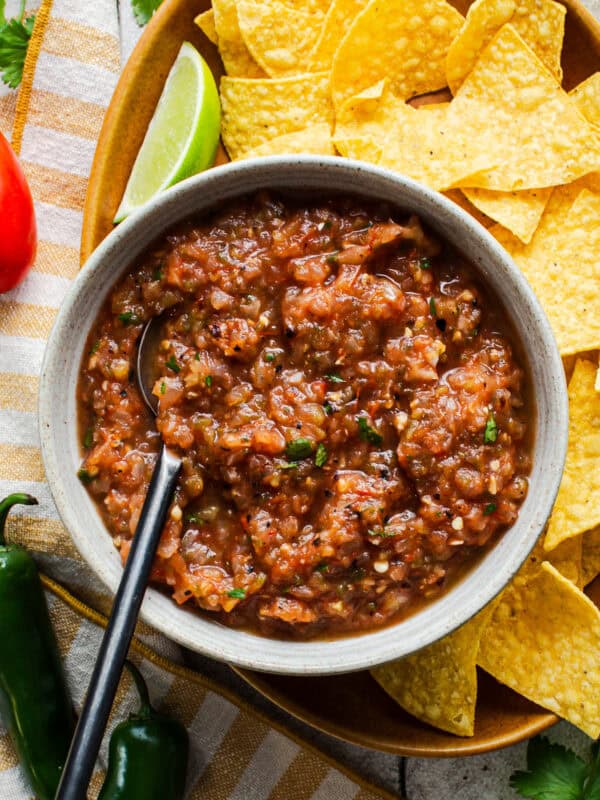
- Chips: Cut the tortillas into wedges and fry, bake, or air-fry them to serve with your favorite salsa!
- Chilaquiles: Make the corn tortillas into chips, then toss them in some salsa roja or salsa verde and serve with a fried egg for a yummy breakfast.
More Mexican Recipes
- Birria
- Flour Tortillas
- Mole Sauce (Mole Poblano)
- Chile Relleno
- Barbacoa
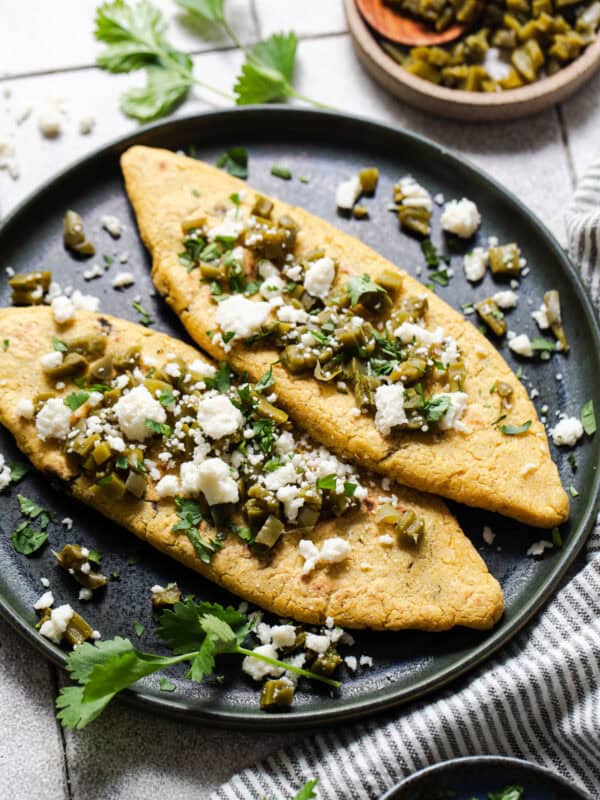
- Sopes
- Chile Verde
- Pozole Rojo
Corn Tortilla Recipe
Equipment
- Parchment paper or a large resealable plastic storage bag
- Tortilla press
Ingredients
- 2 cups masa harina
- 1 teaspoon fine salt
- 1 ½ cups warm water, plus more as needed
- 1 teaspoon olive oil or lard, optional
Instructions
- In a large bowl, combine the masa harina and salt. Stir in the water and oil until a dough forms.
- Using your hands, knead the dough until it fully comes together and all the water is absorbed, about 3 minutes. To make sure it’s ready, grab a small piece and roll it into a ball. Press down on it with a finger. If the edges of the dough crack, the dough is too dry. If the dough sticks to your skin, it’s too wet. Add more water or masa harina as necessary.
- Divide the dough into 14 equal portions, then roll each into a ball. Cover them with a clean damp cloth or plastic wrap to keep the dough moist while you press and cook the tortillas.
- Heat a griddle or skillet over medium-high heat until hot. While the griddle is heating up, cut the seams off of a large resealable plastic bag so that it makes one large rectangular piece of plastic. Alternatively, you can use parchment paper instead.
- Lay the plastic or parchment paper on the open tortilla press and place 1 dough ball on the bottom half. Fold the other side of the plastic or parchment paper over the dough and gently close and press the upper portion of the tortilla press to flatten it out. Open the tortilla press and carefully peel back the plastic or parchment paper and transfer the tortilla to your hand.
- Cooking 1 or 2 at a time, place the tortilla on the hot griddle and cook for 15 to 20 seconds. Flip and cook the other side for 15 to 20 more seconds. Flip the tortilla again and cook for another 30 seconds on each side.
- Place the cooked tortillas in a tortilla warmer or wrap them in a clean kitchen towel and place them inside of a resealable plastic bag to keep them warm and soft.
- Serve immediately or store tightly wrapped in the fridge for up to 1 week.
Video
Notes
- Fat: A little extra-virgin olive oil or lard is added to help keep the tortillas pliable for longer, as well as to add a touch of flavor. Lard is traditionally used, but olive oil also works! Some tortilla purists don’t add fat at all. It’s all personal preference! If you don’t want to add any, you can leave it out.
- A quick test to see if your dough needs more water: Take a piece of dough and roll it into a ball. Press down on the middle of the ball with a finger or the palm of your other hand. If the edges of the flattened ball crack, it’s too dry and needs more water. It may feel like it doesn’t need more water, but if it cracks, trust me – knead in a tablespoon or two of water at a time until it passes this test.
- Tortilla press: If you don’t have a tortilla press, you can use a large baking dish to flatten the dough in between two sheets of parchment paper. The trick is to press the dough as evenly as possible so that it’s the same thickness all around.
- Tortilla warmer: To keep the tortillas warm and pliable when serving, place them inside a tortilla warmer or wrap them in a clean kitchen towel and place them inside a large resealable storage bag to help them retain heat and moisture.
Nutrition
Nutrition information is automatically calculated, so should only be used as an approximation.


These came out soft and pliable and tender. Bursting with delicious corn flavor goodness. Adding the olive oil made all the difference and I want to try using lard next time I make these. Added bonus, I was able to get my teenage son in the kitchen to help me make these tortillas (it really helps to have someone help out), we were able to have a few rare, priceless minutes together.
I learned to make tortillas from my MIL, but I never mastered the puff. Step 5 helped me nail it! Tysm!! You explained it so well. This entire post is PERFECT for guiding someone thru the process. I’m saving it to share with my future DIL and I look forward to trying your other recipes!!
Hello,
I just found your recipe site. WOW love it!!! So many wonderful ideas, recipes. Thank you for being so excited to put together something like this for us.
Mimi
Soooo yummy! I do need more practice, but today was only my first attempt. They still taste amazing. I think I need a little more moisture. The Victoria tortilla press is awesome. I definitely recommend it.
The flavor was great & the instructions were clear, but somehow I wasn’t able to make it work. Somehow the interior was uncooked compared to the outside. Is there a way to make sure the interior still cooks through while preventing the outside from burning?