A juicy and tender carne asada made from marinated flank steak or skirt steak and grilled to perfection. A great addition to any Mexican meal, this flavorful recipe is made with orange juice, lime juice, garlic, soy sauce, seasonings, and other easy ingredients.
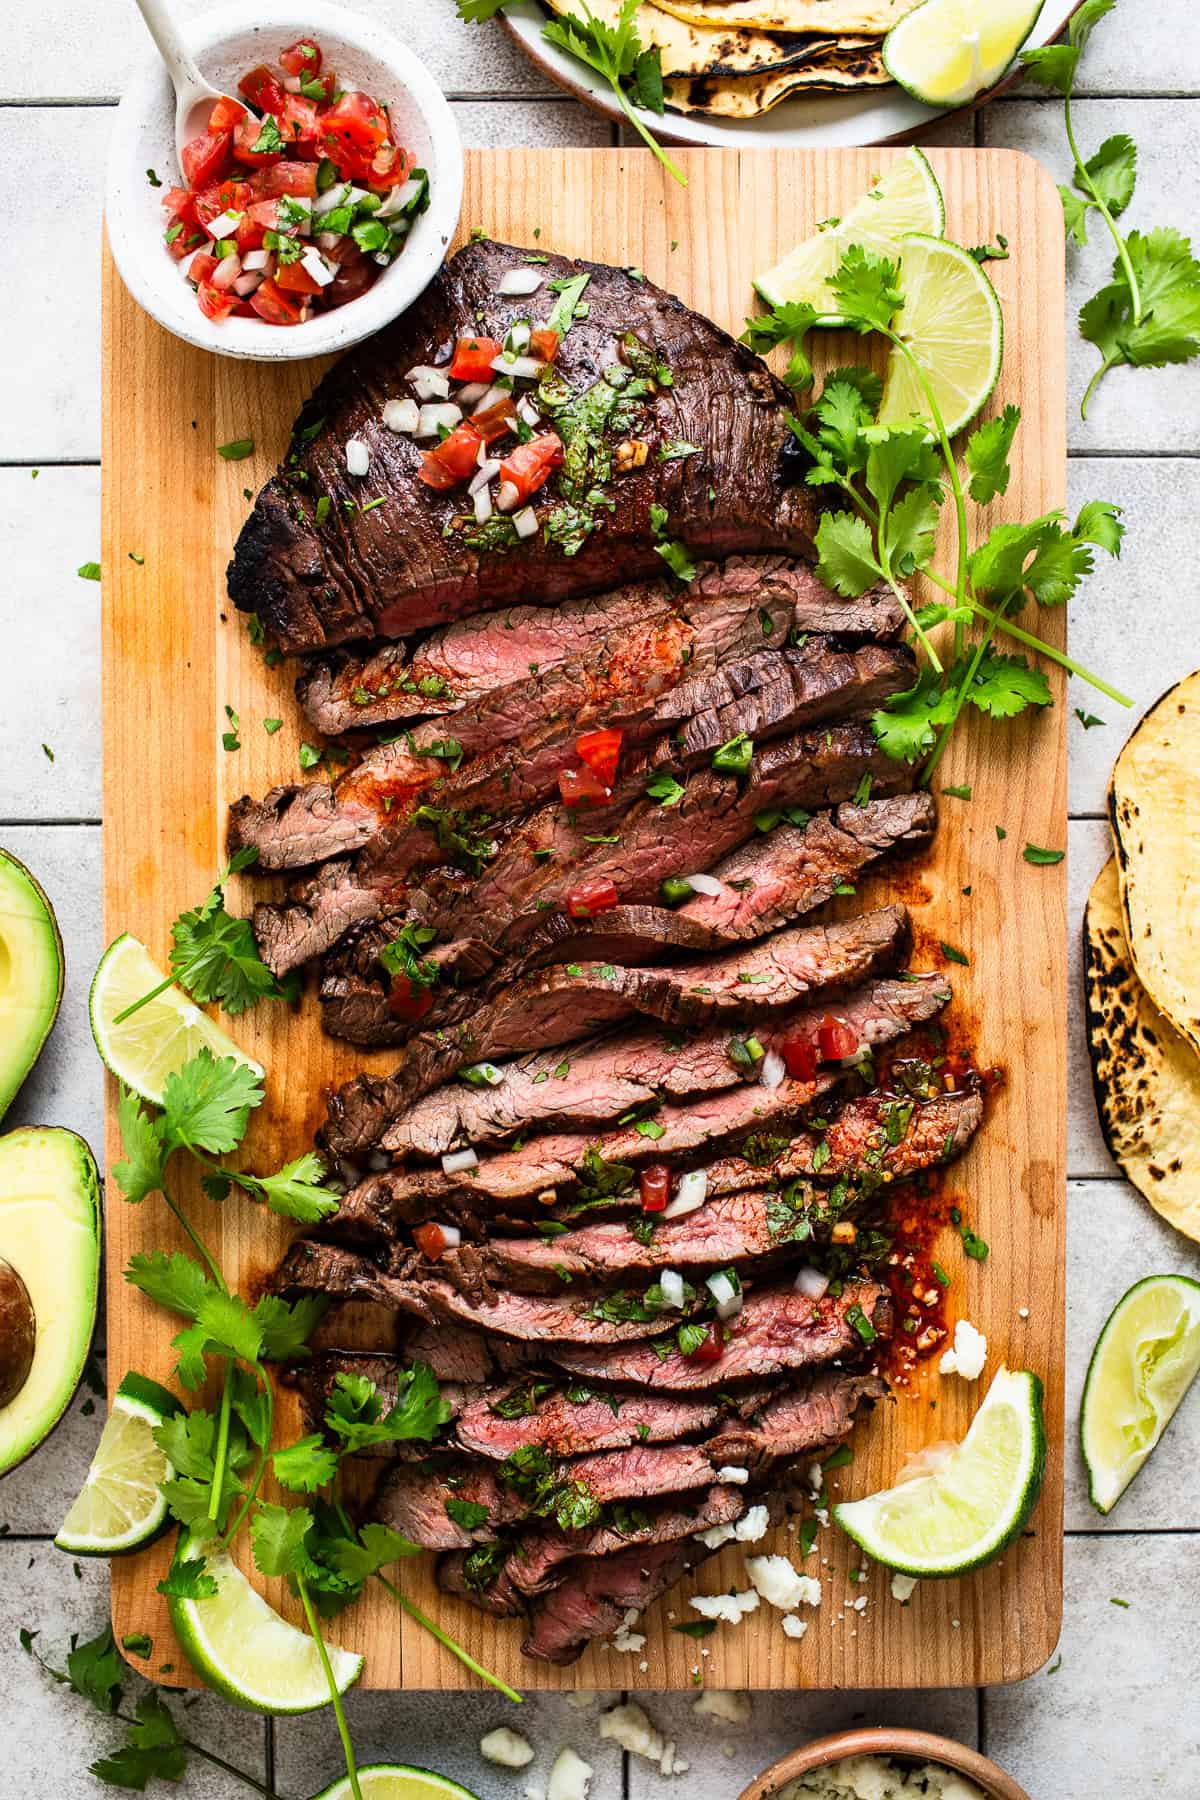
When someone says “carne asada,” I immediately think of my family barbecues with my brother grilling tender and juicy marinated steak and my mom and sister preparing corn tortillas, some Mexican rice, and a bright and spicy salsa like salsa Mexicana.
This easy carne asada recipe is a fool-proof dish that gets everyone excited to eat and is especially delicious when enjoyed in beautiful weather on your patio with family. Here’s why I love this recipe:
- It’s easy. The magic is in the marinade, which tenderizes the steak and fills each crevice with flavor. Just toss it together and let it sit in the fridge for a couple of hours.
- It’s versatile. Carne asada can be enjoyed as a fork-and-knife steak or chopped up and enjoyed as carne asada tacos or carne asada fries.
What Is Carne Asada?
Carne asada is beef that has been marinated and grilled. When translated from Spanish, carne asada literally means “grilled meat.” Most Mexican grocery stores or meat markets sell their own version of carne asada, but I find homemade to be more fresh and flavorful.
The most common type of meat used to make carne asada is skirt steak or flank steak. Skirt steak is usually thinner and a bit more fatty, whereas flank steak is often a thicker and leaner cut. As long as they’re both sliced thinly after grilling, they both make great options.
Carne Asada Ingredients
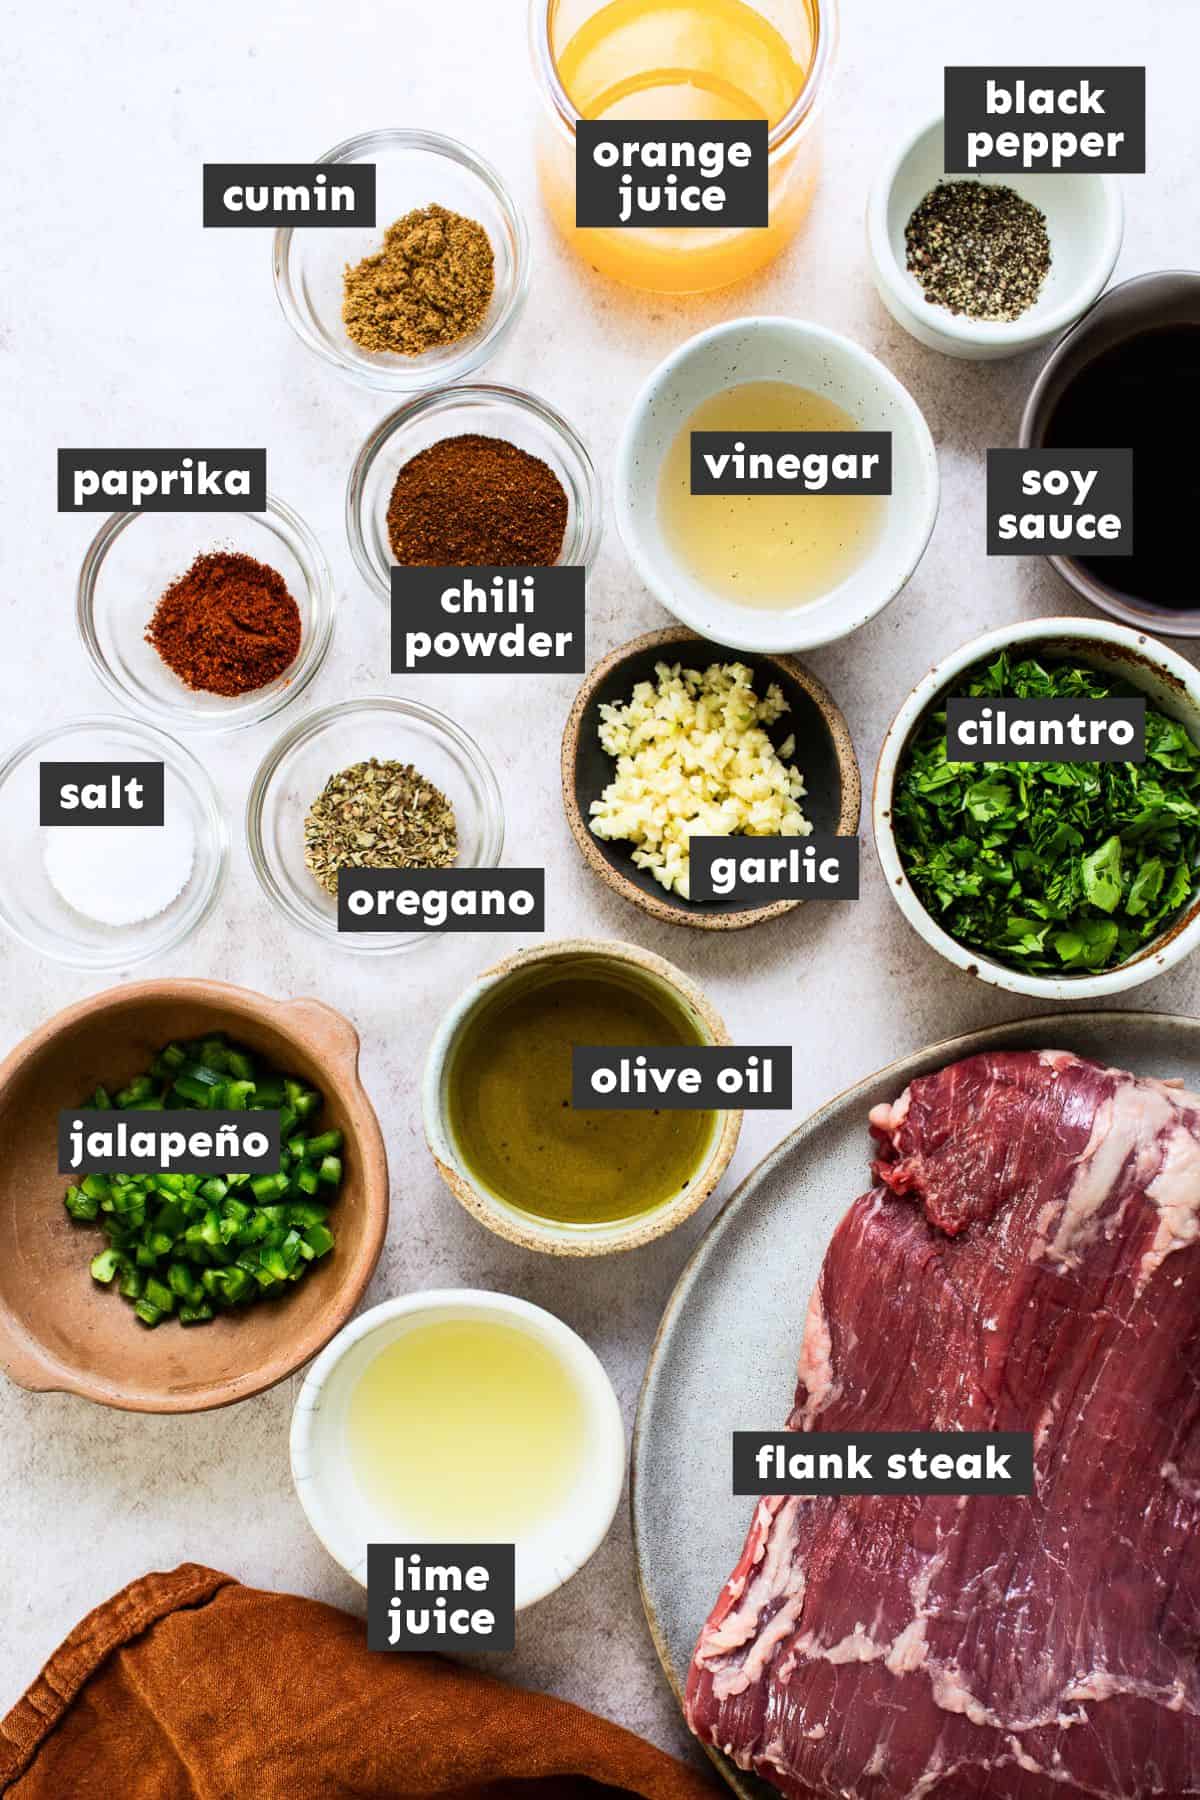
The marinade for carne asada varies greatly from region to region in Latin America, and there is no real one “authentic” marinade. Some marinades are as simple as oil, salt, pepper, garlic, and lime juice, and others are a long list of ingredients and spices.
For this carne asada marinade, I leaned towards the latter and tried to get in as much flavor as possible by using the following:
- Garlic: Fresh garlic cloves add tons of great flavor. I prefer to use fresh garlic cloves over garlic powder when using marinades or salsas.
- Jalapeños: Adding a jalapeño adds a savory and earthy flavor. I took out the seeds to leave out the spice, but feel free to leave them in if you want it a little spicy.
- Cilantro: Adds a fresh herb taste. If you’re not a fan of cilantro, you can use parsley instead or leave it out.
- Olive oil: Helps bring the marinade together. Avocado oil is a great alternative.
- Soy sauce: A hint of soy sauce adds a great balance of sweet and savory.
- Citrus juices: A mix of orange juice and lime juice adds some brightness and helps cut the savoriness of the seasonings and other marinade ingredients. It also helps tenderize the steak.
- White wine vinegar: Adds some tang and also helps tenderize the carne asada.
- Seasonings: A simple mix of chili powder, kosher salt, cumin, oregano, ancho chili powder, and fresh ground black pepper complements the fresh ingredients for a flavor-packed carne asada.
- Steak: I recommend using skirt or flank steak for carne asada. They soak up marinades very well and are great for grilling.
How to Make Carne Asada
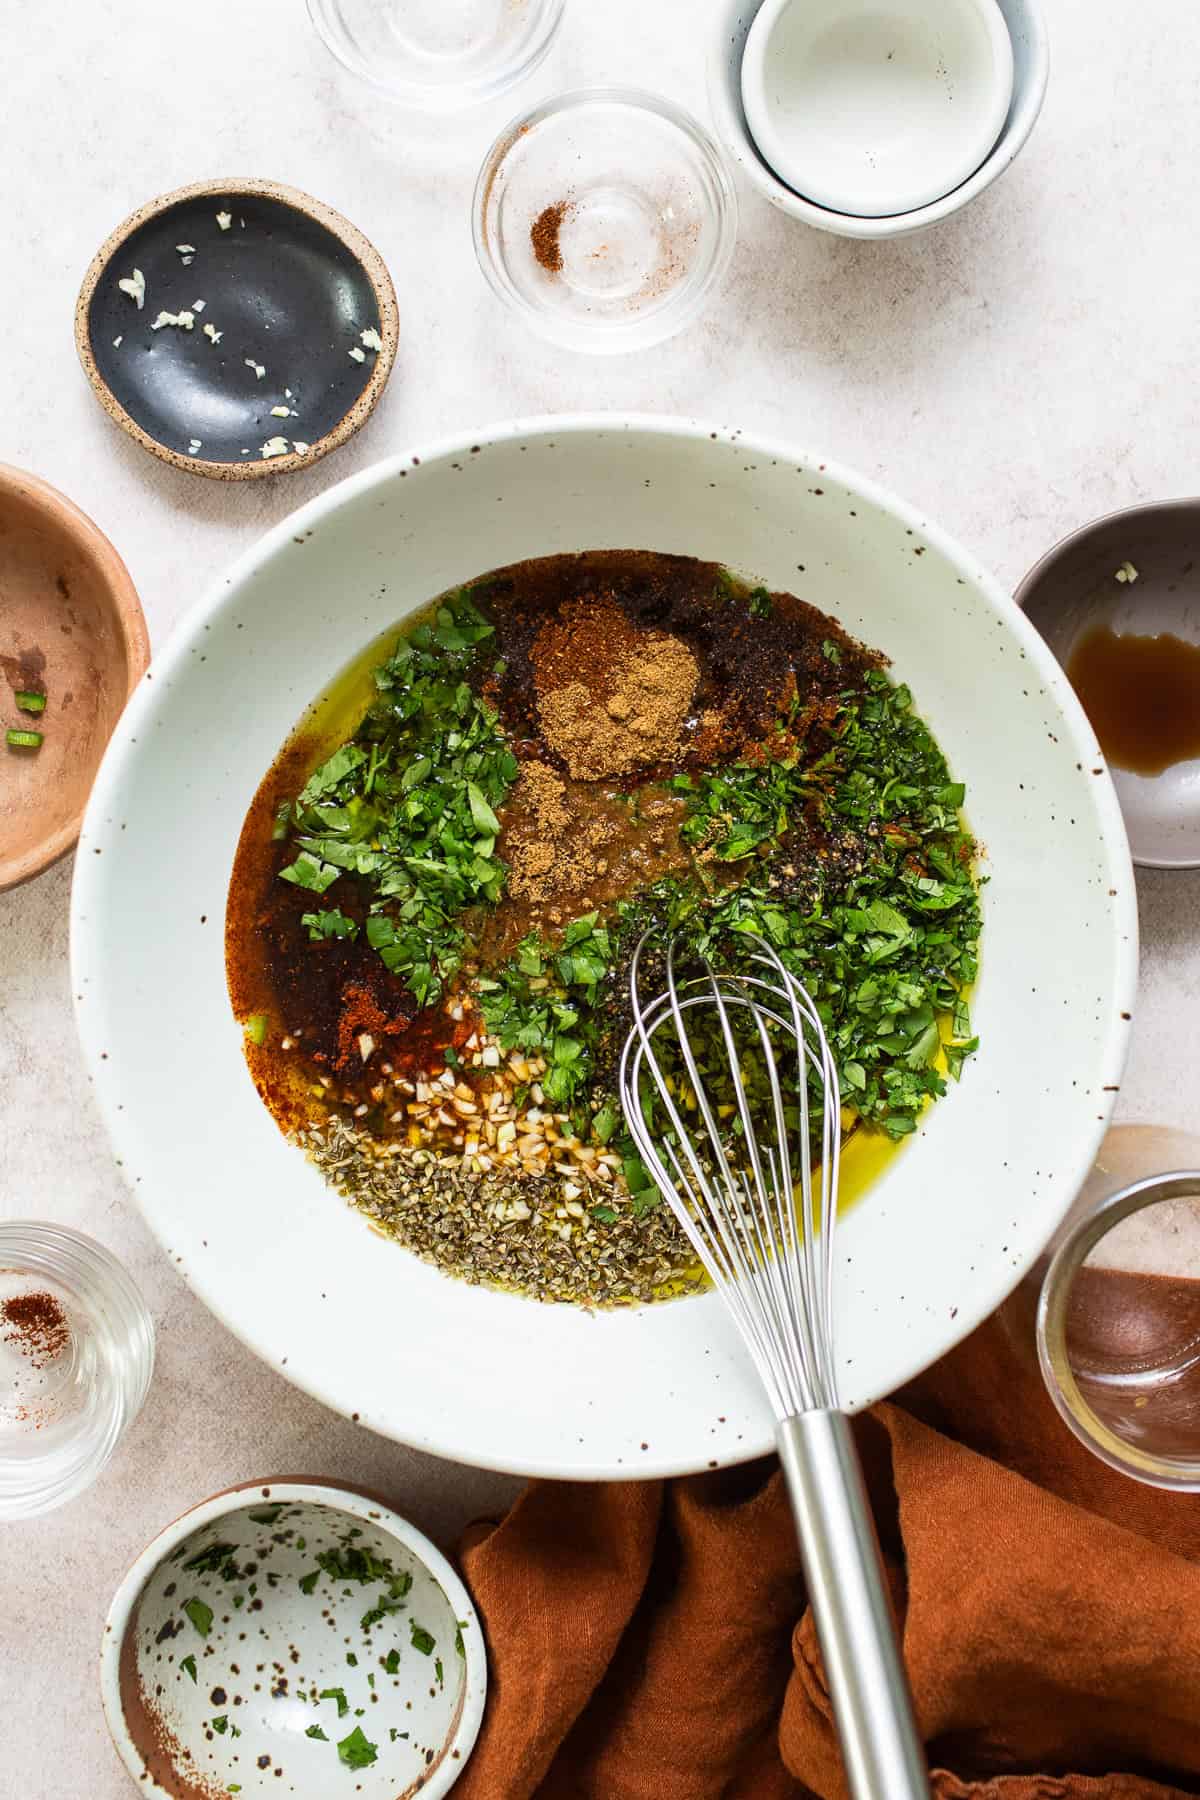
Make the marinade. In a medium bowl, mix together all the ingredients except the steak until fully combined.
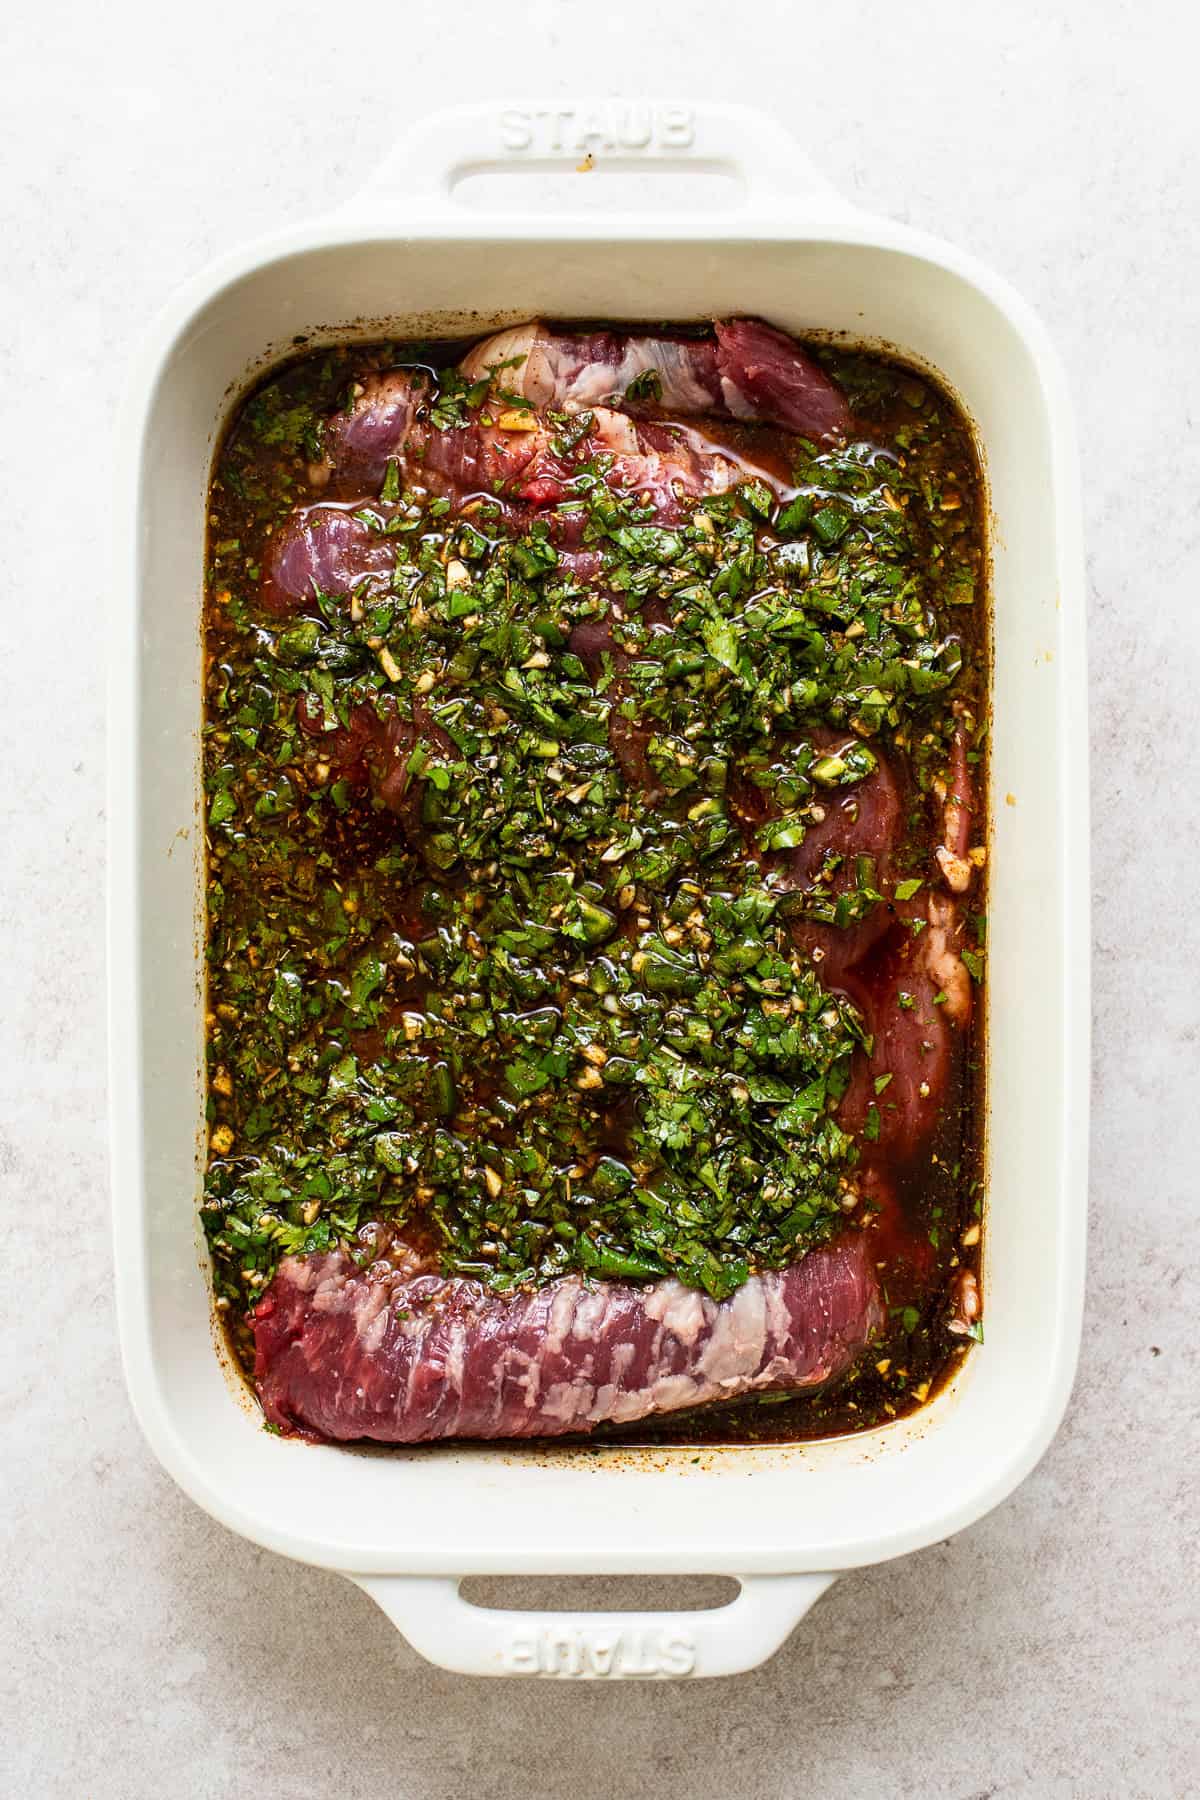
Place the steak in a large ziplock bag or a deep baking dish and pour the marinade on top. Massage the marinade into the steak until its evenly coated.
Marinate the steak in the refrigerator for at least two hours but no longer than 8 hours.
Prepare the steak by removing it from the marinade and patting it dry with paper towels. Lightly drizzle the steak with olive oil and lightly season with more kosher salt and fresh ground black pepper.
Preheat the grill for direct heat grilling at high heat (450-500°F).
Grill the steaks with the lid closed for 4 minutes on each side if using skirt steak or 7-8 minutes if using flank steak. For a medium-rare steak, cook until the internal temperature reaches 135°F.
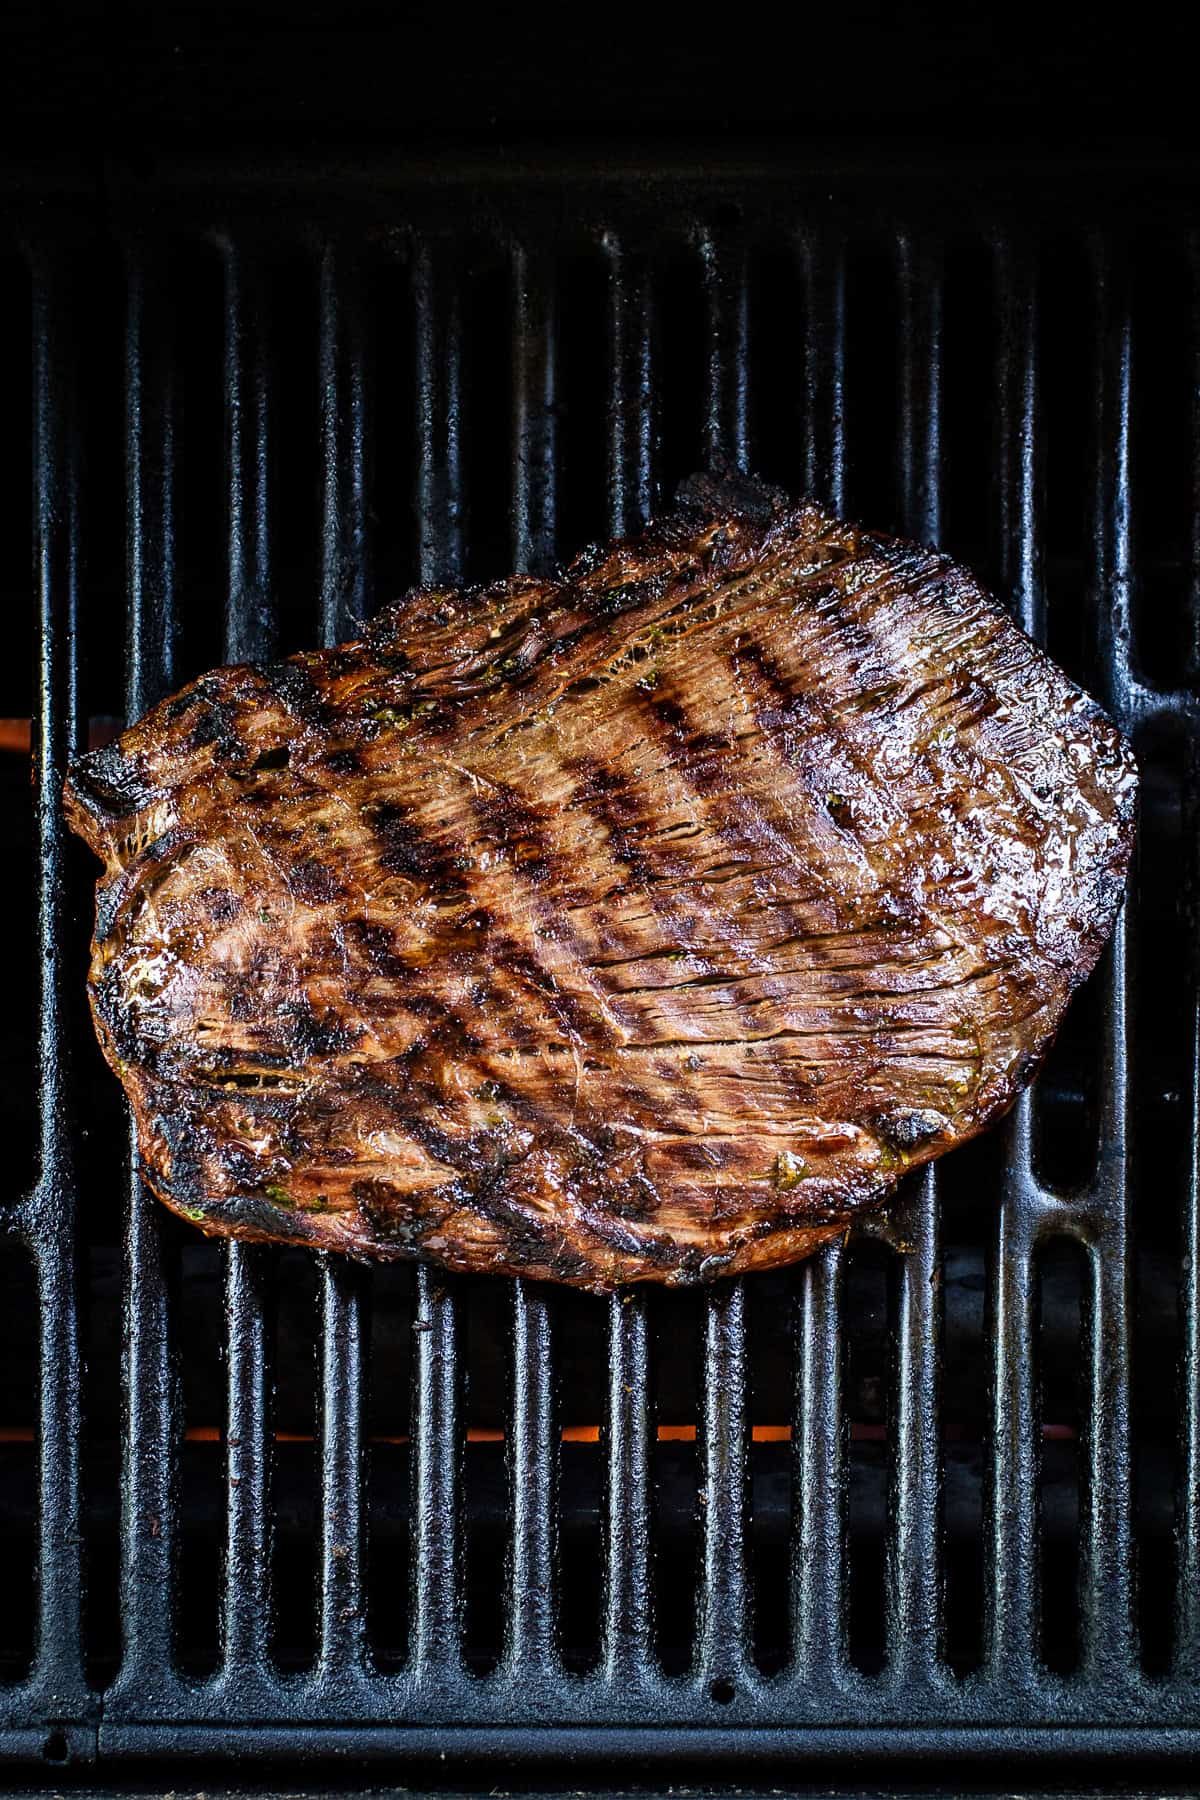
Rest the steak for 5-10 minutes to seal the juices.
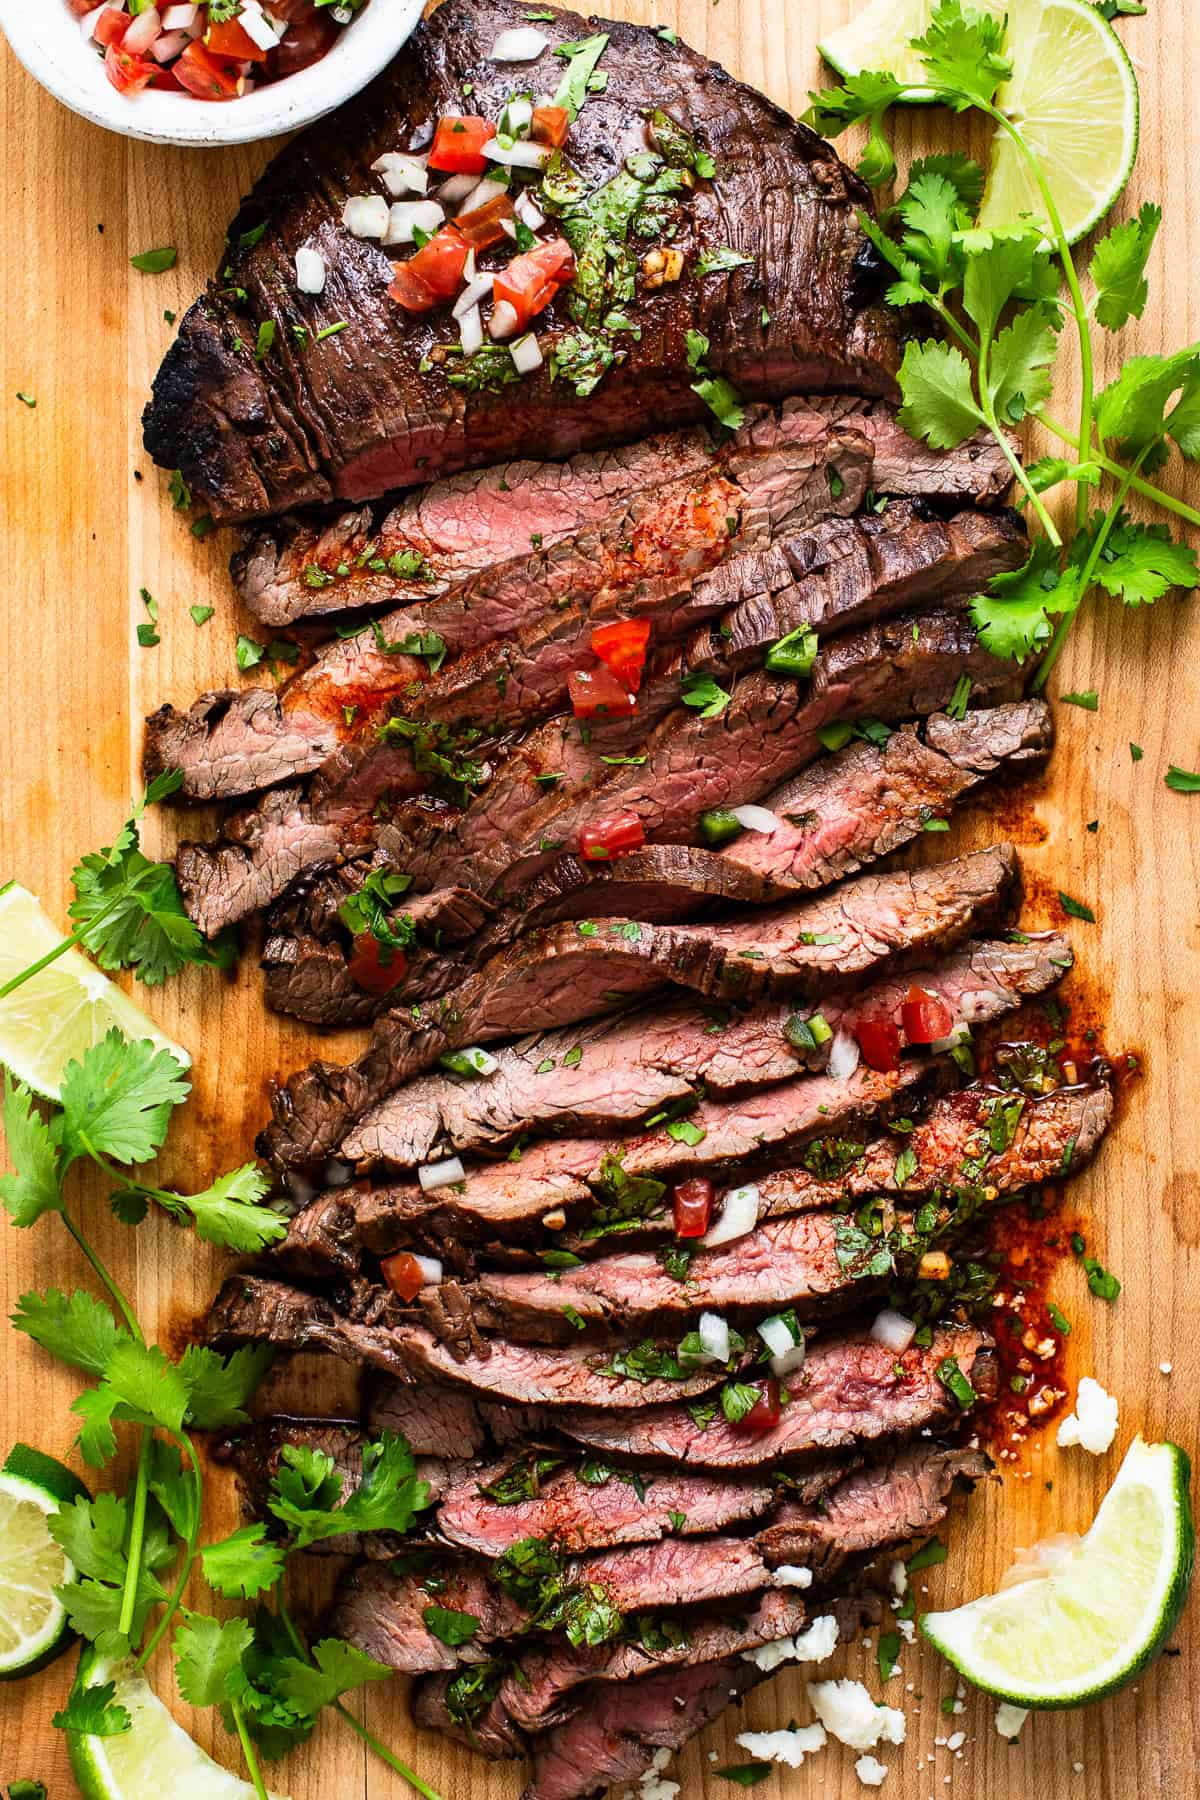
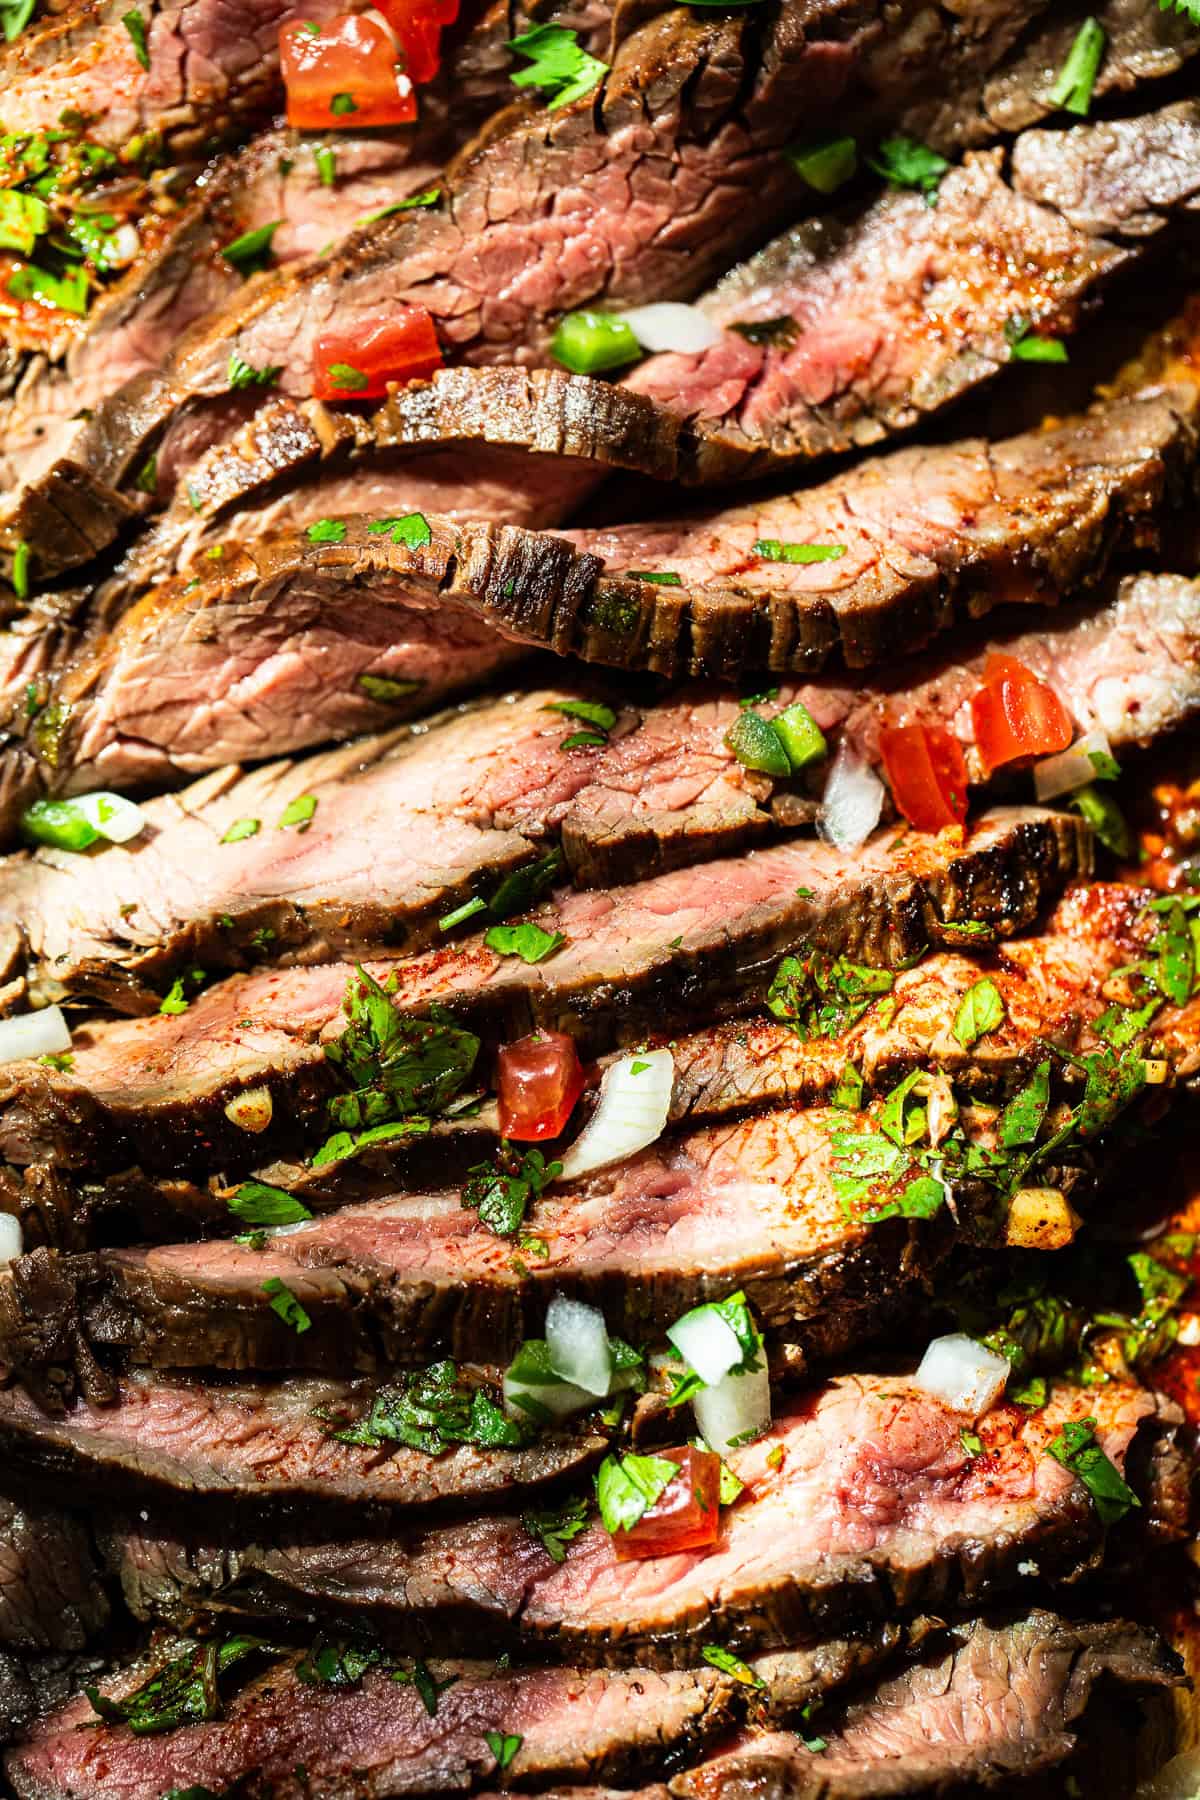
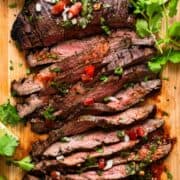
Slice thinly against the grain and serve immediately as tacos, nachos, burritos, or as a main dish with your favorite sides.
Recipe Tips
- Steak temperature. I prefer my steak medium rare, which is about 135°F. I love using a meat thermometer for cooking, especially grilling, since it takes the guesswork out of it. Feel free to cook your steak to your liking.
- Preheat the grill. Make sure the grill is very hot before you start grilling your steak so that it gets a great crust and sear marks.
- Save some marinade. While the steak is grilling, you can brush it with some reserved marinade for some extra flavor.
- Make sure to slice the steak against the grain for the most tender carne asada. To slice against the grain, make note of which way the muscle fibers of the meat are running, then slice perpendicular to those lines.
- Don’t have a grill? If you don’t have a grill or it’s not grilling season, you can easily make this recipe indoors using a grill pan or cast iron skillet. Cook the meat for 6-8 minutes per side over high heat until your desired level of doneness is reached. Just make sure to turn on your stovetop’s vent hood or ope a window to get rid of any excess smoke that can happen when cooking at high heat.
How to Serve Carne Asada
Carne Asada is the ultimate Mexican barbeque main dish. It’s super versatile and pairs well with lots of great recipes. Here are some suggestions:
- Elotes or esquites
- Roasted corn salsa
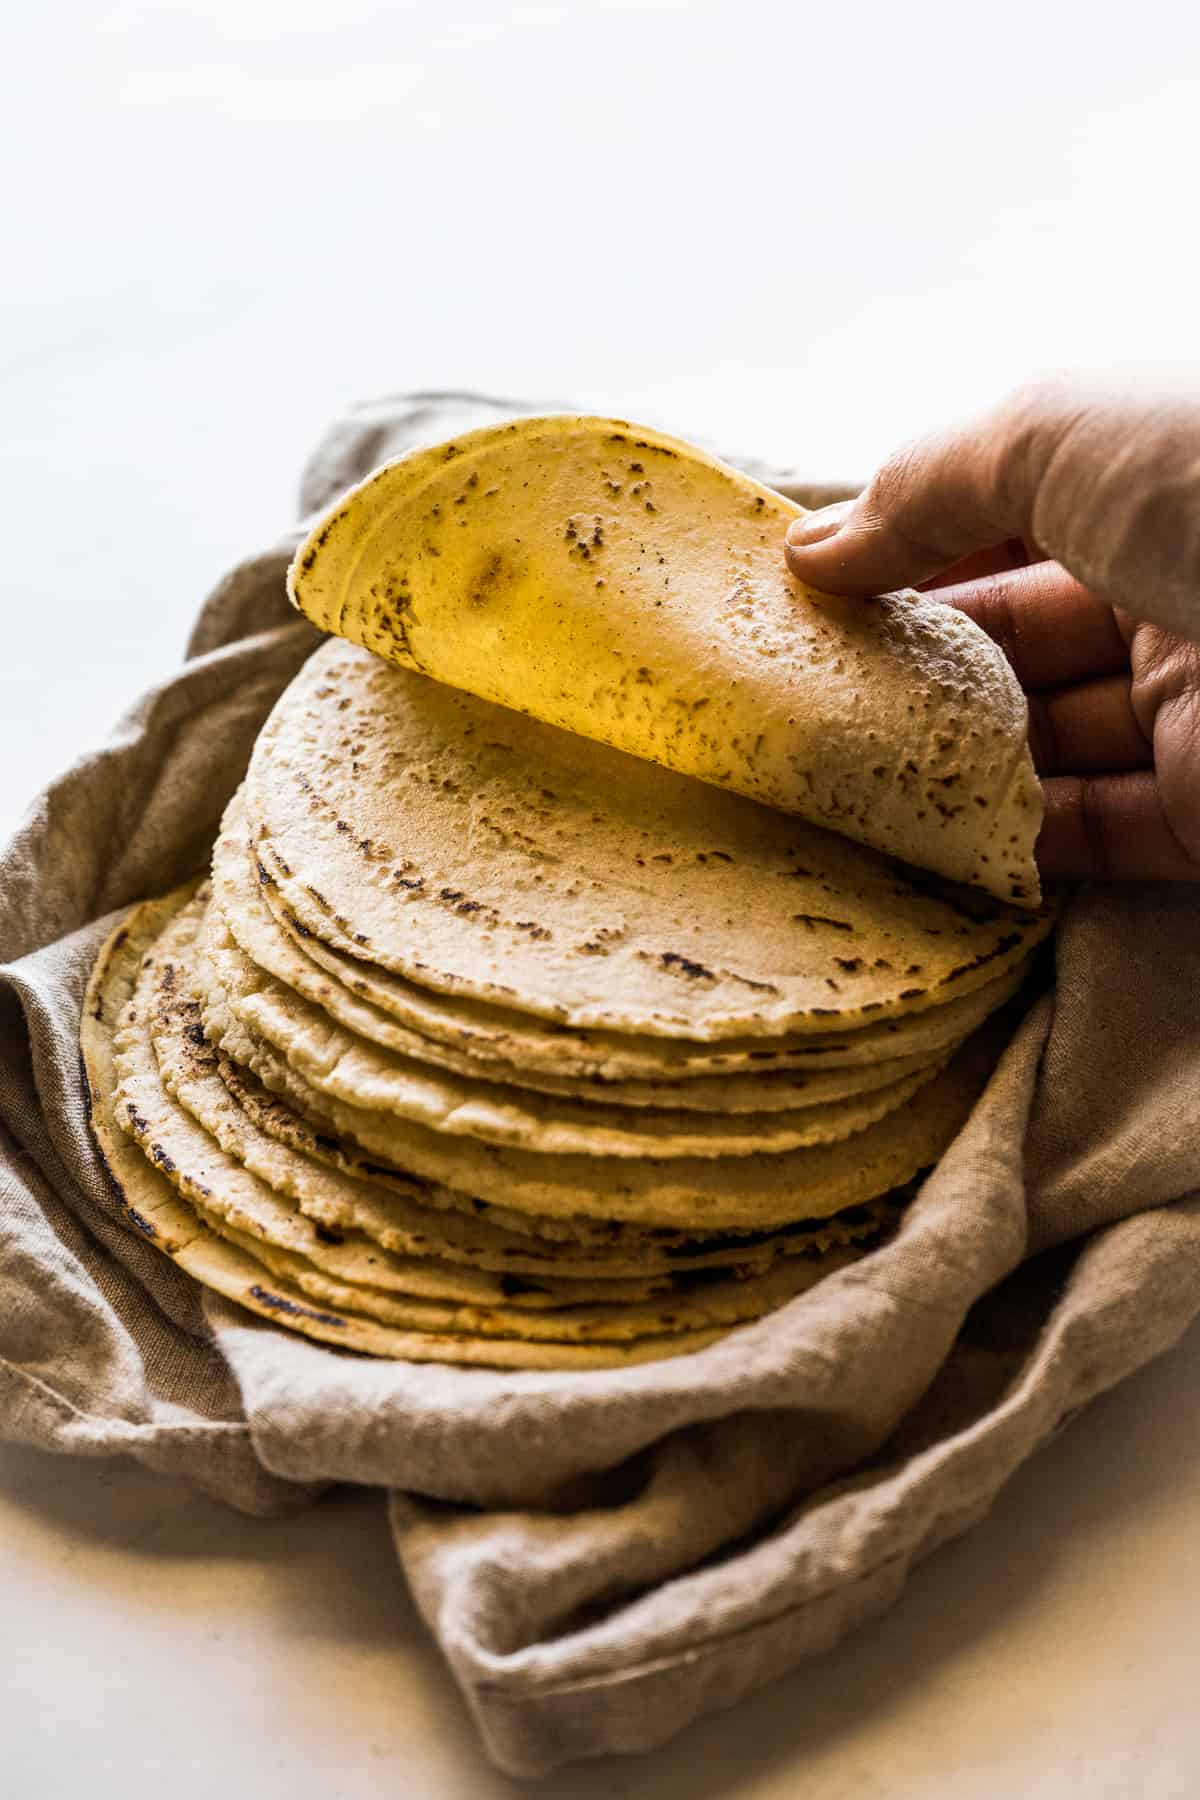
- Corn tortillas and salsa Mexicana
- Authentic Mexican rice and charro beans
Storing and Reheating
Leftover carne asada can be stored in an airtight container in the refrigerator for up to 3 days.
To reheat, heat it in a hot skillet on the stove or in the microwave for 1 to 3 minutes, flipping it over halfway through so that it heats evenly.
More Mexican Recipes
If you tried this Carne Asada Recipe or any other recipe on Isabel Eats, don’t forget to rate the recipe and let me know how it went in the comments below! I love hearing about your experience making it!

Carne Asada Recipe
Video
Ingredients
- ½ cup chopped cilantro
- ⅓ cup olive oil, plus more for grilling
- ¼ cup soy sauce
- ¼ cup orange juice (about 1 orange)
- 2 tablespoons lime juice (about 1 lime)
- 2 tablespoons white wine vinegar (apple cider vinegar also works)
- 4 cloves garlic, minced
- 1 jalapeño pepper, seeded and minced
- 2 teaspoons chili powder
- 1 teaspoon ground cumin
- 1 teaspoon dried Mexican oregano
- 1 teaspoon ancho chili powder
- 1 teaspoon kosher salt, plus more for grilling
- ¼ teaspoon freshly ground black pepper, plus more for grilling
- 2 pounds flank steak or skirt steak, excess fat removed
Instructions
- In a medium bowl, whisk together all of the ingredients except for the steak. Set aside ¼ cup of the marinade and refrigerate for later use.
- Place the steak in a large baking dish or Ziploc bag and pour the marinade on top. Turn the steak a few times until it’s completely coated with the marinade and refrigerate for 2 to 4 hours. Do not marinate for longer than 8 hours because the meat will start to break down and get mushy.
- Remove the steak from the marinade and discard any excess liquid. Pat the steak dry and drizzle with a touch of olive oil, just enough to coat each side. Season lightly with salt and black pepper on both sides.
- Preheat the grill for direct heat grilling at high heat (450-500°F). Grill steaks with the lid closed for 4-8 minutes per side, depending on the thickness. Skirt steak will be closer to 4 minutes per side, and flank steak will be closer to 6-8 minutes per side. If desired, brush the steak with the reserved marinade a few times during the grilling process for extra flavor.
- Remove steaks and allow to rest for 5 minutes. Slice thinly against the grain and serve.
Notes
- Steak temperature. I prefer my steak medium rare, which is about 135°F. I love using a meat thermometer for cooking, especially grilling, since it takes the guesswork out of it. Feel free to cook your steak to your liking.
- Preheat the grill. Make sure the grill is very hot before you start grilling your steak so that it gets a great crust and sear marks.
Nutrition Information
This post was originally published in June 2018 and has been updated with new photos and more helpful recipe tips.
Photography by Ashley McLaughlin.







Leave a Reply