
This post may contain affiliate links. Please read our disclosure policy.

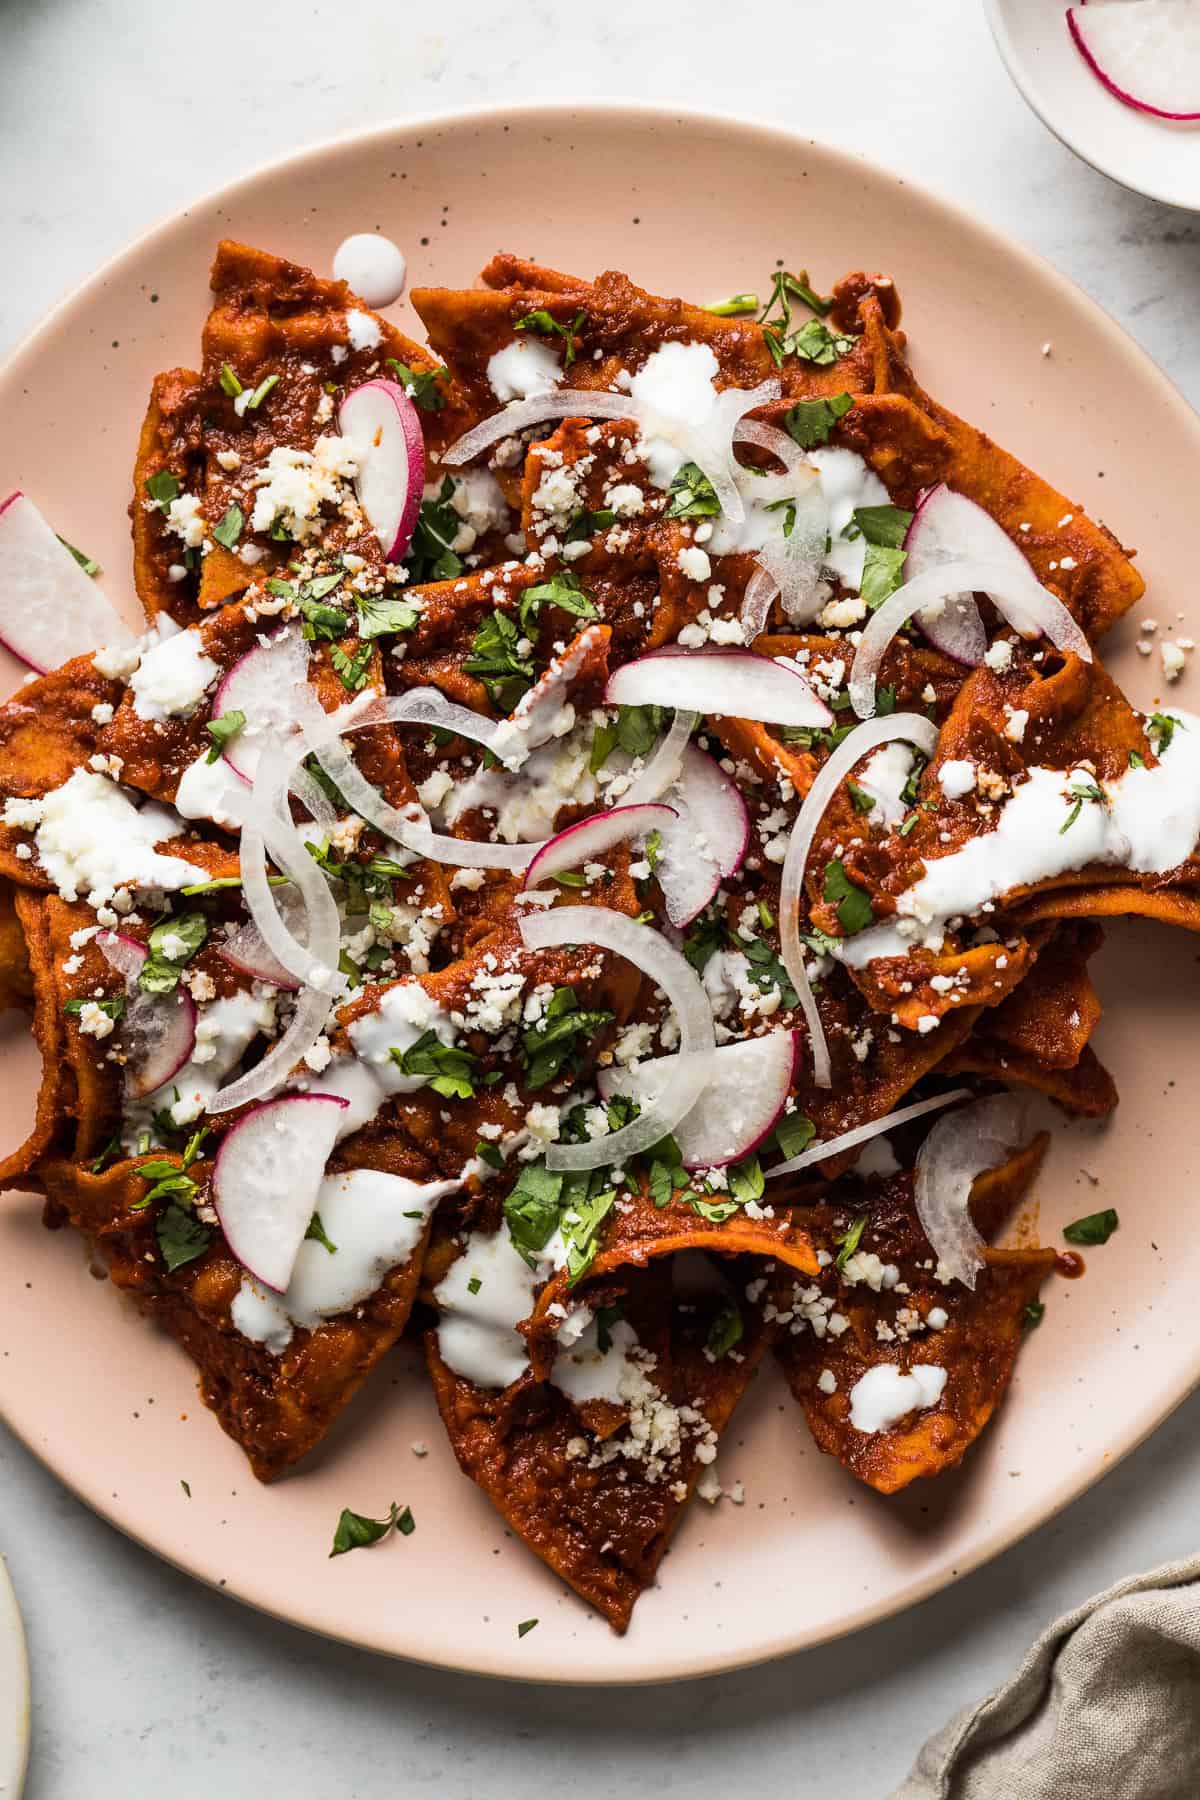
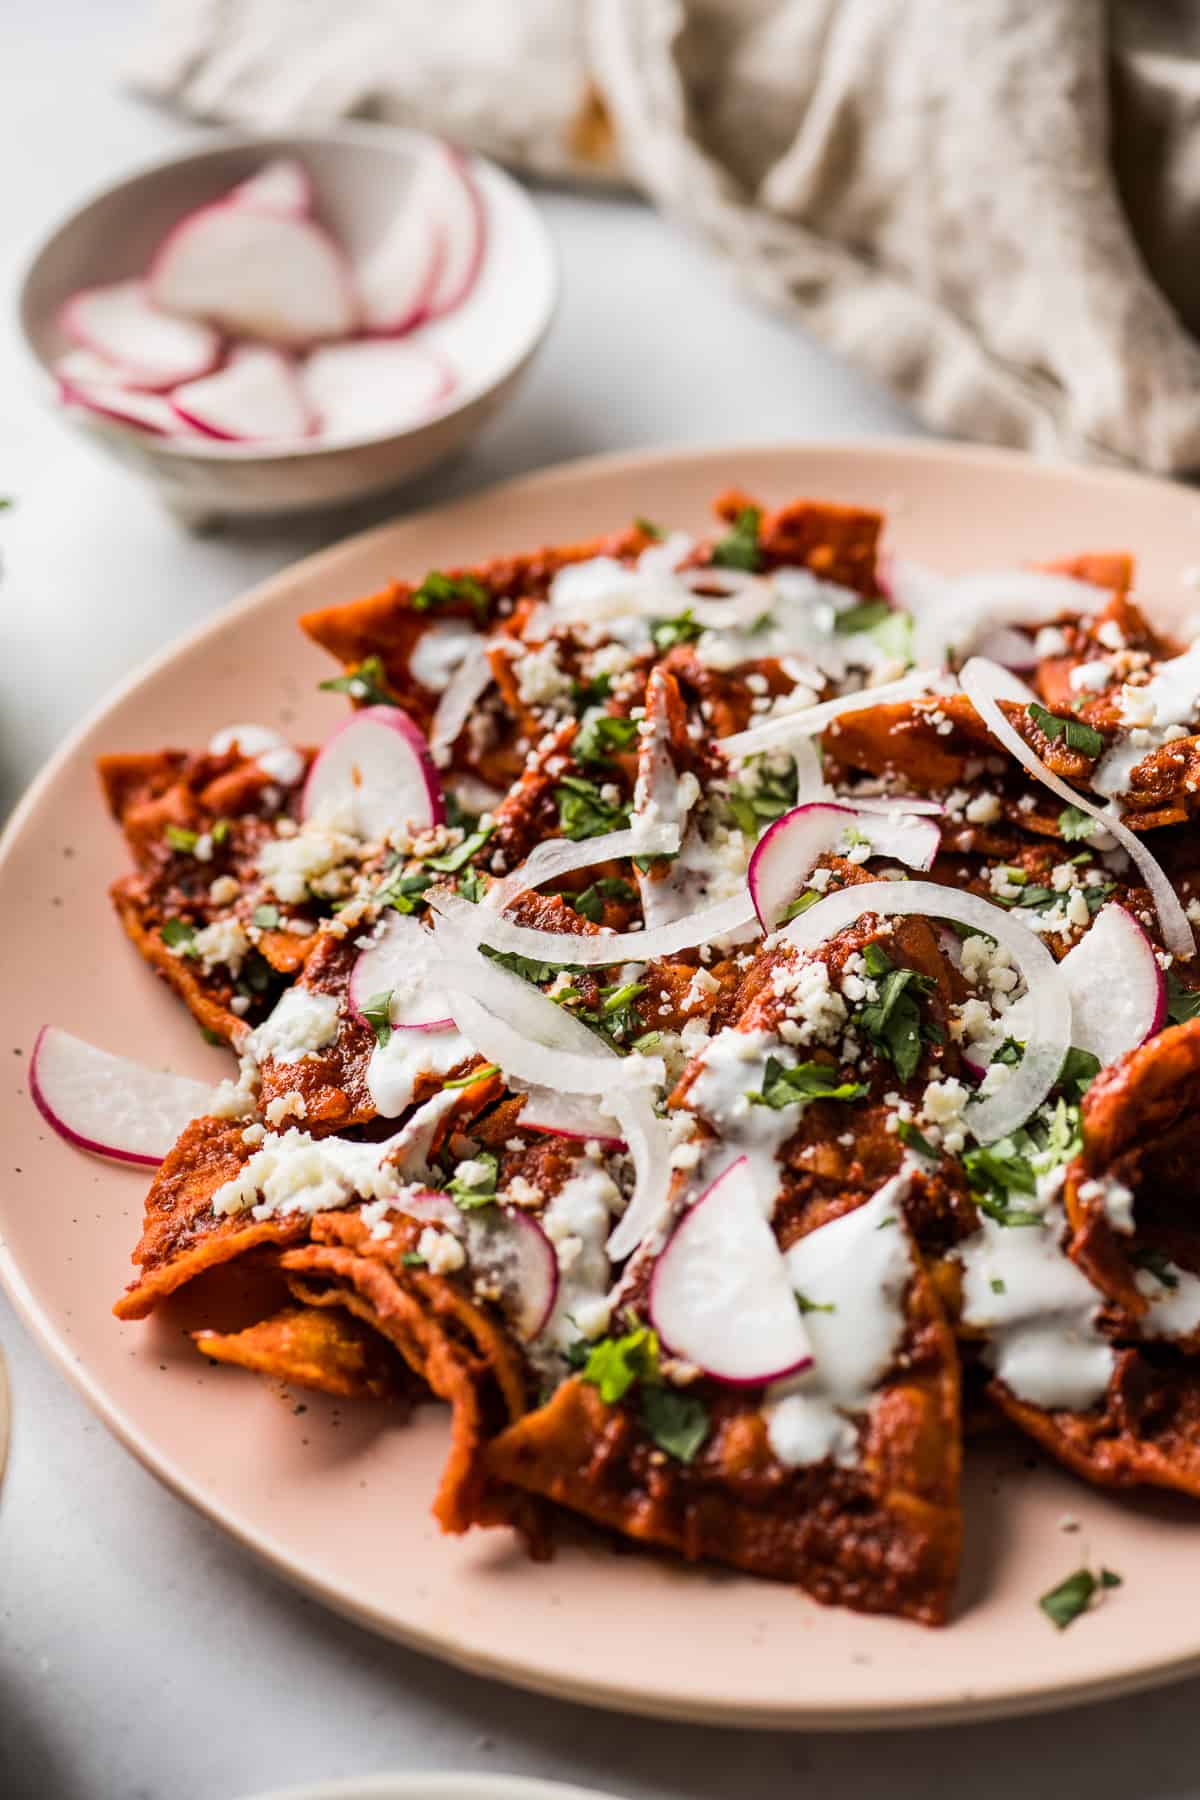
This chilaquiles recipe features crispy corn tortillas tossed in a flavorful salsa roja (red chile sauce) and topped with cheese, Mexican crema, and more! Serve this Mexican comfort food for breakfast or brunch with a fried egg in less than 30 minutes.
What Are Chilaquiles?
Chilaquiles (pronounced “chee-lah-kee-less”) is a popular traditional Mexican dish made from crispy corn tortillas (aka homemade tortilla chips) simmered in a salsa roja or salsa verde (red or green chile sauce).
The dish can be served with a variety of toppings, such as cheese like queso fresco or cotija, refried beans, avocado, Mexican crema or sour cream, and fried eggs.
Chilaquiles are often eaten for breakfast or brunch (similar to migas or Breakfast Tostadas) and can be found in many regions throughout Mexico.
Chilaquiles Rojos vs. Verdes
Chilaquiles are either tossed in a red sauce or green sauce. The red sauce (like in this recipe) is typically made from dried chiles and tomatoes, similar to my authentic enchilada sauce or easy enchilada sauce. The green sauce is made from jalapeños, other green chiles, and tomatillos, similar to a salsa verde.
This recipe post shows you how to make the most popular of the two types, chilaquiles rojos. Here’s a recipe for chilaquiles verdes.

Chilaquiles Ingredients
- Corn tortillas: For making homemade tortilla chips. I recommend using high-quality, sturdy corn tortillas that hold their shape while soaking in the sauce.
- Oil: Use any neutral-tasting oil used for frying. Canola, avocado, or any vegetable oil works perfectly.
- Dried chiles: You’ll need guajillo and arbol chiles. These simple chiles add lots of great smoky flavor with a touch of spice.
- Tomato, onion, and garlic: These ingredients add more flavor to the guajillo and arbol red chile sauce.
How to Make Chilaquiles
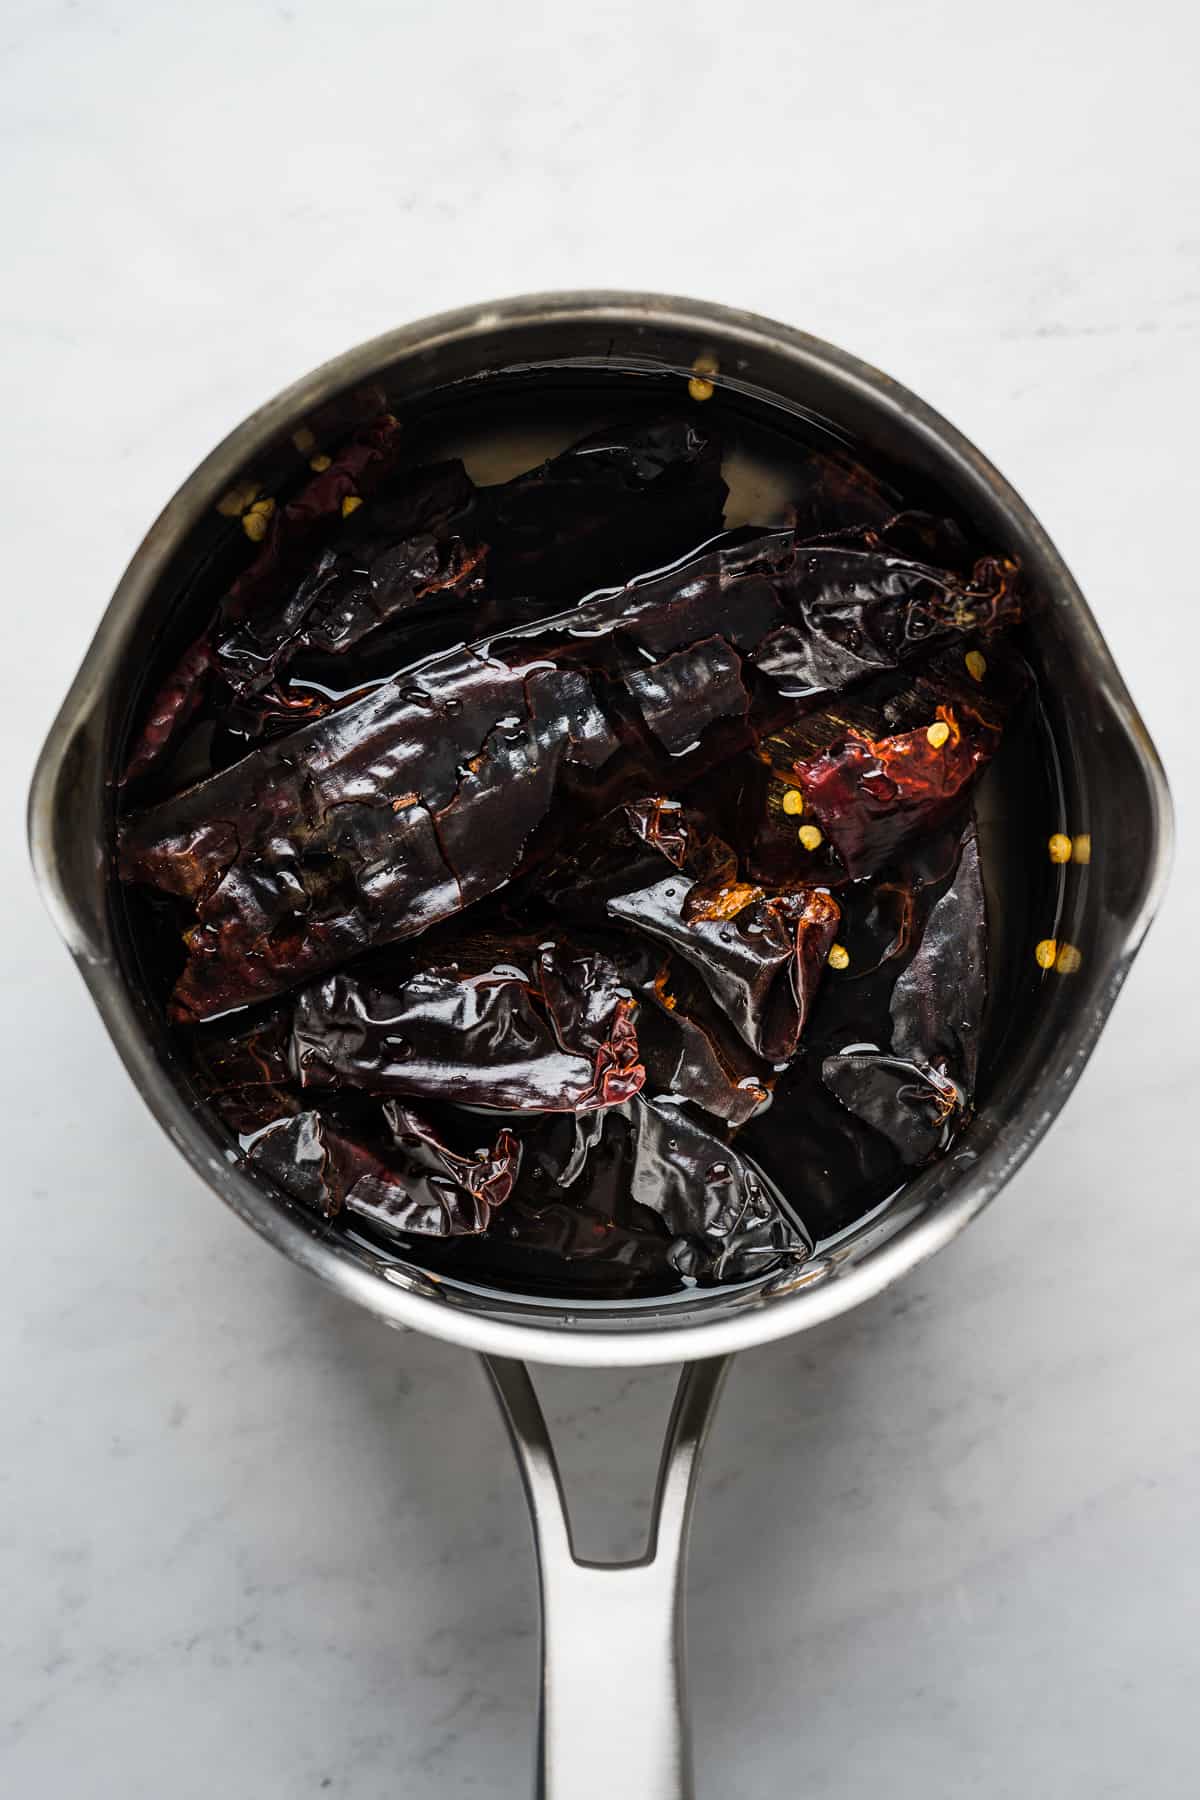
Soften and rehydrate the dried chiles in a pot of boiling water over high heat. Cover it, and let the chiles soak for 10 minutes.
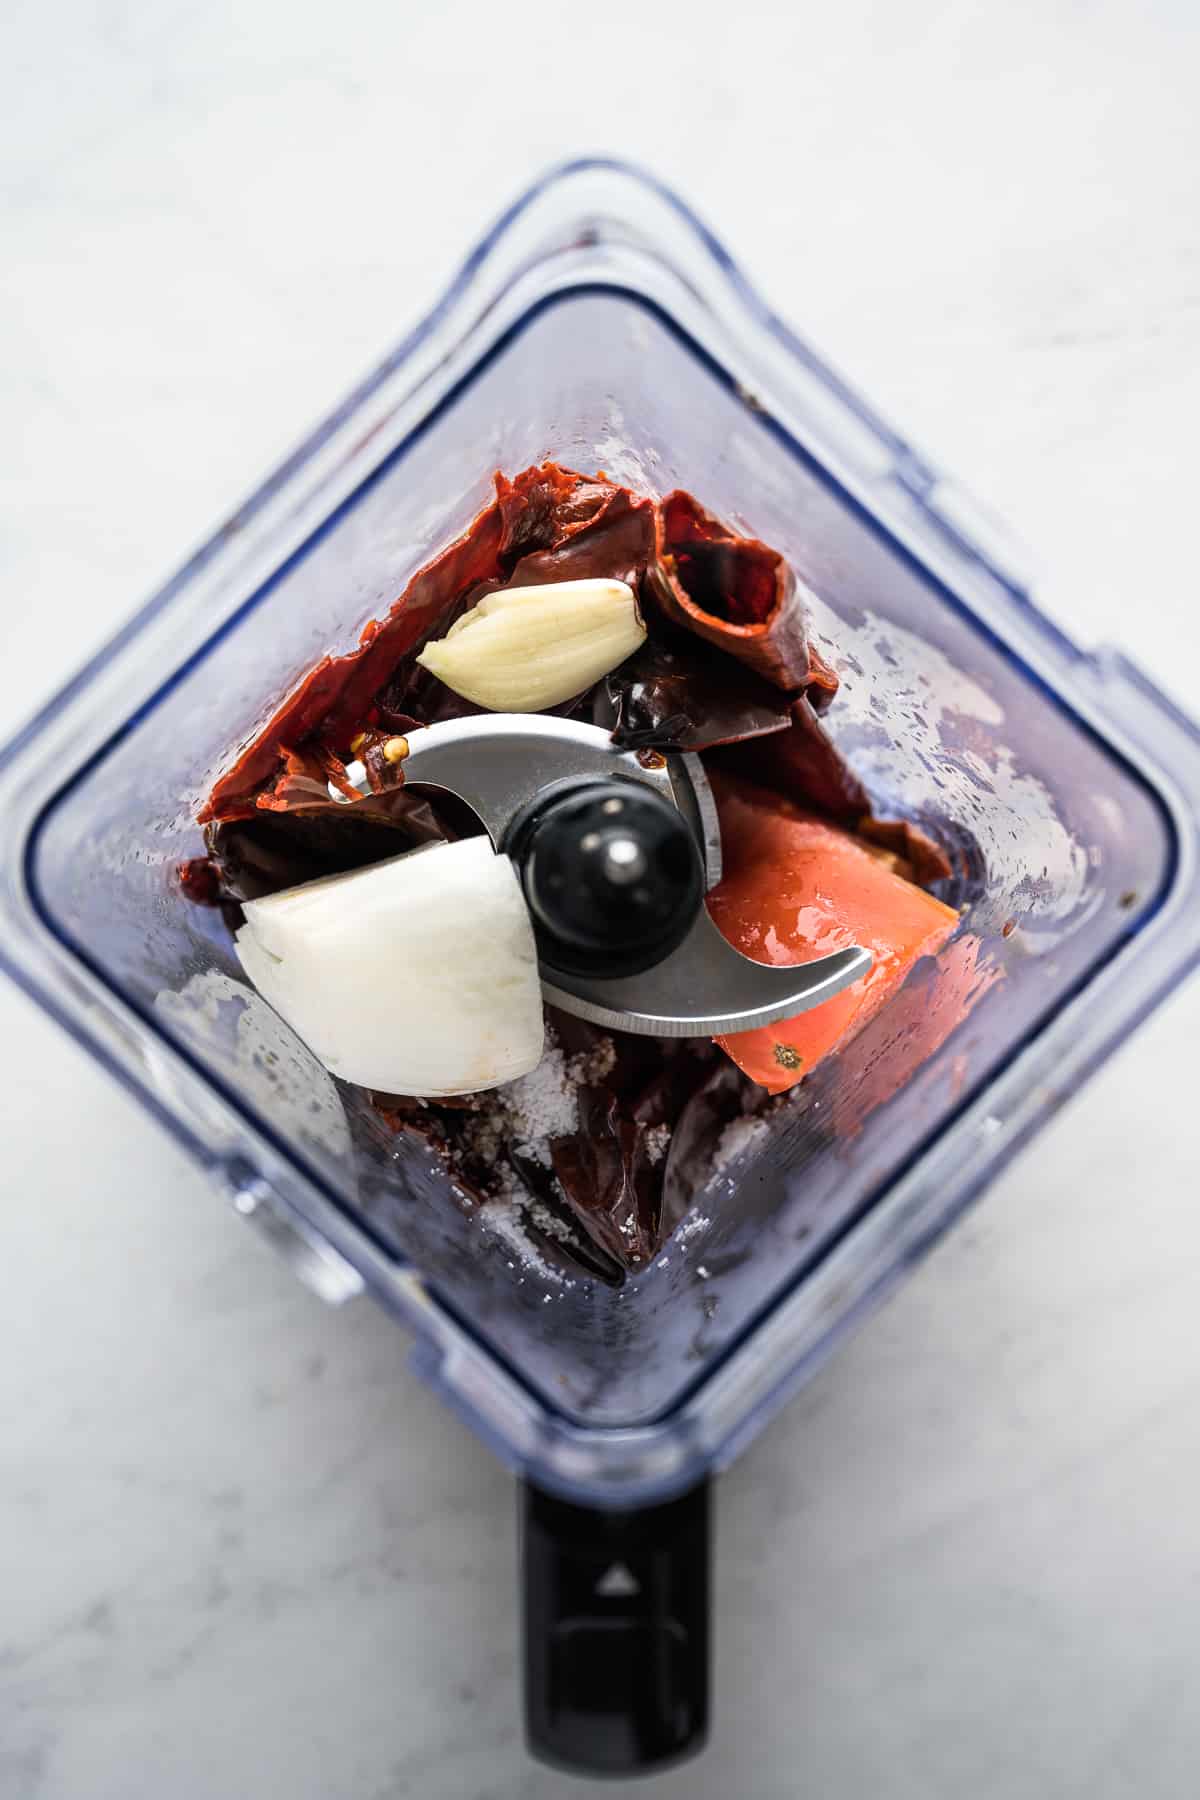
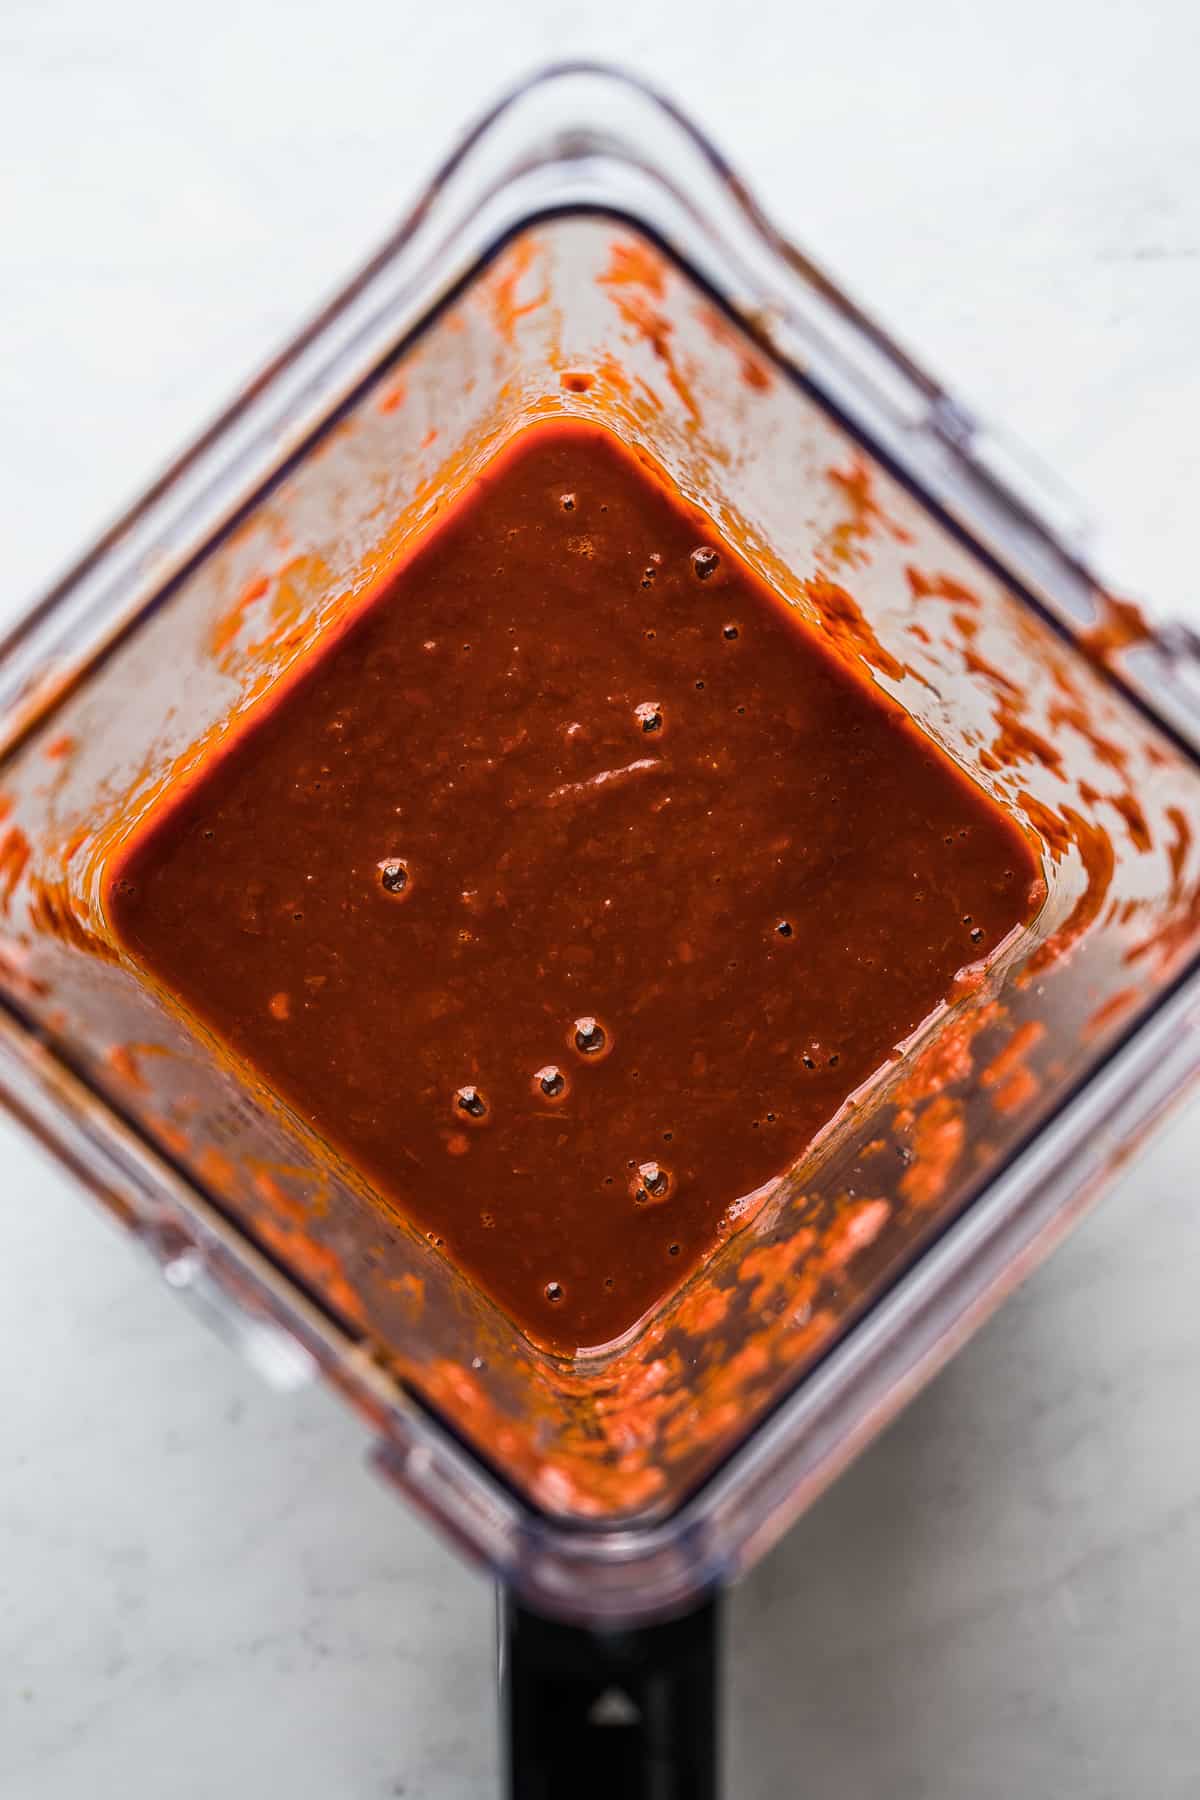
Transfer the chiles to a blender with a slotted spoon. Add the onion, tomato, garlic, salt, and some fresh water, then blend until completely smooth.
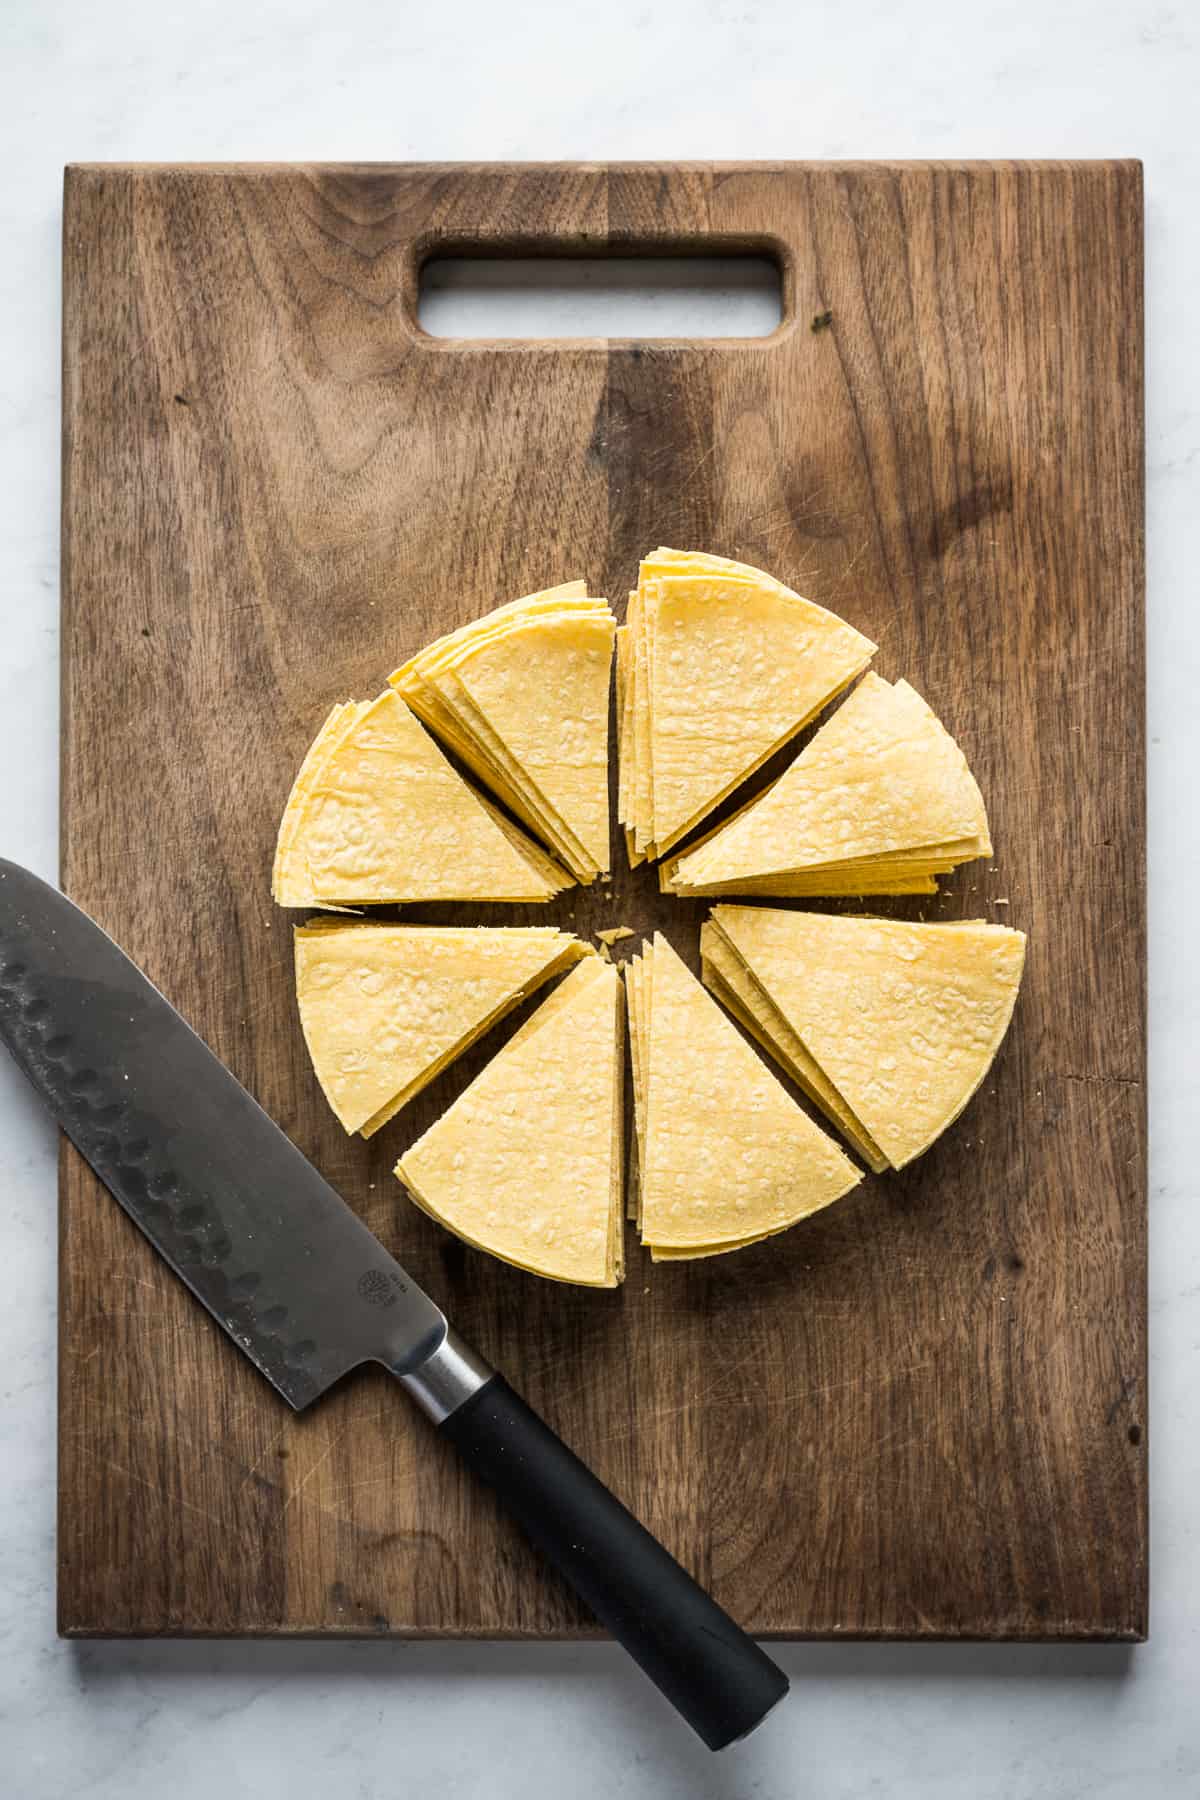
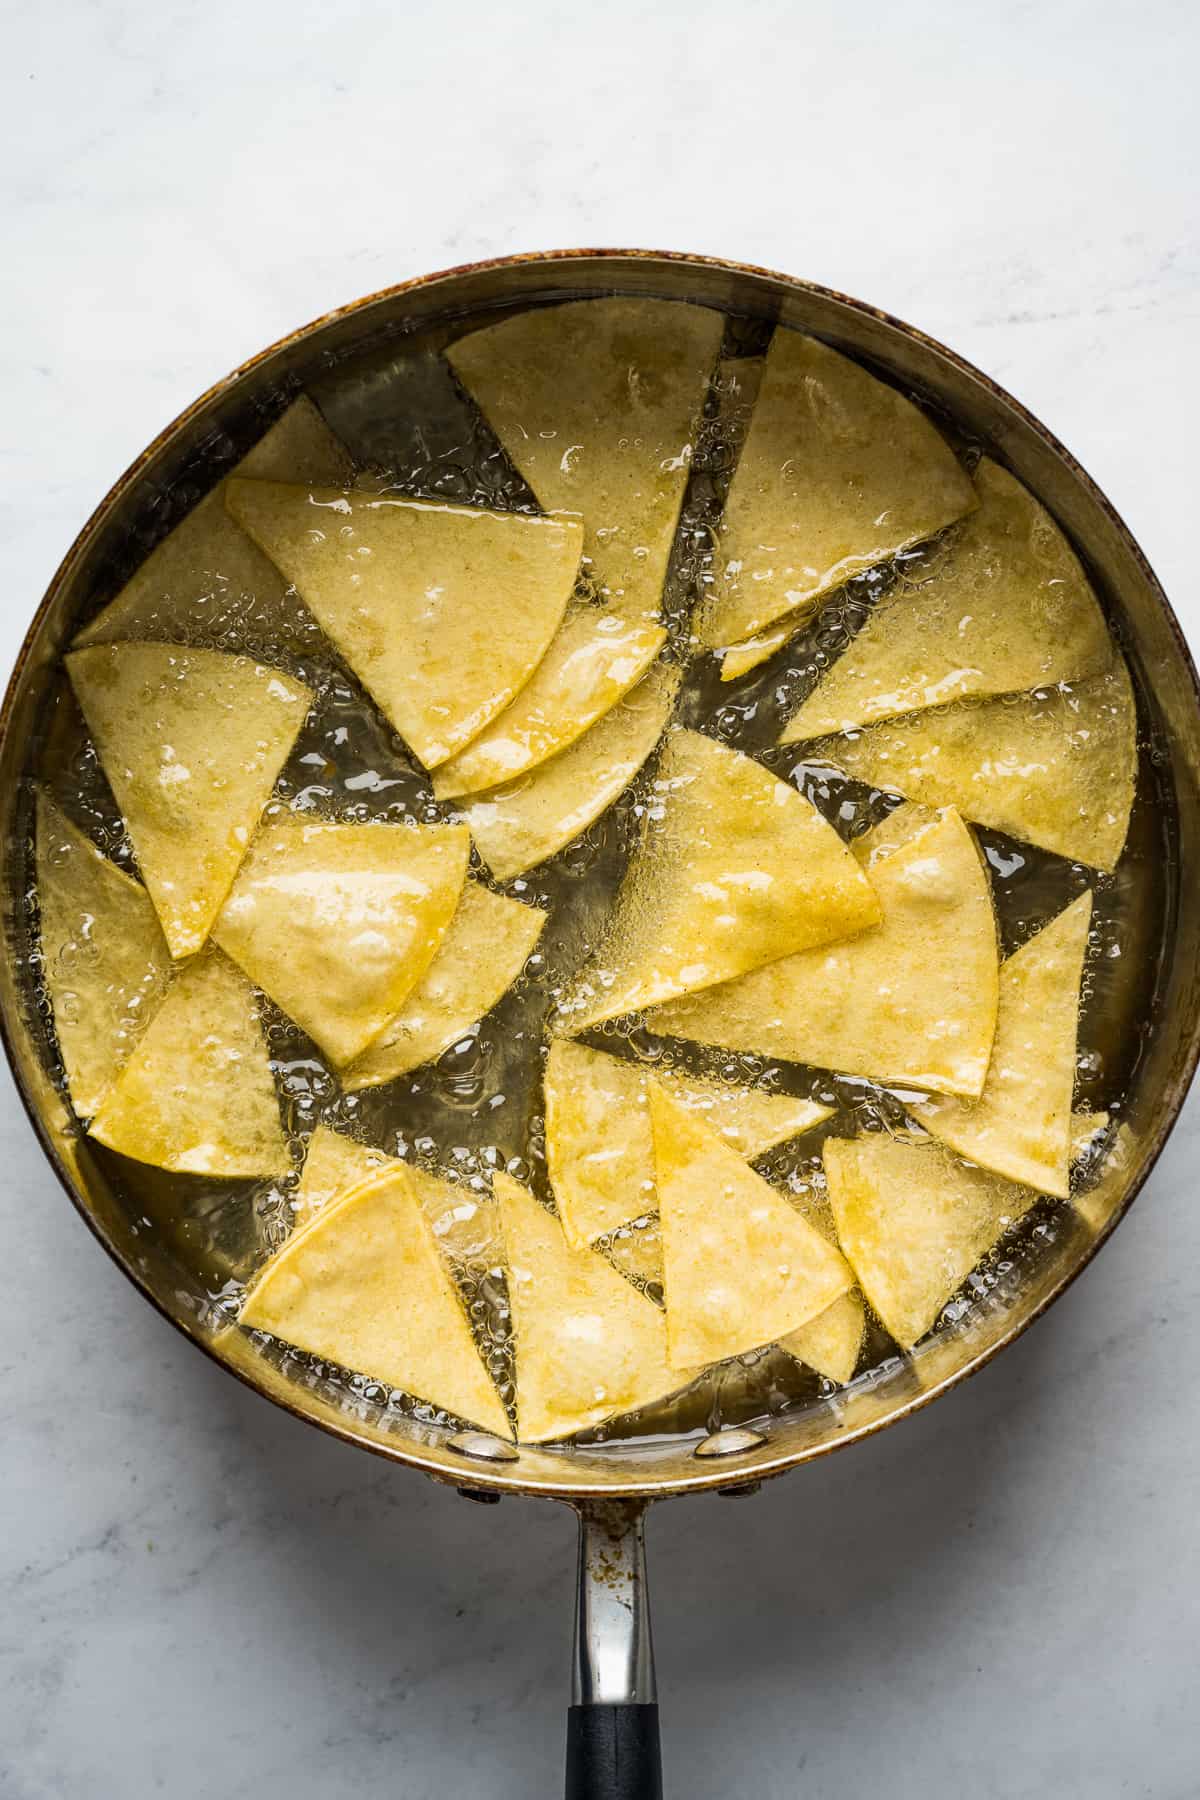
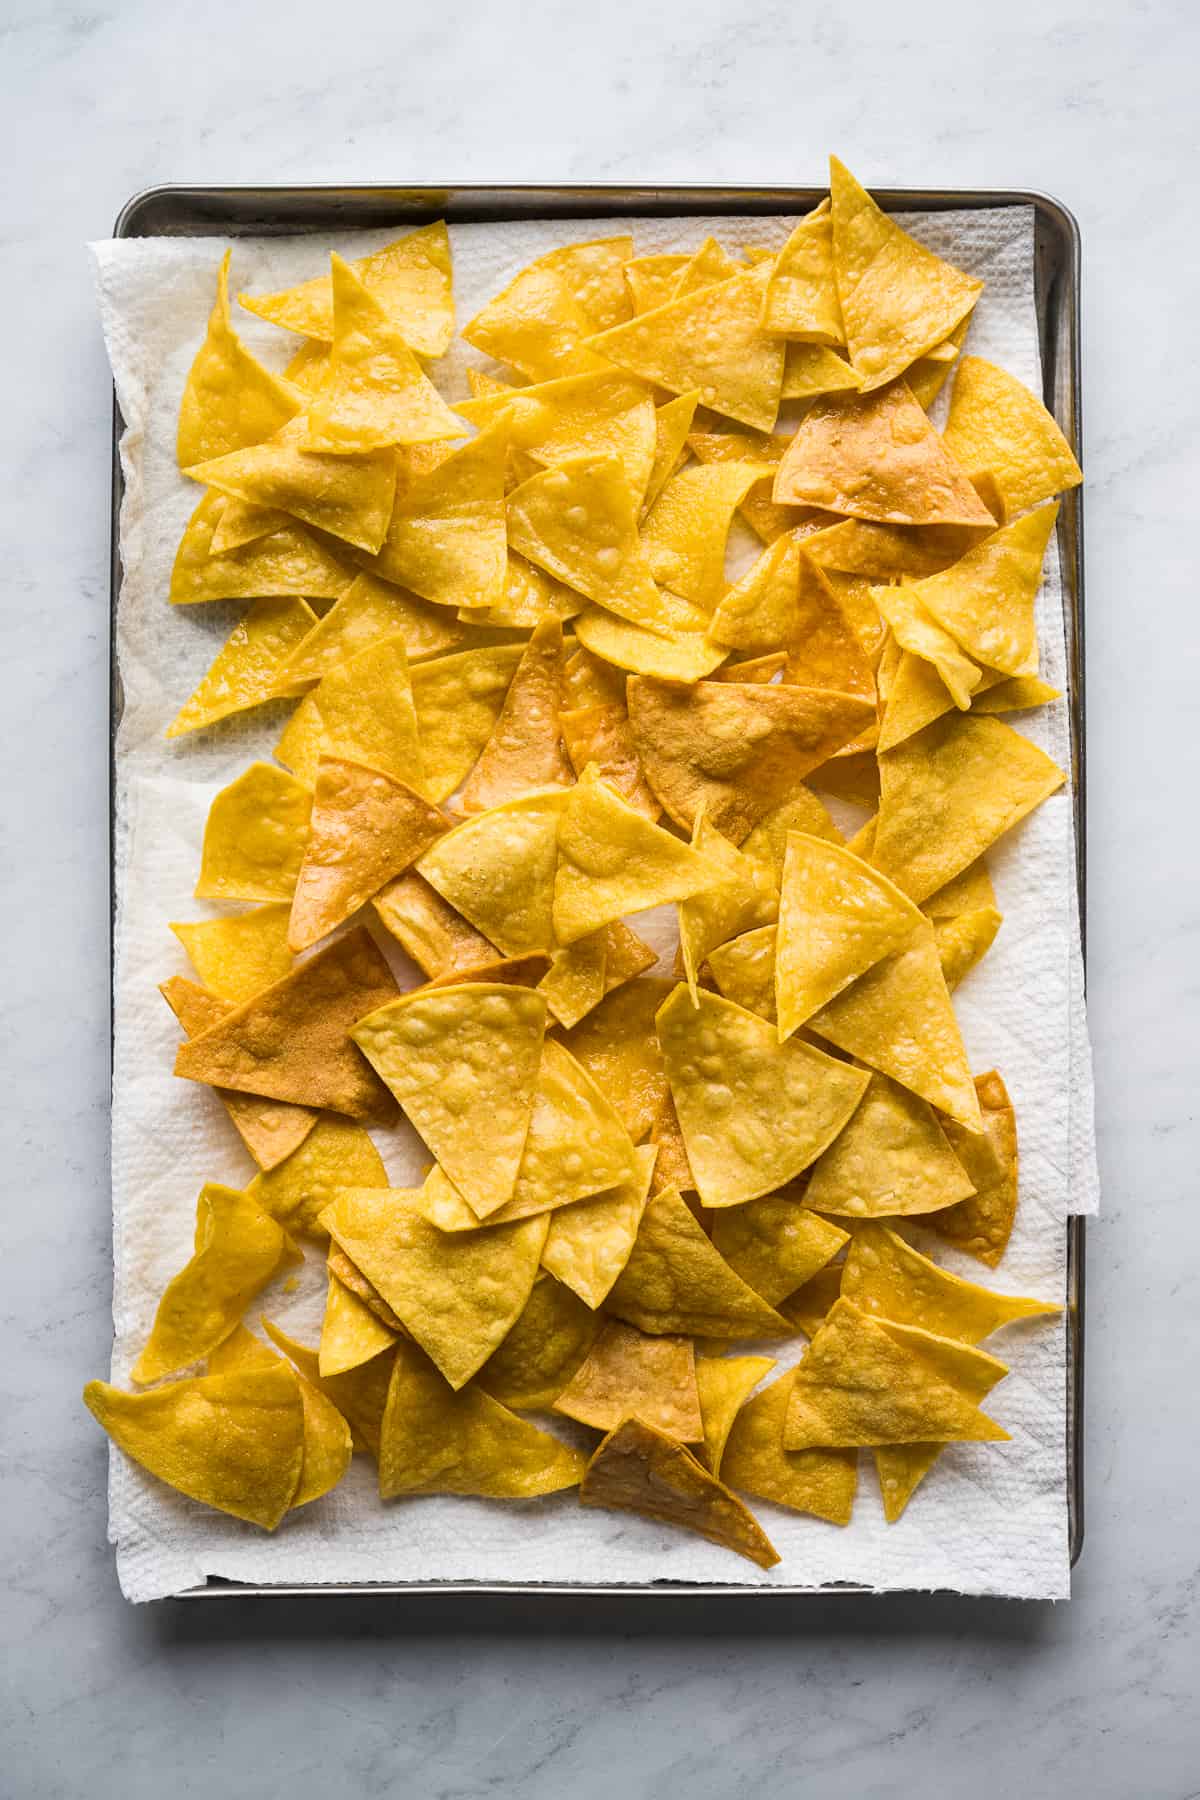
Make the tortilla chips. Stack the tortillas and cut them into eighths, creating small triangles. Fry the tortillas in hot oil, working in batches. Once the tortilla chips are golden brown, transfer them to a baking sheet lined with paper towels to soak up any excess oil.
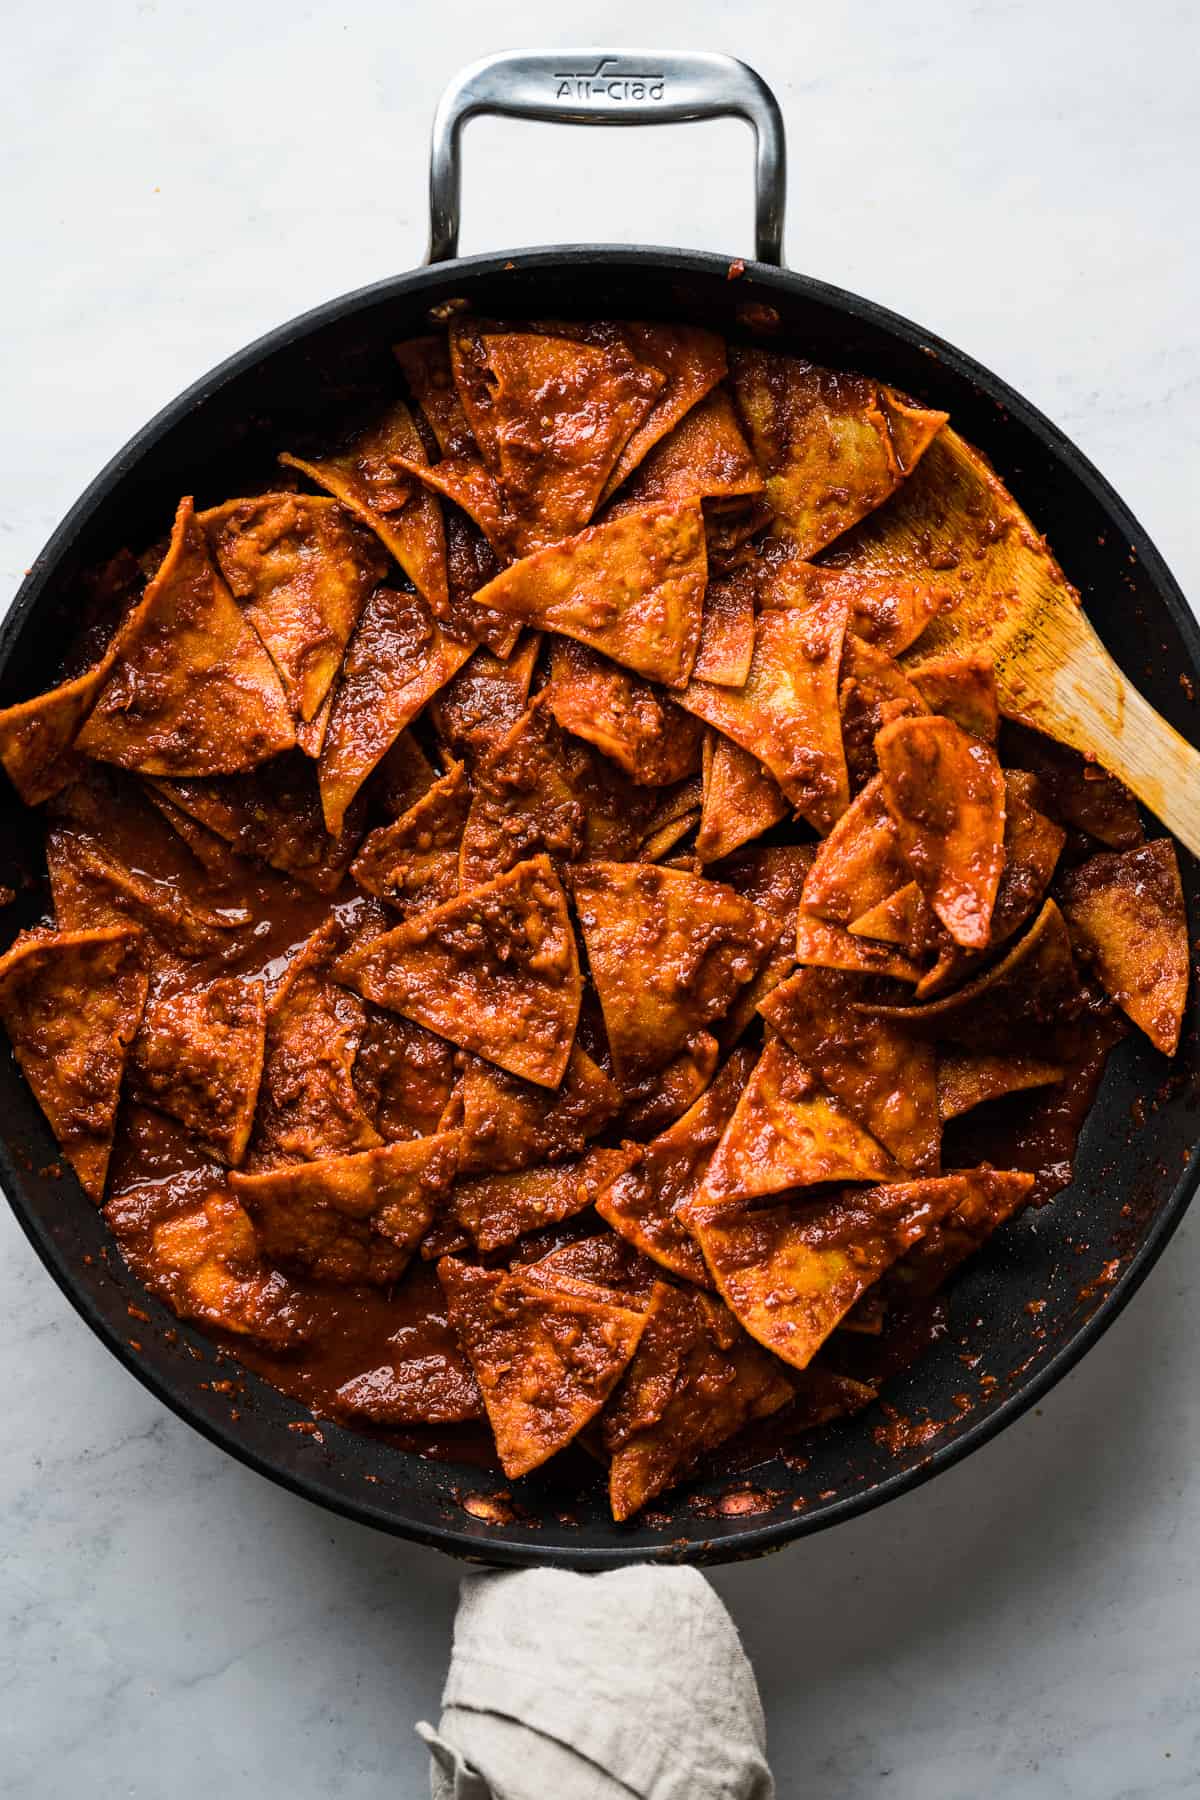
Cook the blended chile sauce in a sauté pan or skillet with a little oil for 3 minutes, stirring occasionally. Remove the pan from the heat, add in the tortilla chips, and gently toss them together to coat.
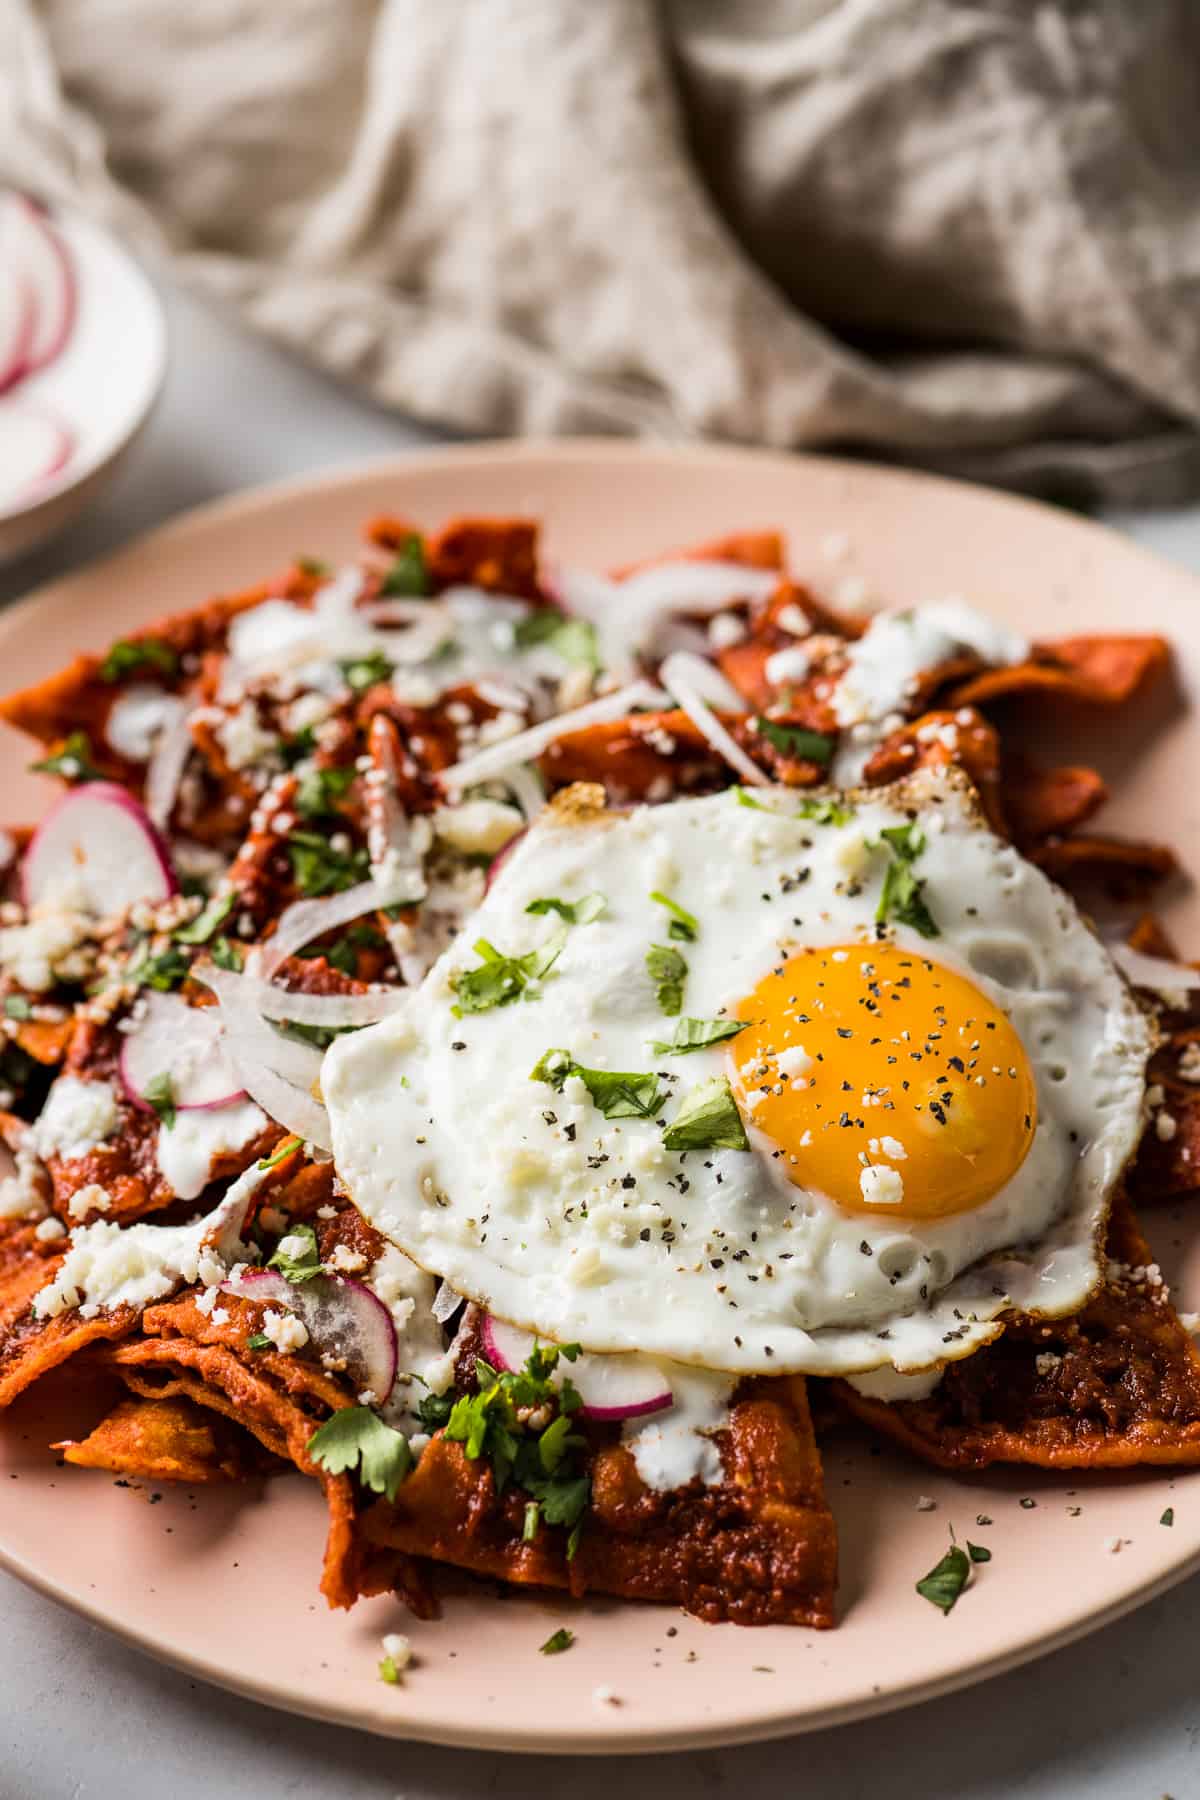
Top the chilaquiles with cotija cheese, thinly sliced onions, radishes, and cilantro. Serve with a fried egg or a side of beans if desired!
Recipe Tips
- Toss to coat. Make sure to toss the tortilla chips into the chile sauce off the heat right before serving so that the chips maintain their shape and don’t get soggy too quickly.
- Strain the sauce. If you can’t seem to get the chile sauce smooth, pour it through a fine mesh strainer to remove any solids.
- Don’t want to make your own chips? Buy thick-cut tortilla chips that are sturdy so they don’t get soggy and turn to mush when in the salsa.
- Don’t have time to make your own sauce? You can use your favorite enchilada sauce in a pinch.
Tortilla Chips for Chilaquiles
While it may take some extra work, I recommend making your own tortilla chips. They have a more robust corn flavor and are extra sturdy, so they won’t turn to mush when you add the salsa.
There are a few options – you can make the classic fried homemade tortilla chips, baked tortilla chips, or air fryer tortilla chips.
If you must use store-bought chips to save time, I recommend thick yellow corn chips to get the closest flavor comparison.
Toppings for Chilaquiles
One of my favorite things about chilaquiles is all the toppings! Here are my must-haves:
- Eggs – sunny-side up or scrambled!
- Lots of cheese – queso fresco, cotija cheese, or your favorite shredded Mexican cheese like Chihuahua or queso Oaxaca are good options.
- Mexican crema, sour cream, or cilantro lime crema
- Thinly sliced onion, radishes, and chopped cilantro
More Mexican Recipes
Chilaquiles
Ingredients
- 9 guajillo chiles, rinsed, stemmed, and seeded
- 2 árbol chiles, rinsed and stemmed (optional)
- Water, as needed
- 1 Roma tomato
- 1 clove garlic
- ¼ medium white onion
- 1 ½ teaspoons kosher salt, plus more as needed
- 12 corn tortillas
- 1 ½ teaspoons vegetable oil, plus more for frying
For serving
- Cotija cheese
- Chopped cilantro
- Thinly sliced white onions
- Mexican crema or sour cream
- Fried eggs
Instructions
- In a medium pot, add the guajillo chiles, árbol chiles, and enough water to completely cover them. Bring to a boil over high heat. Remove the pot from the heat, cover, and let the chiles soak for 10 minutes to soften.
- Using a slotted spoon, transfer the softened chiles to a blender. Add 1 ½ cups fresh water, the tomato, garlic, onion, and salt. Blend until completely smooth. If the sauce is not smooth, strain it through a fine mesh sieve to remove any solids.
- Stack the corn tortillas on top of each other and cut them into eighths to create small triangle wedges. Line a large plate with paper towels and set it aside.
- Fill a large sauté pan or deep skillet with about 2 inches of oil and heat over medium-high heat until the temperature reaches at least 350°F. (To test, drop a small piece of tortilla in the oil. If it sizzles, it's ready.)
- Working in batches, add half of the tortillas and fry for 8 minutes, stirring every minute or so, until they are crispy. Transfer them to the lined plate to drain and repeat the frying process with the remaining tortilla wedges.
- In a separate sauté pan or skillet, heat 1 ½ teaspoons of vegetable oil. Pour in the salsa roja and cook for 3 minutes, stirring occasionally.
- Remove the pan from the heat and add in the fried tortilla chips. Gently toss them together to coat.
- Serve immediately and garnish with cotija cheese, cilantro, onions, and Mexican crema. Top with a fried egg if desired.
Video
Notes
- Spice level: The árbol chiles add a little heat to this salsa roja. If you don’t want it spicy, you can leave it out.
- The sauce: I highly recommend you make your own salsa, but if you don’t have time, feel free to use 1 1/2 cups of your favorite store-bought red enchilada sauce.
- Baking instead of frying: If you don’t want to lightly fry the tortilla wedges, you can bake them instead. Simply spread them in a single layer on two greased baking sheets and lightly spray the tops with nonstick cooking spray or brush with olive oil. Bake at 400°F for 10 to 15 minutes until crispy.
- Store-bought chips: I’m not a fan of using store-bought tortilla chips because they tend to get soggy really quickly when mixed in the sauce, whereas homemade chips are sturdier and can withstand more liquid. However, if you do use store-bought chips, make sure they’re thick and sturdy. Many Mexican grocery stores often sell homemade tortilla chips that you can purchase!
- Serving: One of the most popular ways to serve chilaquiles is with a fried or sunny-side-up egg!
Nutrition
Nutrition information is automatically calculated, so should only be used as an approximation.
The post was originally published in December 2017, and has been updated with new photos, more helpful tips, and a better overall recipe.


Can’t wait to try this recipe. But, first, I need that tortilla chip recipe!
Delicious! I’ve been chasing a good recipe for chilaquiles for years and finally found one!
On the Chilaquiles can you add beans? If so what kind of beans my job serve them with beans every Friday
Hi Karla! You can add refried beans at the very end before you top it with cheese, or you can serve them on the side!
This is NOT authentic chilaquiles sauce. What a shame.
Hi Yadira. This is an authentic recipe to Isabel’s family. The best part about Mexican food is that depending on the region of Mexico they come from, common recipes have their own unique twist!
You are a rude person. Perhaps authentic to you means from a can? This recipe is fantastic
It’s easy though and it’s exactly what I was looking for. I’m 100% authenic as well. 🙂
Made this tonight for a quick late night dinner. I had to sub a few things for the authentic enchilada sauce-subbed a pasilla Chile for the ancho and some dark ghiradelli chocolate for Mexican chocolate. Didn’t have cotija on hand so used some white cheddar and my refrigerator pickled onions with radish and cilantro. The enchilada sauce was spicy but not overwhelmingly, just a nice warmth cooled down with the egg yolk and the radishes. Great quick dinner with a homemade brown ale from my hubby’s garage brewery!
Great, simple, tasty! This has always been one of my favourite breakfasts. Made it for Christmas Day breakfast (with tamales). Great recipe, easy to follow instructions, yummy photos to inspire. Luckily we have a great Mexican grocer here so could buy cojita cheese and the fresh enchilada sauce. Thanks Isabel. I can’t wait to try more recipes.