This post may contain affiliate links. Please read our disclosure policy.
Baked Apple Empanadas are the perfect dessert for the fall and winter seasons! They’re portable, delicious and super addicting.
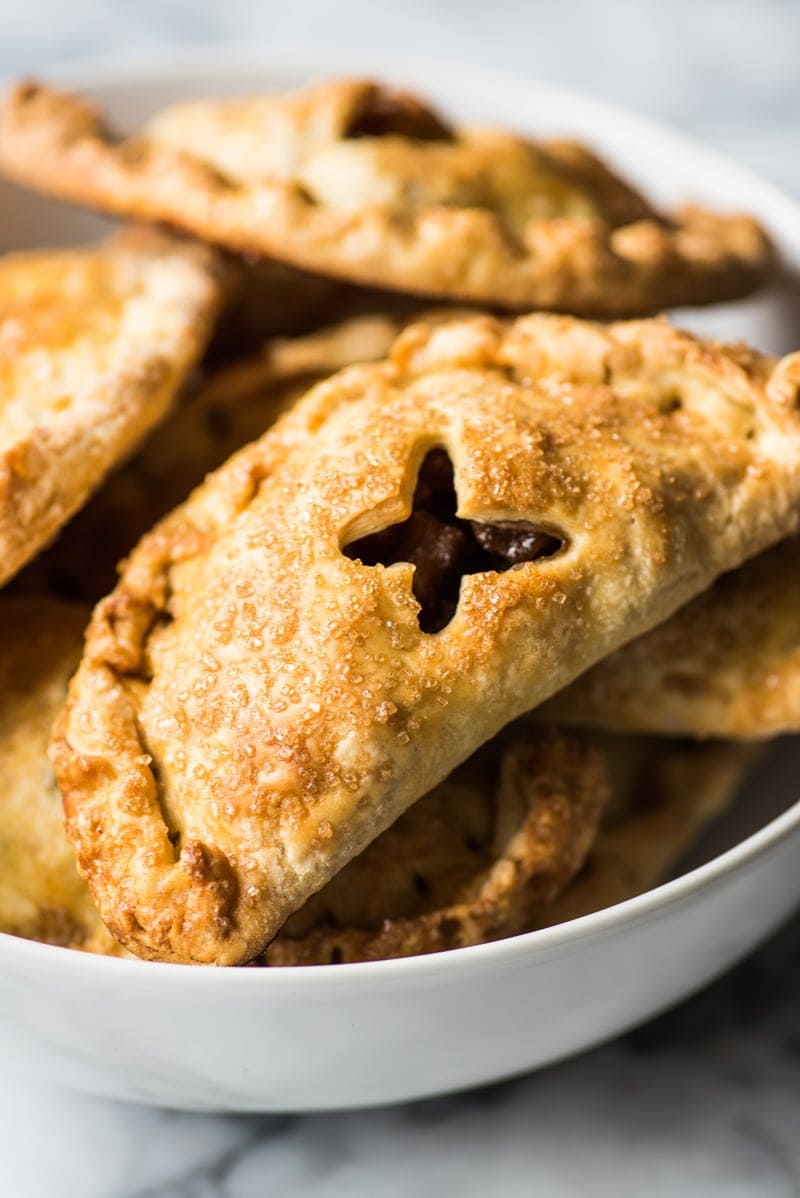
Table of Contents
Move over pumpkin shmumkins, apples are taking over and these Baked Apple Empanadas are proof!
Is it just me or did the whole fall pumpkin craze never really hit this year? It’s probably just me. I made two pumpkin recipes last month and that was all I could muster. I just wasn’t as into it as I was in past years.
Is it possible I hit my pumpkin saturation point?! I never thought the day would come.
Surprisingly I’m not really sad about it. I’ve moved on to bigger and better things and have replaced all things pumpkin with all things APPLES!
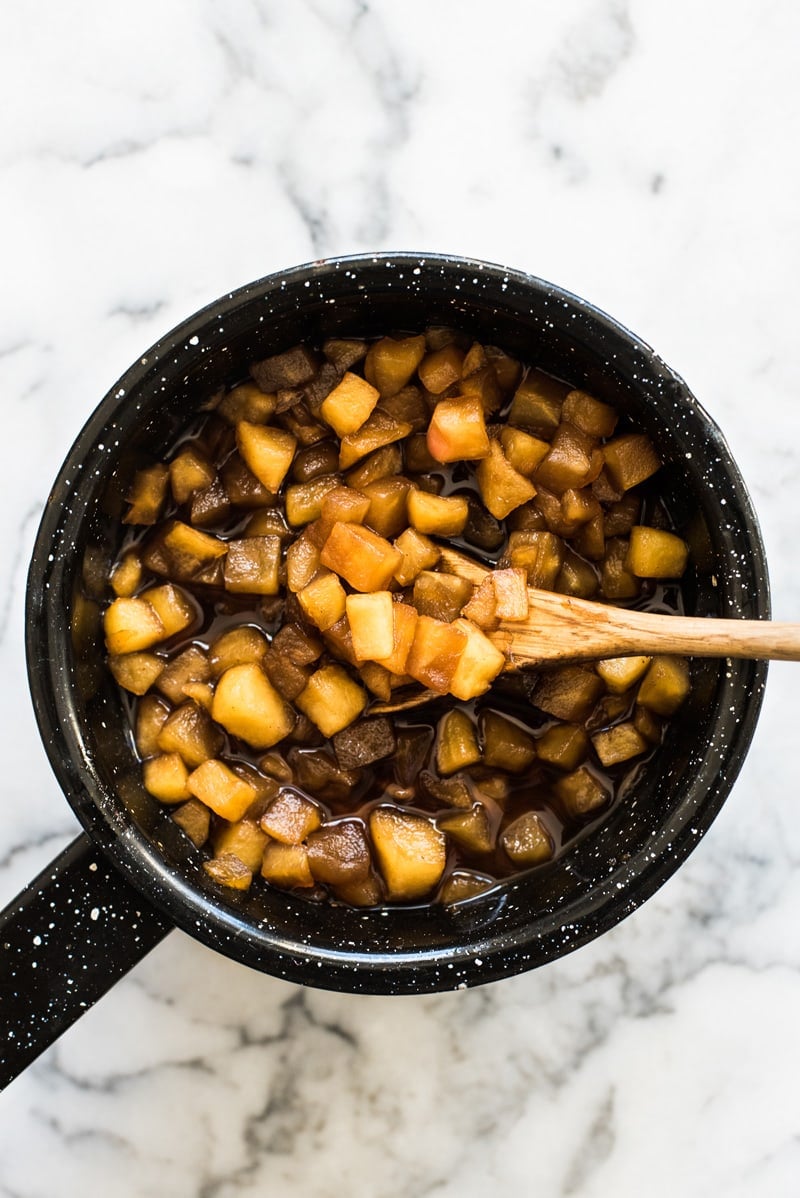
If only you could smell this apple empanada filling through the screen right now. It’s absolutely amazing and just smells like the coziest fall and winter. I made two batches of this recipe in a week and my whole house smelled like cinnamon and cloves for forever. It was glorious.
To make, you’ll need 5 Honeycrisp apples or your favorite baking apples (here’s a nice list of the best apples for baking), ground cinnamon, ground cloves, Mexican piloncillo found in the Hispanic section of the grocery store (or you can use brown sugar), vanilla extract and a little lemon juice. Then, just heat on the stove for 15 to 20 minutes until the apples have softened and begun to soak up all the juices and you’ve got the best little apple filling ever!
Next, you’ll need to make the dough, which is personally my favorite part to eat. ?
Since these are dessert empanadas, I made a pastry dough that’s buttery, flaky, slightly sweet and super addicting. Making it is pretty easy, especially if you use a food processor, but it can be a little time consuming since you have to make the dough, roll it out into 16 disks and then chill it in the fridge. If you’re looking to cut down on the total time spent in the kitchen, I recommend using store-bought frozen empanada discs found in the baking freezer aisle. They’re already cut into round disks and ready to go.
Once you’ve got the dough ready, the super fun part begins – filling the empanadas!
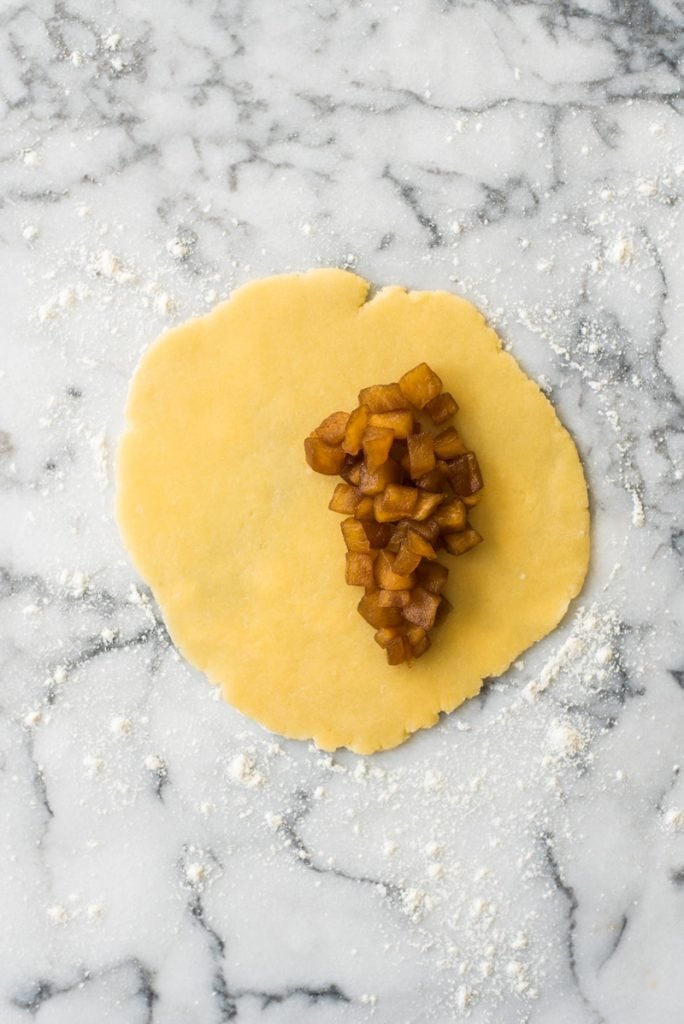
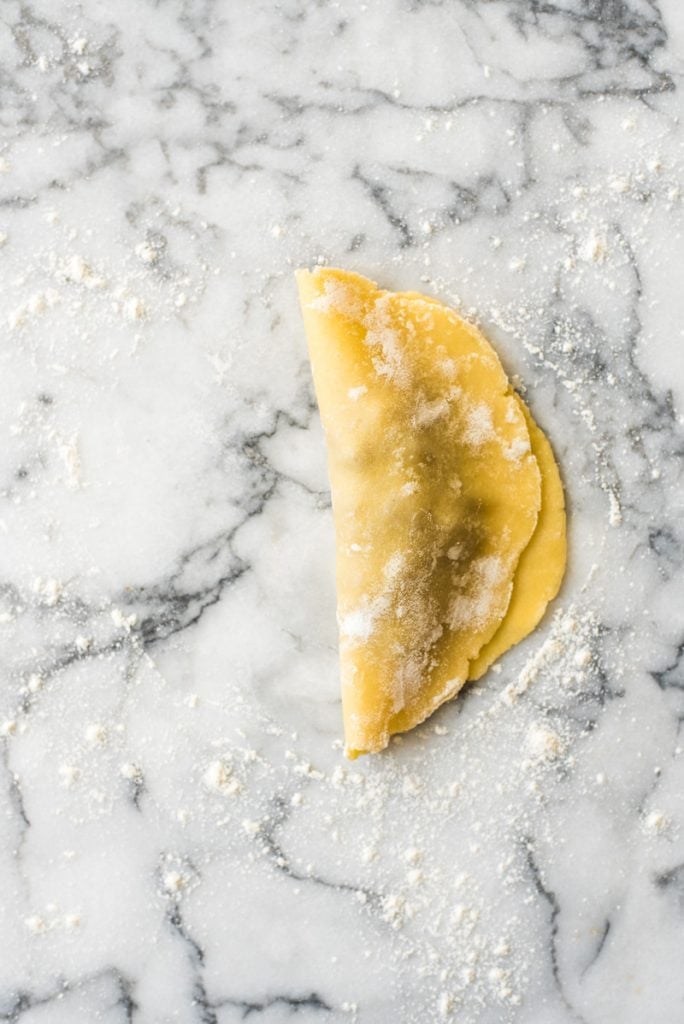
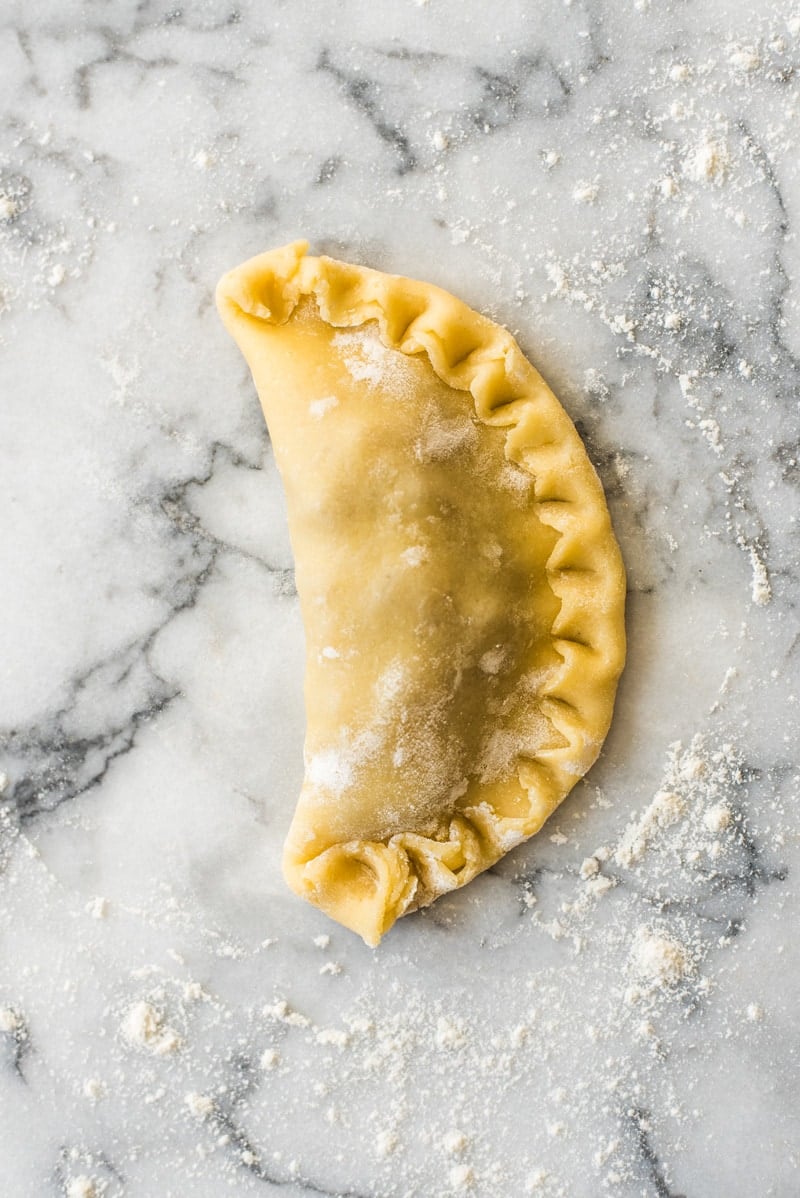
I like using the finger technique that my family taught me to close and seal them up. All you do is fold over the empanada dough and try to line up the edges as much as possible. Then, using your index finger, fold the edge in a little and push your finger down to pinch it closed. Continue moving down the edge and pinching it closed every half an inch or so until the entire empanada is sealed.
If you find this technique difficult, keep practicing! I didn’t really get it right until after a few tries.
Alternatively, you could use the tines of a fork to press the edges together and seal them up. They’ll look a little different, but they’ll still be sealed, which is the most important part. Whichever technique you decided to do, just have fun with it!
The final step is cutting a small slit into the top of each empanada, brushing them with egg white and sprinkling turbinado sugar on top. This will help release some of the steam while they bake and create a crispy crust.
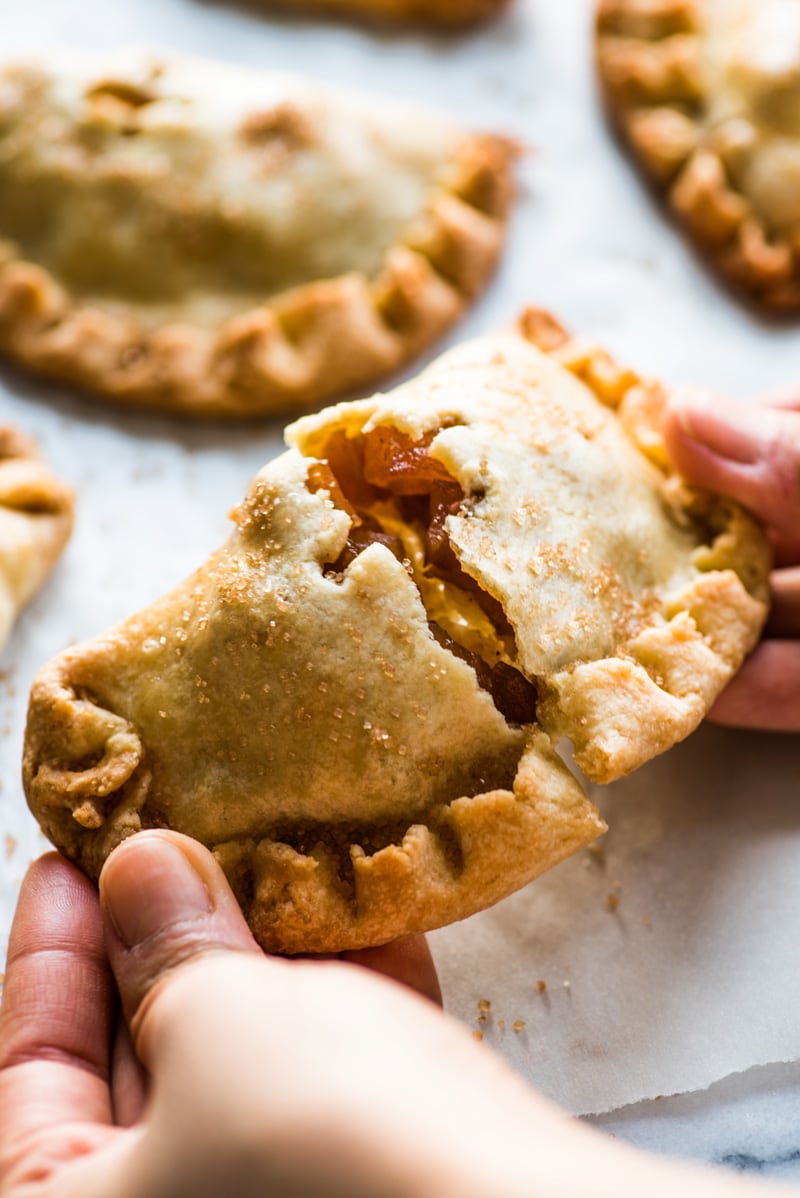
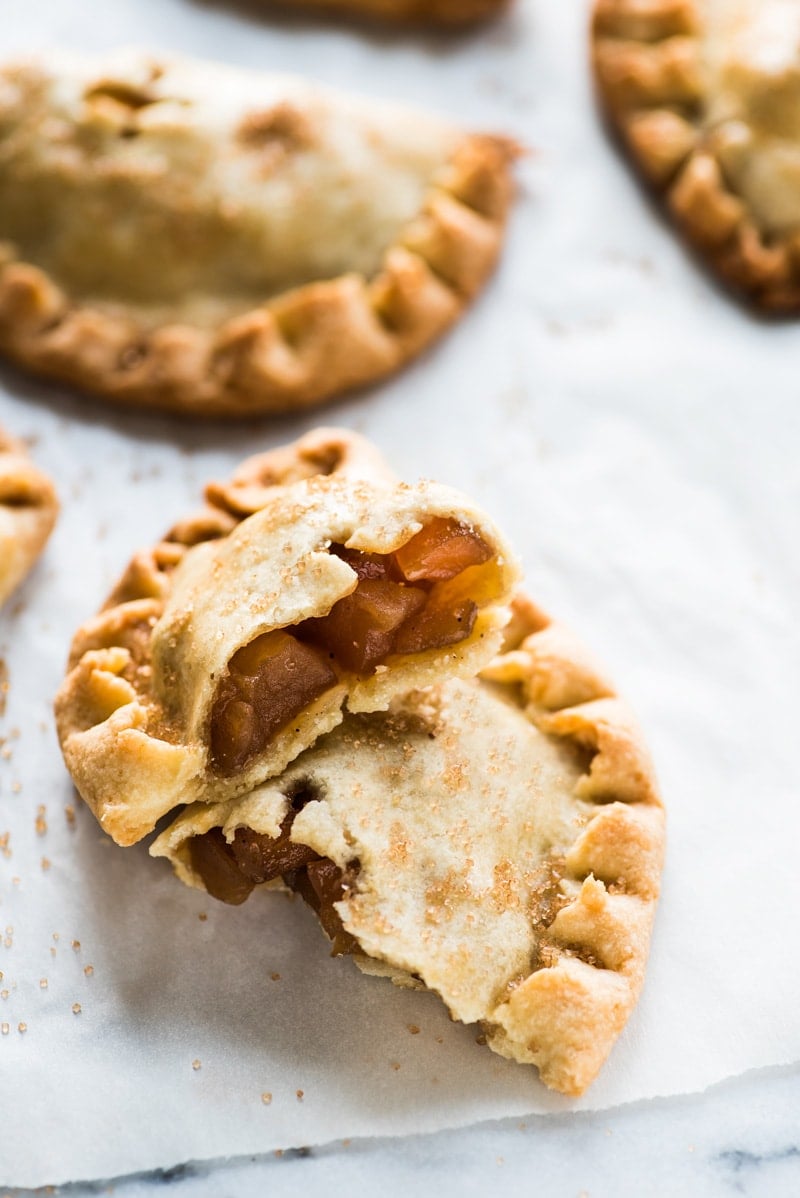
All that’s left to do is eat!
More empanada recipes

Baked Apple Empanadas
Ingredients
For the filling
- 5 large honeycrisp apples, peeled and diced
- 3/4 cup Mexican piloncillo, about 3/4 of a cone (or brown sugar)
- 1 tablespoon lemon juice
- 1 teaspoon vanilla extract
- 1/4 teaspoon ground cinnamon
- 1/8 teaspoon ground cloves
For the dough
- 3 cups all-purpose flour
- 1/2 cup granulated sugar
- 1 pinch of kosher salt
- 1 cup cold butter (2 sticks) , cut into 16 pieces
- 2 large eggs
- 2 tablespoons cold water
- 1 egg white
- 4 tablespoons turbinado sugar
Instructions
For the filling
- Add all ingredients into a small pot. Cook over medium-high heat, stirring occasionally, until the apples are super tender and have soaked up a lot of the sugar and liquid, about 15-20 minutes.
- Transfer cooked apples into a bowl and set aside to cool down. *
For the dough
- In a food processor, mix together the flour, sugar and salt. Add the butter, eggs and water and pulse together until a clumpy dough forms. If not using a food processor, mix dry ingredients in a large bowl with a fork and use a pastry cutter like this one to incorporate the butter, eggs and water.
- Transfer dough onto a floured work surface and knead into a ball. Cut into 4 pieces and then cut each piece again into 4 smaller pieces. You should have a total of 16 pieces. Roll each piece into a ball using the palm of your hands.
- Working on your floured work surface, roll each ball into a flat disk about 6 to 7 inches in diameter using a rolling pin. Place disks onto a baking sheet covered in parchment paper.To save room, I placed about 3 disks onto the parchment paper, placed another layer of parchment paper on top, and continued stacking disks onto the same baking sheet, making sure there’s always parchment paper in between each layer so they don’t stick together. Once all the disks are formed, cover baking sheet with plastic wrap and chill in the refrigerator for about 30 minutes.**
- Preheat oven to 375 degrees F.Continuing to work on a floured surface, place about 2 1/2 tablespoons of the apple filling onto each flattened dough disk. Fold one side over and pinch the sides together using your index finger until the empanada is fully sealed. You can also press the edges together using the tines of a fork instead of your fingers. As long as the empanadas are sealed, you’re good to go.Placed the filled and sealed empanadas onto 2 large baking sheets lined with parchment paper.
- Cut a small slit or poke a few holes in the top of each empanada to let some of the steam out while baking. Brush the tops of the empanadas with the egg white and sprinkle with turbinado sugar. Bake for 25-30 minutes, until the pastry is lightly browned.
Notes
Nutrition
Nutrition information is automatically calculated, so should only be used as an approximation.





I whipped these up this afternoon, and they were a big hit! The warm cinnamon apple filling is incredibly comforting, and the dough turned out just right.
Just made these this afternoon, and they were a huge hit! The cinnamon apple filling is so comforting, and the dough is perfect. I might try adding a little cream cheese filling next time for a fun twist!
These baked apple empanadas look absolutely delicious! I can’t wait to try making them. The flaky crust and the warm apple filling sound like the perfect combo for fall. Thanks for the recipe, Isabel!
These baked apple empanadas sound absolutely delicious! I love how simple the recipe looks, and the addition of cinnamon is perfect for fall. Can’t wait to try making these for my family!