

This post may contain affiliate links. Please read our disclosure policy.
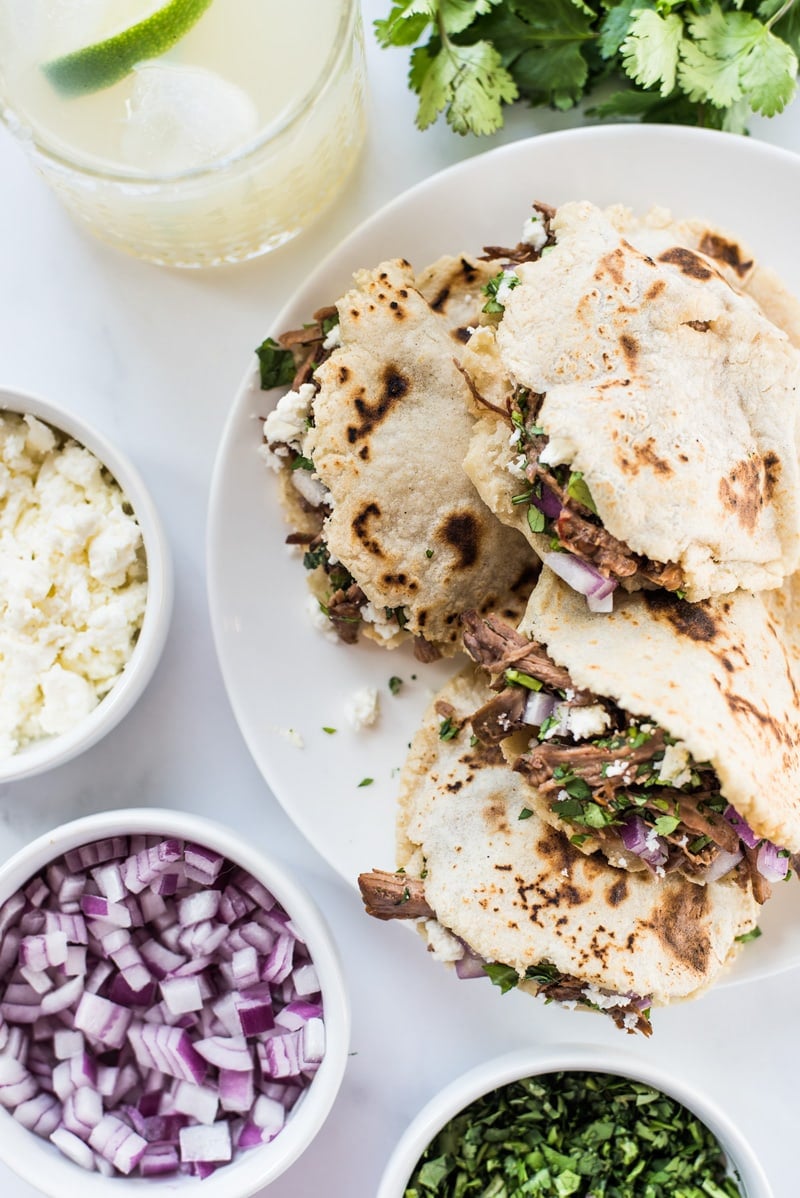
Making your own Mexican Gorditas at home is super easy! These little corn cakes made from masa dough have a little pocket in the middle for all sorts of delicious fillings! They’re also gluten-free, vegetarian, and vegan.
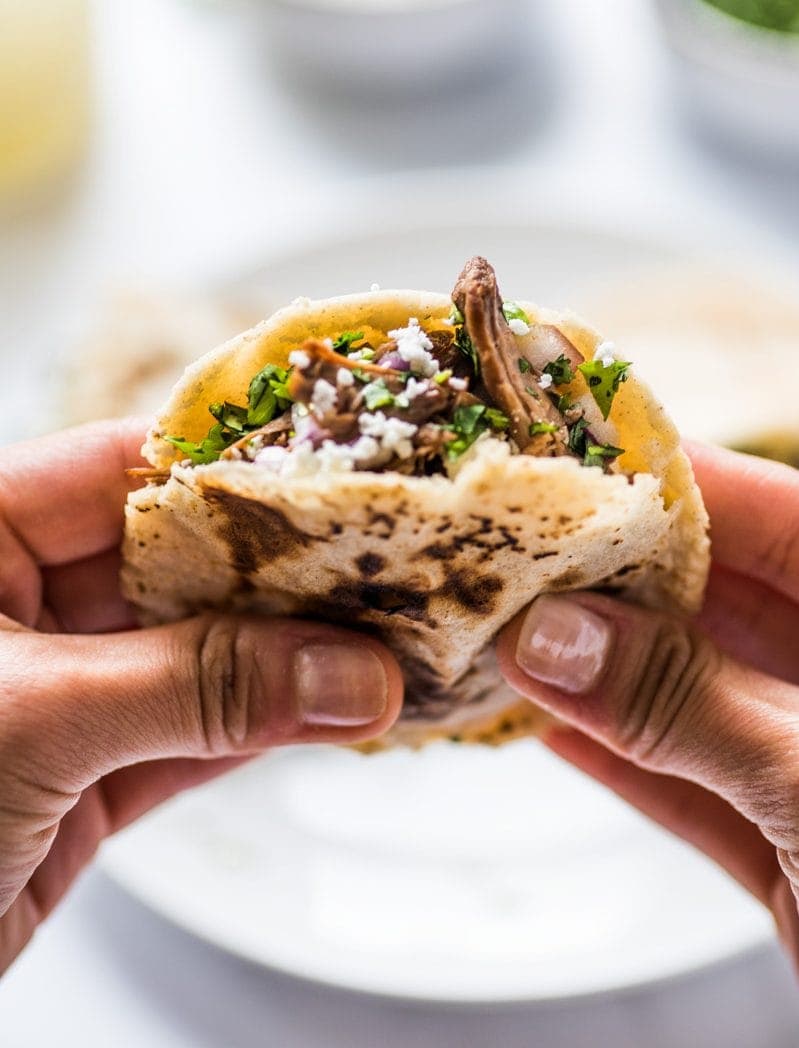
Say hello to Mexican gorditas! No, this is nothing like the Taco Bell cheesy gordita crunch you may have seen. These are real, authentic, homemade gorditas, just like my Mom taught me to make!
What are gorditas?
Essentially, gorditas are thick corn tortillas that have a pocket in the middle made for stuffing with delicious Mexican fillings. Preferably on the spicy side if you ask me. Some common fillings include:
- refried beans and cheese
- chile verde (tender pork in a green chile sauce)
- chorizo and eggs
- carne con papas
- picadillo (a ground beef and potato mixture)
- papas con chile (tender diced potatoes stewed in a green chile sauce)
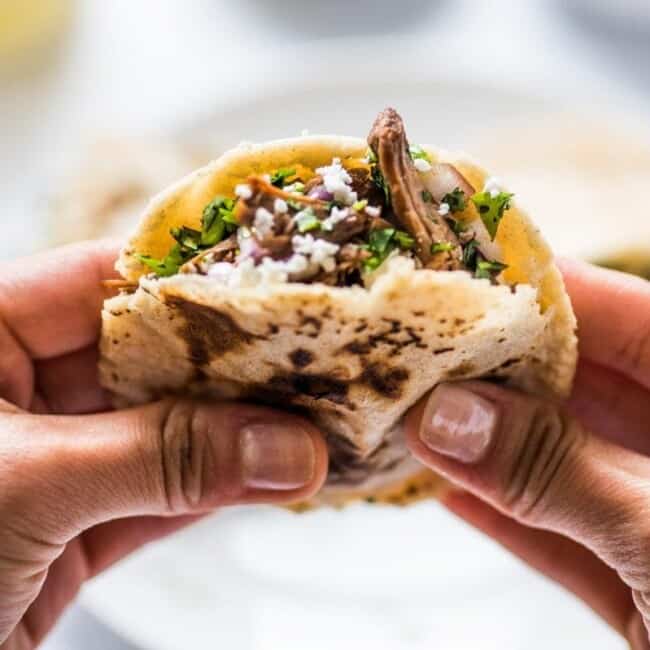
The possibilities are endless. For the filling shown in these photos, I used some of my barbacoa beef that I had leftover in the fridge. The results were delicious.
What does Gorditas mean?
The word gordita in Spanish literally means chubby. It’s usually used affectionately and is often a term of endearment. So why would the name of a dish be referred to as chubby? I have no clue.
Maybe it’s because they’re so good you can’t stop eating them, causing you to gain a few pounds. Maybe because they’re stuffed with delicious fillings until they’re “fat”? Who knows. All I know is that gorditas are good and good food is what I’m all about!
How to make Gorditas
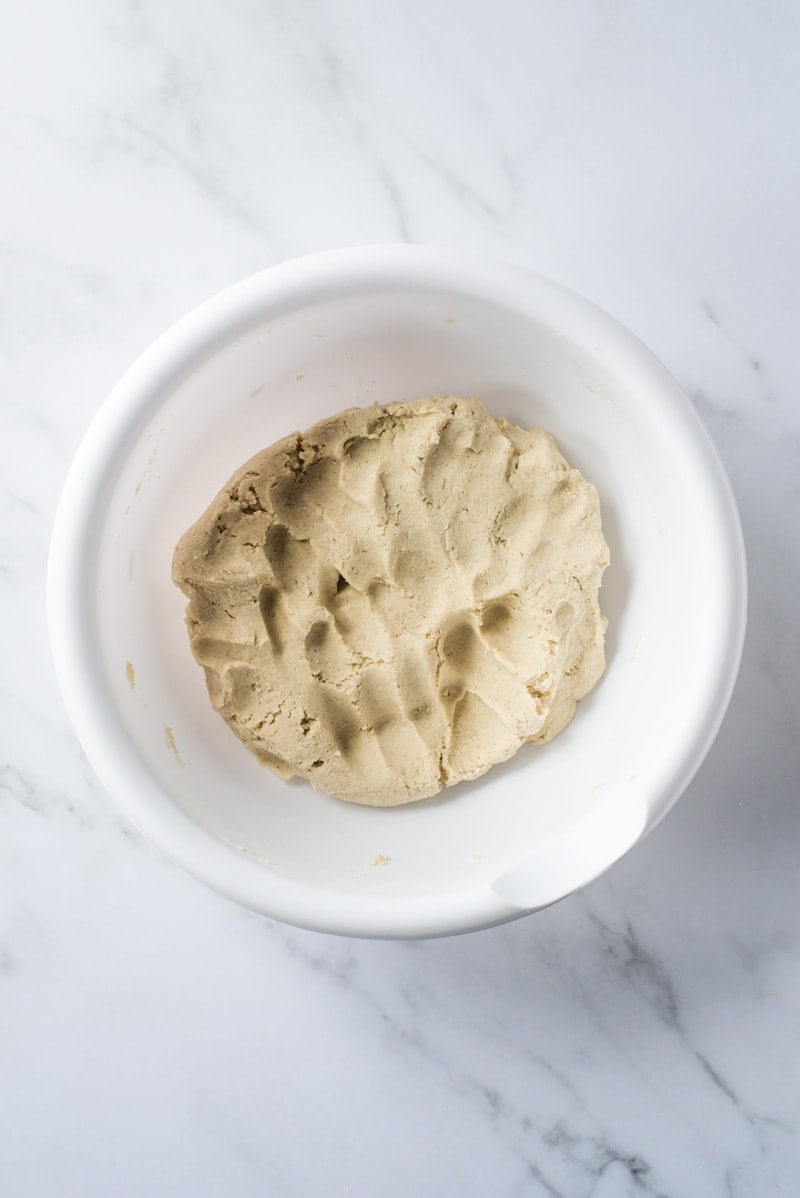
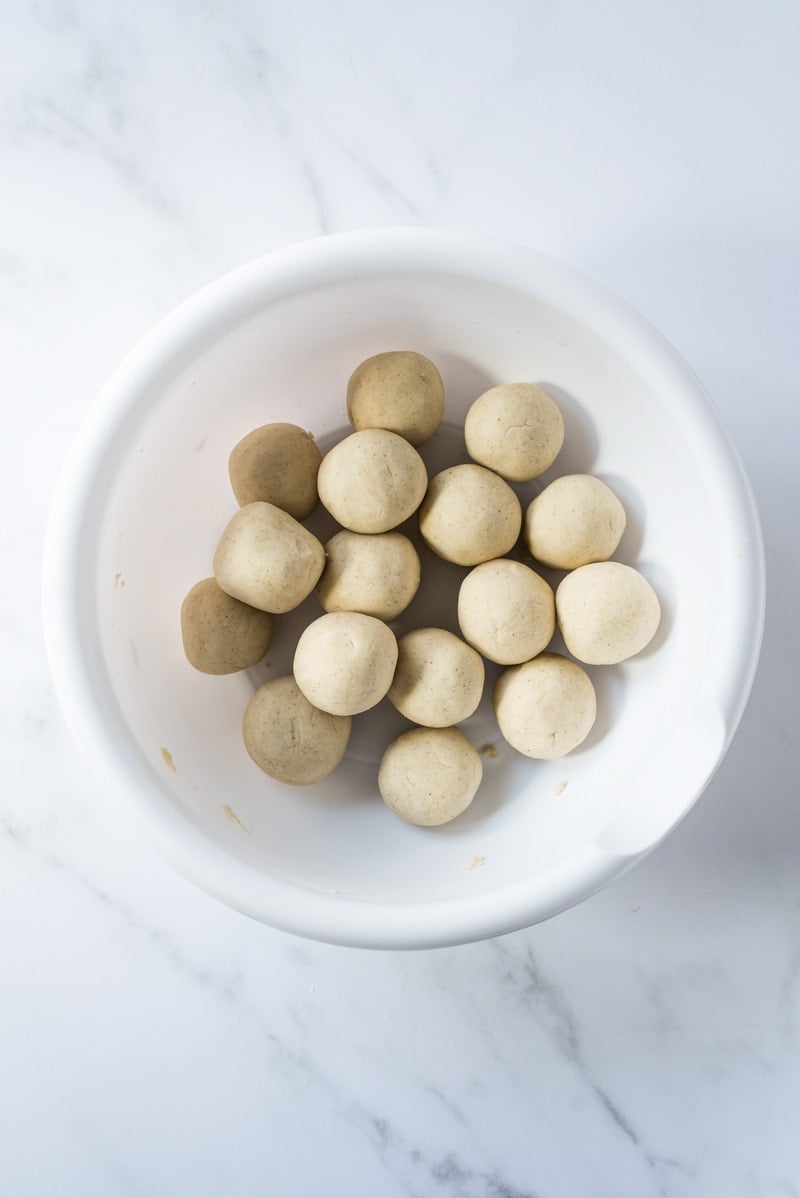
Step 1: Mix together masa harina, water, and salt to create a dough. Roll the dough into 16 little balls. At this point, heat a large skillet, griddle, or comal over medium-high heat.
Step 2: Lightly flatten a masa ball in between two sheets of plastic wrap using a tortilla press (this is the one I have) or a flat plan. Make sure not to press it down too much as it will become too thin like a normal corn tortilla. You want it about twice as thick as a normal tortilla. If you mess up and make it too thin, simply gather the flattened dough, reform it into a ball, and try again.
Step 3: Remove the flattened masa from the plastic wrap and place it on the hot griddle. Let it cook for about 10 to 15 seconds, flip it over, and let that side cook for another 10 to 15 seconds. This helps to sort of seal the dough so that an air pocket can form more easily.
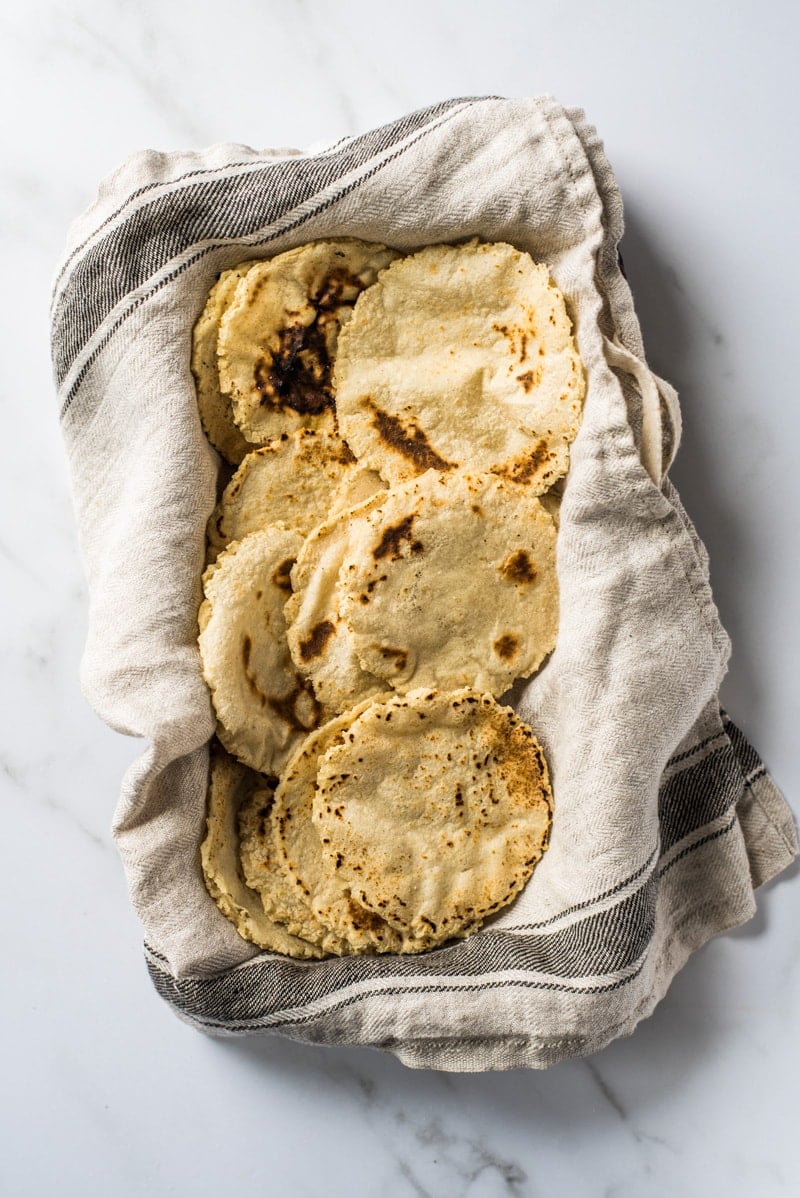
Flip it over one more time and cook each side for about 1 minute until they have beautiful brown spots.
Step 4: At this point, you should notice that the gordita inflates a little bit and starts to bubble up in the middle or the sides. This is exactly what you want. Lightly press down on the sides of the gordita with a spatula or other utensil to help it inflate even more. Remove it from the griddle, place it on a plate, and cover it with a light kitchen towel.
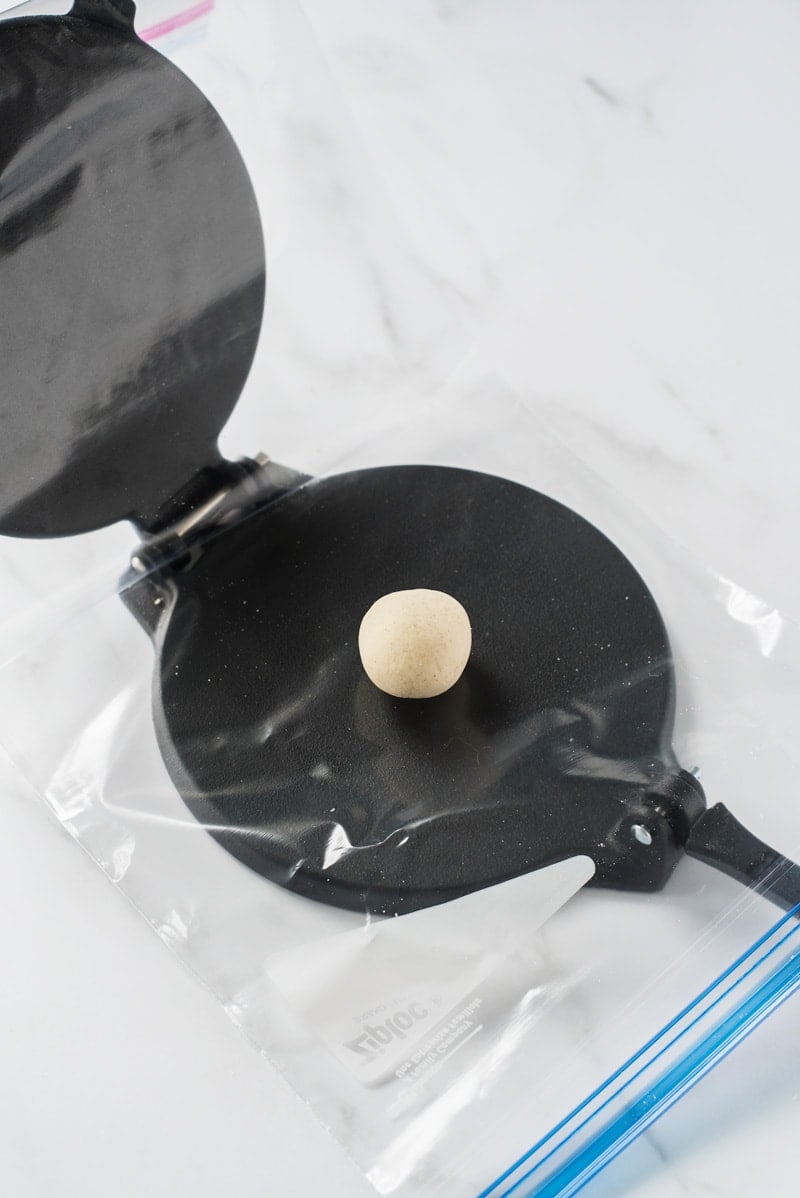
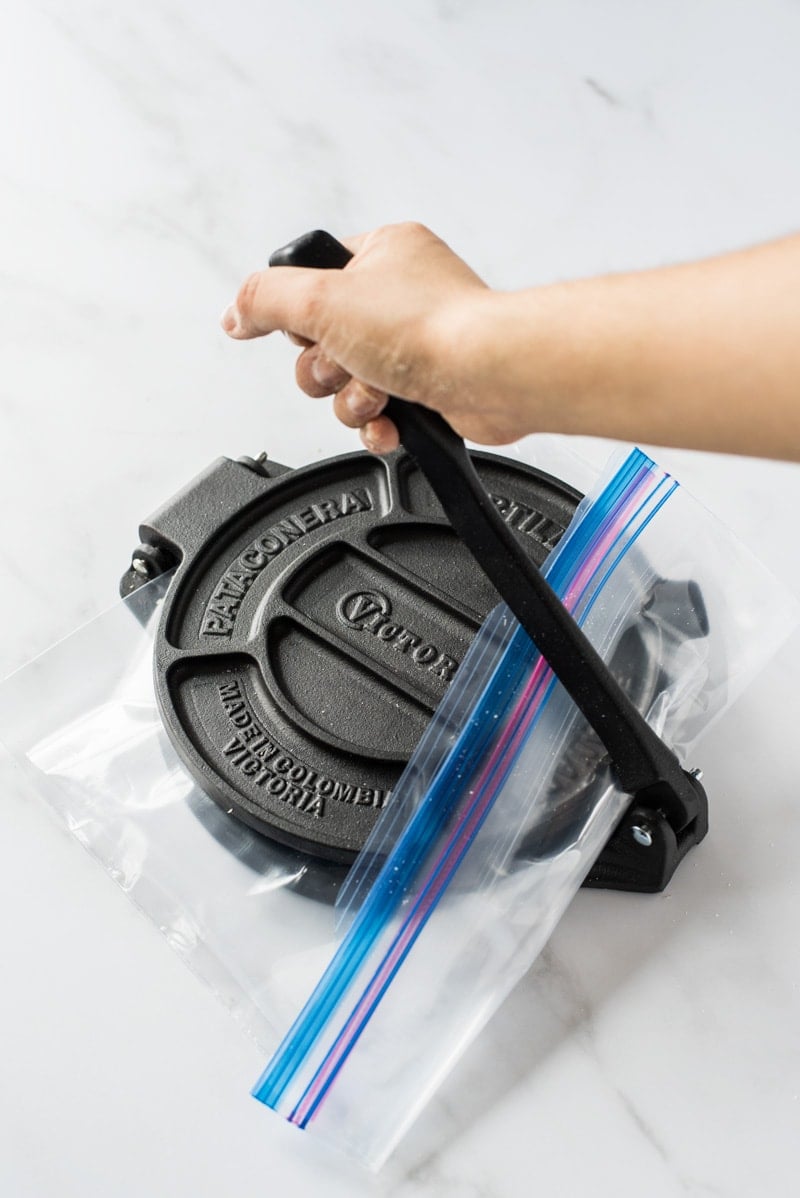
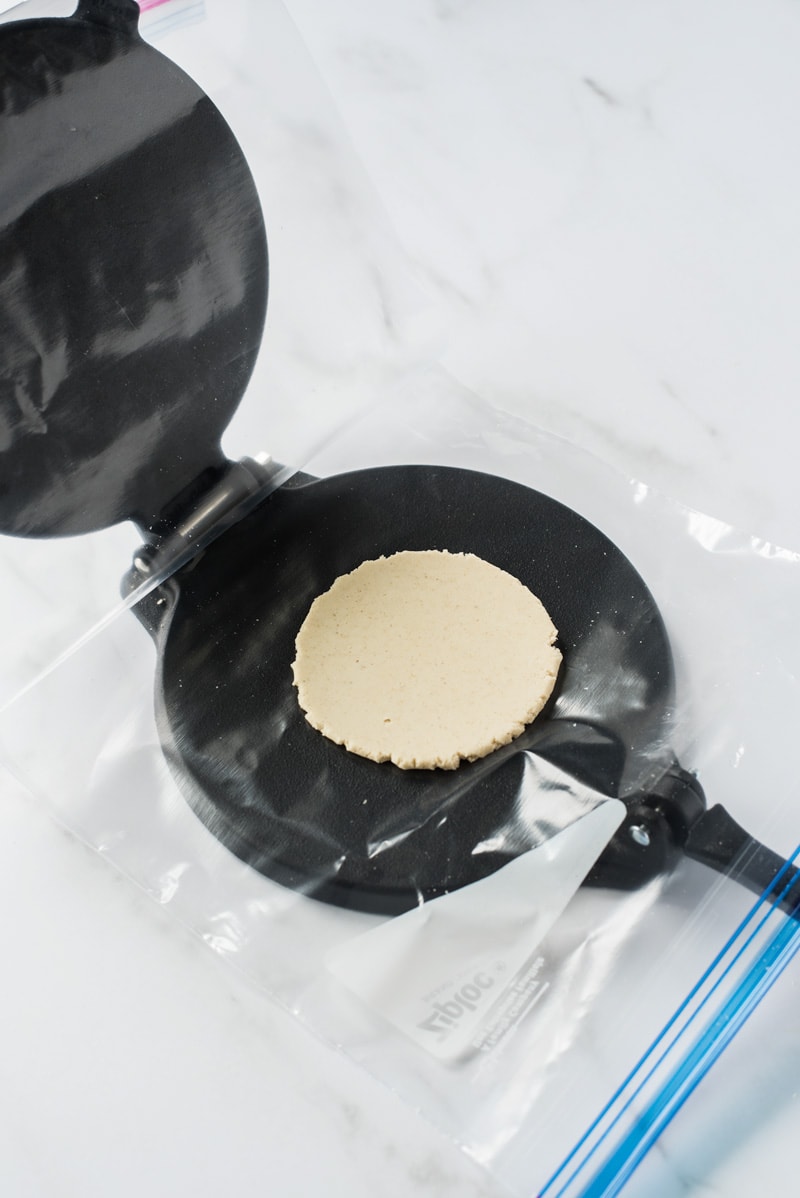
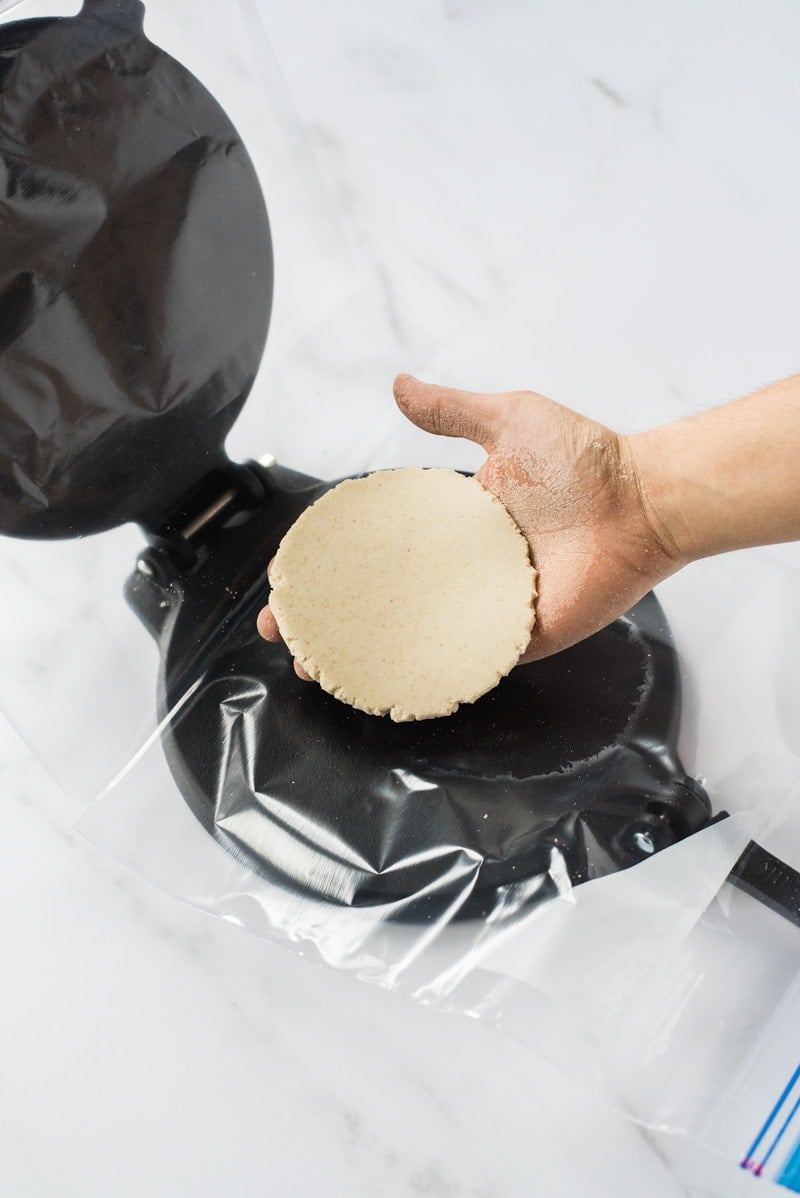
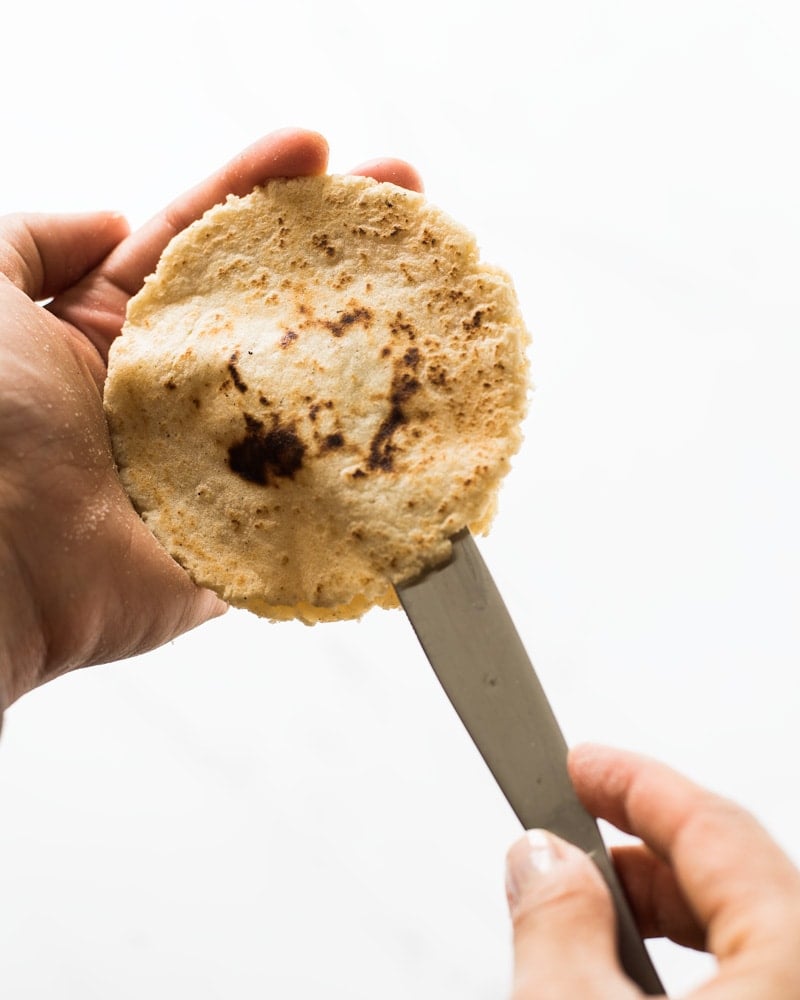
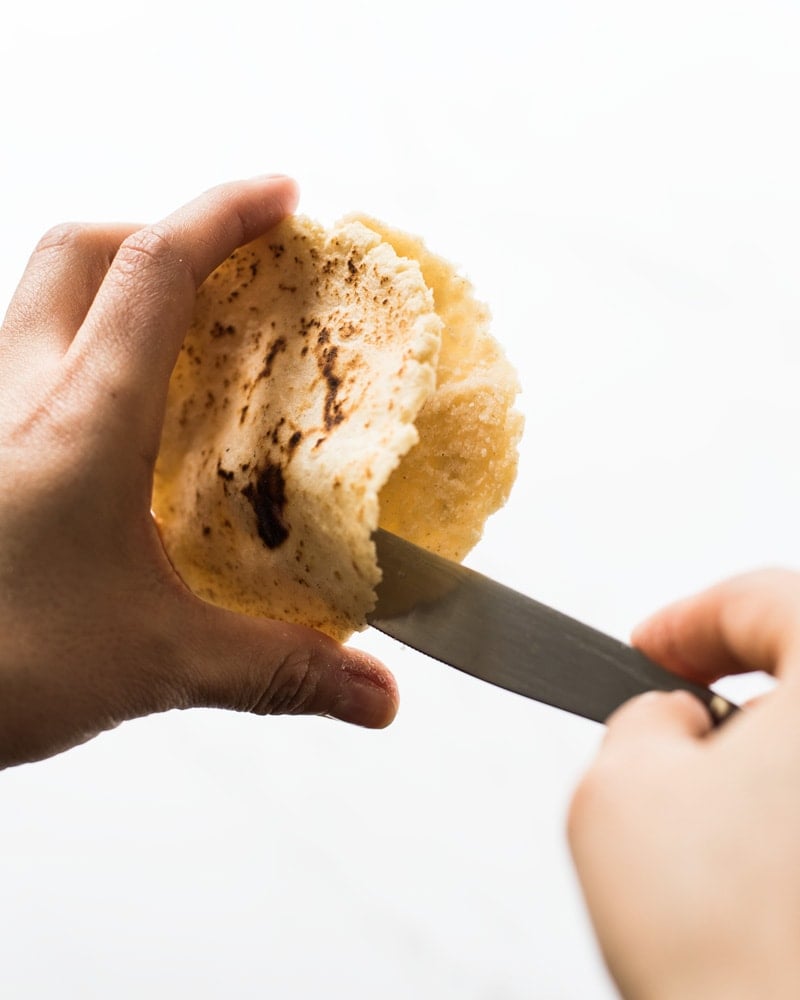
Step 5: As soon as you can handle and hold the gordita (it should still be hot but not hot enough to burn you), use a butter or paring knife to cut a slit down the edge of one side. The gordita should open up and have a cute little pocket to stuff all the wonderful fillings.
Tips and Tricks
- I recommend using a zip-loc gallon-size bag instead of plastic or saran wrap when flattening the masa balls. Simply cut it open down the side seams and leave the bottom seam uncut. Then place it on top of the open tortilla press, and voila! It’s the perfect size, and it doesn’t tend to stick together like plastic wrap can.
- Use a tortilla press. It makes the process so much easier and is a must-have item in the Mexican kitchen! Here’s one that I recommend from Amazon.
- If the gordita doesn’t inflate like it should, press down on the center and on the sides of the gordita from time to time with a spatula to help it inflate. This usually does the trick and creates a little air pocket.
- To make them perfectly round without any scraggly edges, use a round bowl, large round cookie cutter, or any round object that you have to stamp out the masa after you’ve flattened it. My mom taught me this trick because she likes them to be picture-perfect. I, on the other hand, don’t have the patience. 😊
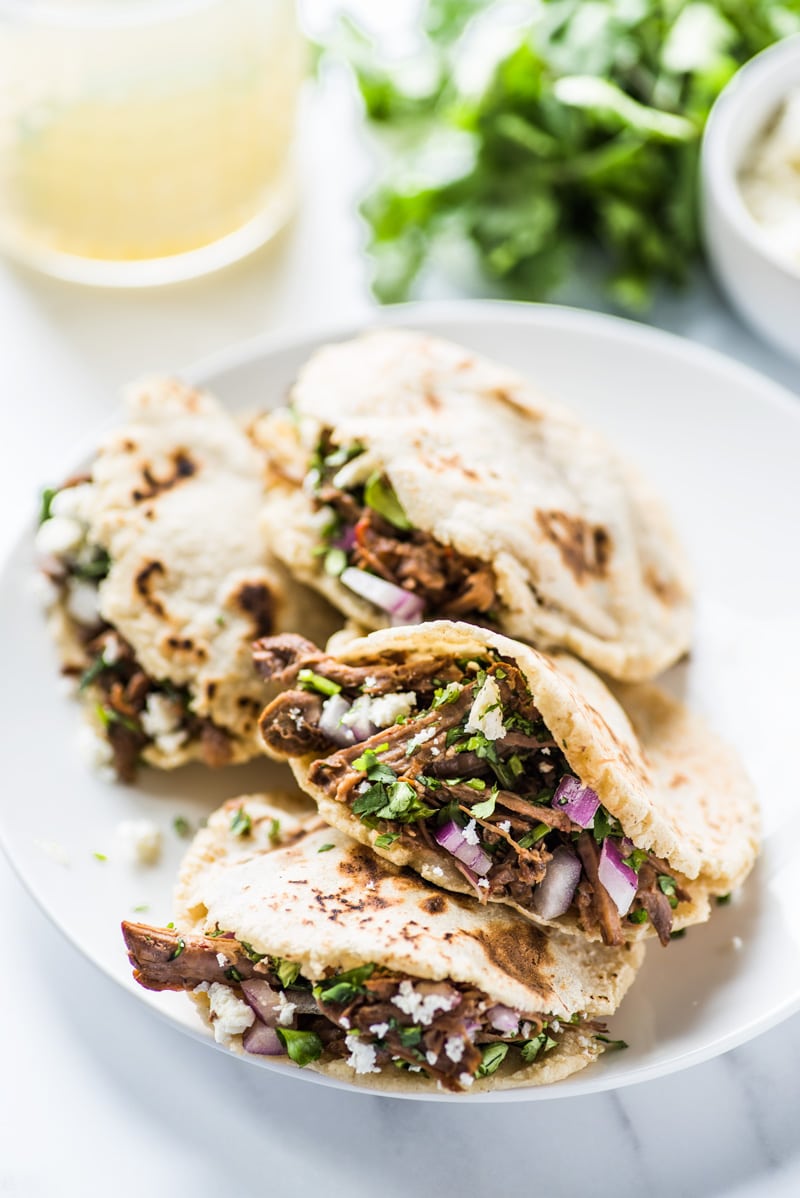
The way gorditas are made in Mexico actually varies from region to region. My family is from the central/north part of the country in the state of Zacatecas, near the town of Sombrerete. This is how they’re usually made there, but in other regions of the country, they’re often fried until super crispy and then stuffed. Both ways are delicious and totally authentic!
How to fry gorditas
If you want to try frying them, make all the gorditas as outlined above. Then add some frying oil to a medium skillet over medium-high heat until shimmering hot. You don’t need to use a lot of oil, just enough to fully submerge one side of the gordita.
Add the cooked gordita and fry on both sides for about a minute or two until crispy. Remove from the oil and place on a paper towel to soak up any excess oil. Stuff them like normal, and enjoy!
More Mexican Recipes
Gorditas Recipe
Ingredients
- 2 cups masa harina
- 1 3/4 cups to 2 cups water
- 1 teaspoon salt
Instructions
- Mix together masa harina, water and salt to create a dough. Roll the dough into 16 little balls. Heat a large skillet, griddle or comal over medium-high heat.
- Lightly flatten a masa ball in between two sheets of plastic wrap using a tortilla press or a flat plan. Make sure not to press it down too much as it will become too thin like a normal corn tortilla. You want it about twice as thick as a normal tortilla.
- Remove the flattened masa from the plastic wrap and place it on the hot griddle. Let it cook for about 10 to 15 seconds, flip it over and let that side cook for another 10 to 15 seconds.
- Flip it over one more time and cook each side for about 1 minute, until it has beautiful brown spots.
- At this point, you should notice that the gordita inflates a little bit and starts to bubble up in the middle or the sides. This is exactly what you want. Lightly press down on the sides of the gordita with a spatula or other utensil to help it inflate even more. Remove it from the griddle, place it on a plate and cover it with a light kitchen towel.
- As soon as you can handle and hold the gordita (it should still be hot but not hot enough to burn you), use a butter or paring knife to cut a slit down the edge of one side. The gordita should open up and create a pocket.
- Fill gordita with desired fillings and enjoy!
Notes
Nutrition
Nutrition information is automatically calculated, so should only be used as an approximation.









If u freeze them would u cut it in half before frezen or after they half been defrosted
I would cut them before freezing.
Thank you for your recipe. I know nothing about masa. I know I can buy it pre made at the Spanish market, I used it for tortillas once and they were just ok. I see Bob’s Red Mill sells a masa mix, on the back they give two recipes, one for tortillas ( masa mix and water) the other is for gorditas (masa mix, shortening, flour, water, salt, baking powder).what is a good option for the masa? I would like to make it as healthy as possible but defiantly deliciousness comes first.
Hi Amanda! The masa used in this recipe is also instant corn masa that you’re probably referring to, so either one should work!
Should these gorditas be fluffy or firm when cooked
Hi! The gorditas should be slightly firm when cooked.
Is it cold or hot or room temp water
I used room temp water, but you can also use hot. I don’t recommend using cold.
I used your recipe and it worked out great. I have been searching for this particular type of gordita recipe. I used white corn masa, whereas, I have usually used yellow corn masa. Thanks for sharing this recipe.
Hey Isabel,
Do these freeze well? Little portable pockets of masa would be so rad to take to work or wherever really.
Yes! I would freeze them in a freezer-safe gallon size bag for up to 2 months.
After freezing the Gorditas, how do you warm them back up?
Hi Beatrice! You can try reheating them on the griddle!
Looks super delicious. I’m gonna try right now since I have maza cause I’m making sopes
Thank you!
Can you make these ahead of time and then reheat? What is the best way to reheat?
Yes! I recommend reheating them on the stove top or in the microwave wrapped in a slightly damp paper towel.
Thanks for the recipe been seeking different ones and love the simplicity. I’m a man who loves cooking especially down home Mexican food my dad’s family is from Matamoros so I know the real deal. Thanks for being awesome!!!
My family is from Matamoros and I love gorditas!! My grandma use to add bits of bacon and it takes gorditas to the promised land! I live in Northern NY state and I am so thankful my grandma and mom taught me how to cook. Thank you for sharing your recipe, I look forward to exploring your recipes. PS-I love cats too! 🙂
Aww thank you so much! 🙂 I’m sure that little bit of bacon adds tons of flavor!
What is the difference between corn tortillas and Gorditas?
What is your go to recipe for corn tortillas? What brand of flour?
Hi Beatrice! Gorditas are much thicker and you cut a slit, creating a pocket for your filling. Corn tortillas are much thinner and used for tacos, tortilla chips, and can accompany many dishes. There is actually a recipe on the site for homemade corn tortillas that I use if you wanted to check that out!
These look absolutely wonderful!!! Love them.
Thank you so much!