This post may contain affiliate links. Please read our disclosure policy.
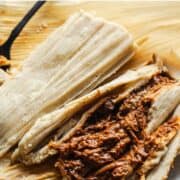


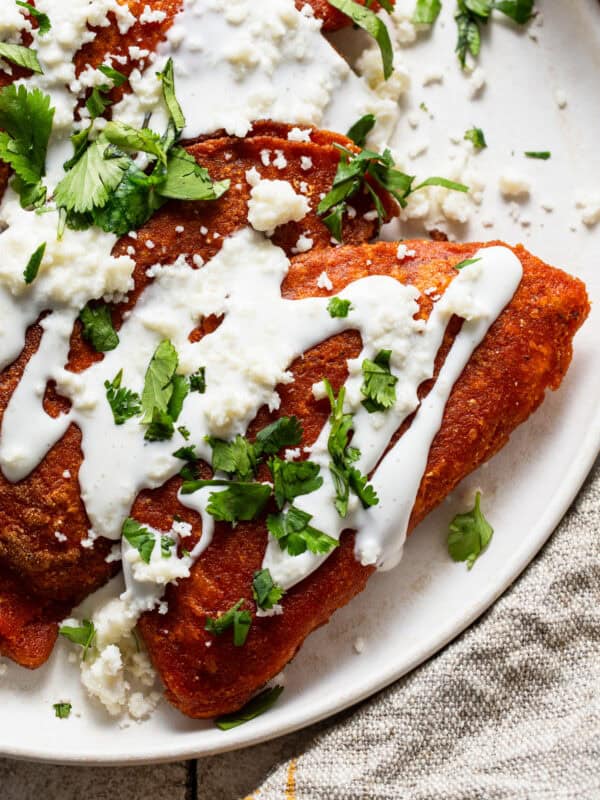
Tamales de Mole made from fluffy corn masa and filled with shredded chicken simmered in a rich and savory mole sauce. These traditional Mexican tamales are perfect for holidays, gatherings, or whenever you’re craving something truly special.
A Note from Isabel

When the weather cools down and the holidays roll around, my family goes all-in on tamales. We usually make a big batch of classic pork tamales with red chile sauce and tamales de rajas with peppers and cheese, but these mole tamales have become just as loved.
The idea of combining two of my favorite Mexican dishes, tamales and mole, into one felt like a no-brainer. Plus, this version uses a shortcut version of mole that uses store-bought mole paste that’s “doctored up” with dried chiles, tomatoes, peanuts, and Mexican chocolate. It tastes incredibly authentic without the labor of a full mole poblano, and it turns into the most flavorful tamal filling. (Of course, if you want to go all out and make mole from scratch, you can follow my mole sauce recipe.)
If you’re new to making tamales or want a version that feels traditional but approachable, these tamales de mole are perfect.
What Are Tamales de Mole?
Tamales are a traditional Mexican dish made with masa (nixtamalized corn dough) that’s spread onto corn husks, filled with savory or sweet ingredients, and steamed until fluffy. Tamales de mole take it a step further by filling the masa with shredded chicken simmered in mole, a rich, complex sauce made with dried chiles, nuts, spices, and Mexican chocolate. The result is a deeply flavorful, comforting tamal that’s perfect for celebrating holidays and special occasions.
Ingredients You’ll Need
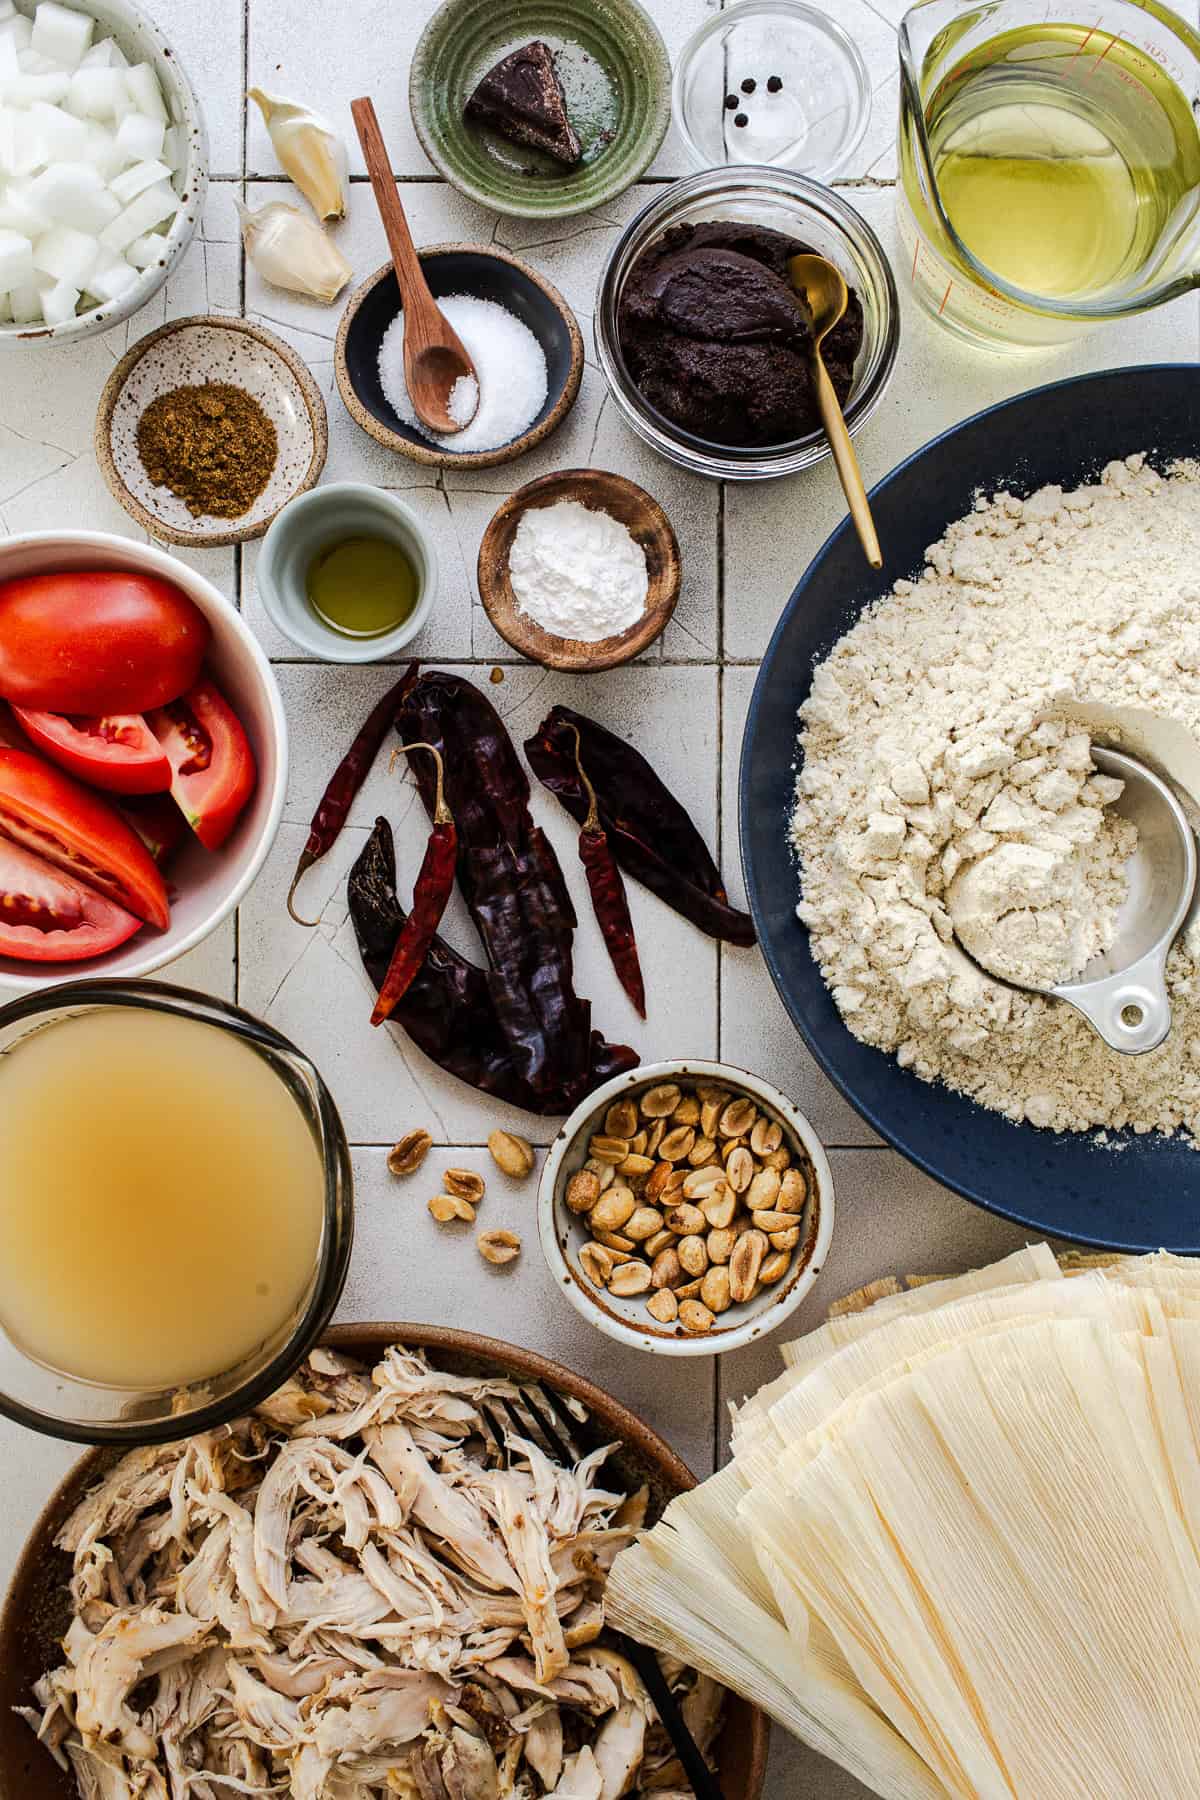
This is just an overview of the ingredients I used and why. See the recipe card below for the full ingredients and instructions.
- Masa dough: For the dough, you’ll need some masa harina (the two brands I use the most are Masienda and Maseca), oil (canola, vegetable, grapeseed, or your favorite neutral tasting oil), chicken broth, baking powder, and salt. Many traditional recipes use lard or shortening, but my family has always made it using oil and it tastes great! The masa isn’t greasy and it’s still very flavorful and fluffy.
- Mole sauce: Made the short cut way with store-bought mole paste that’s doctored up with extra ingredients like tomatoes, dried chiles, onion, garlic, spices, peanuts, and Mexican chocolate. I also use this shortcut mole sauce in my enmoladas recipe.
- Shredded chicken: You can keep it simple and use rotisserie chicken or make homemade shredded chicken.
- Corn husks: You’ll need about 25 or so corn husks to spread out your masa and then fill it with the mole. You can find dried corn husks at most Mexican grocery stores or you can get them online.
How to Make Tamales de Mole
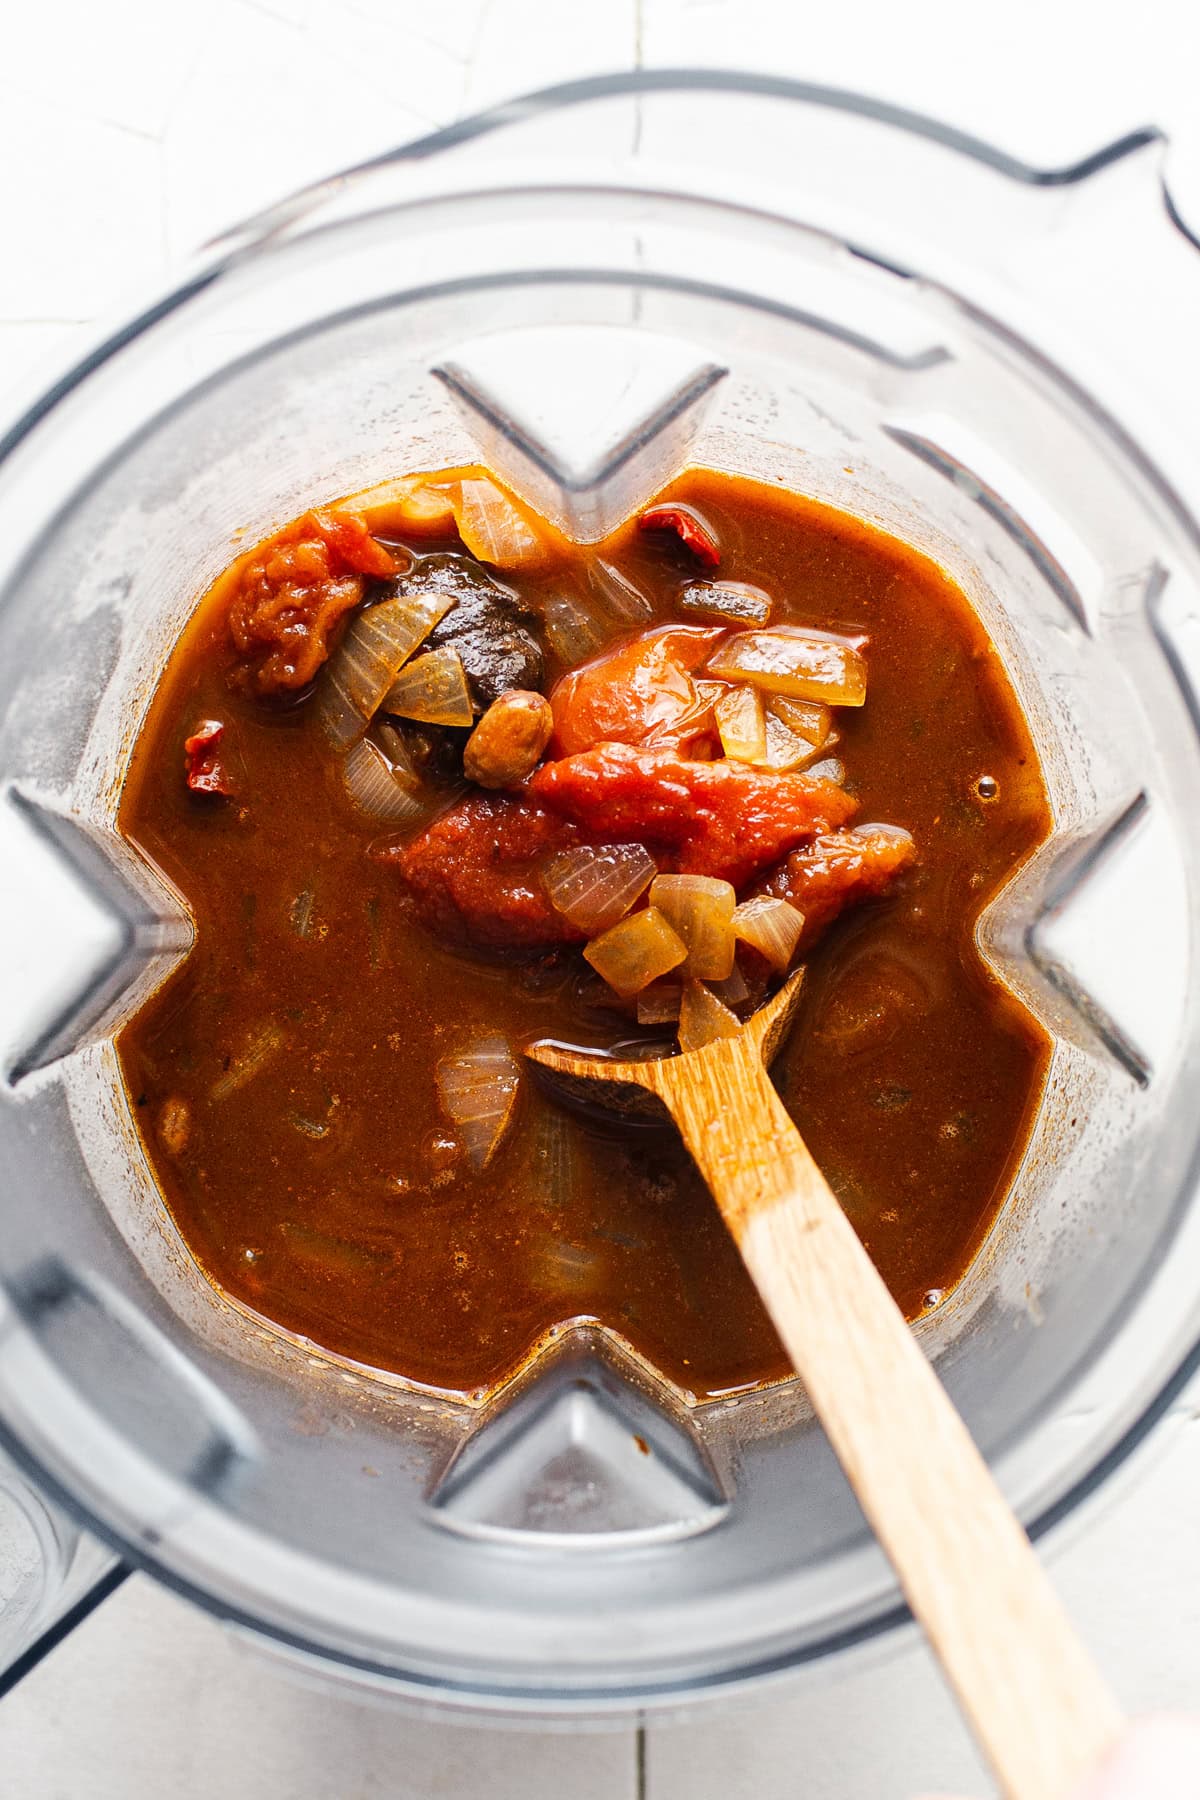
Blend the mole sauce. Add the sautéed tomatoes, onions, garlic, dried chiles, peanuts, Mexican chocolate, broth, mole paste, and spices to a blender. Blend until completely smooth.

Simmer with shredded chicken. Pour the blended mole sauce into a pot and stir in the shredded chicken. Let it simmer for a few minutes until thickened and deeply flavorful.
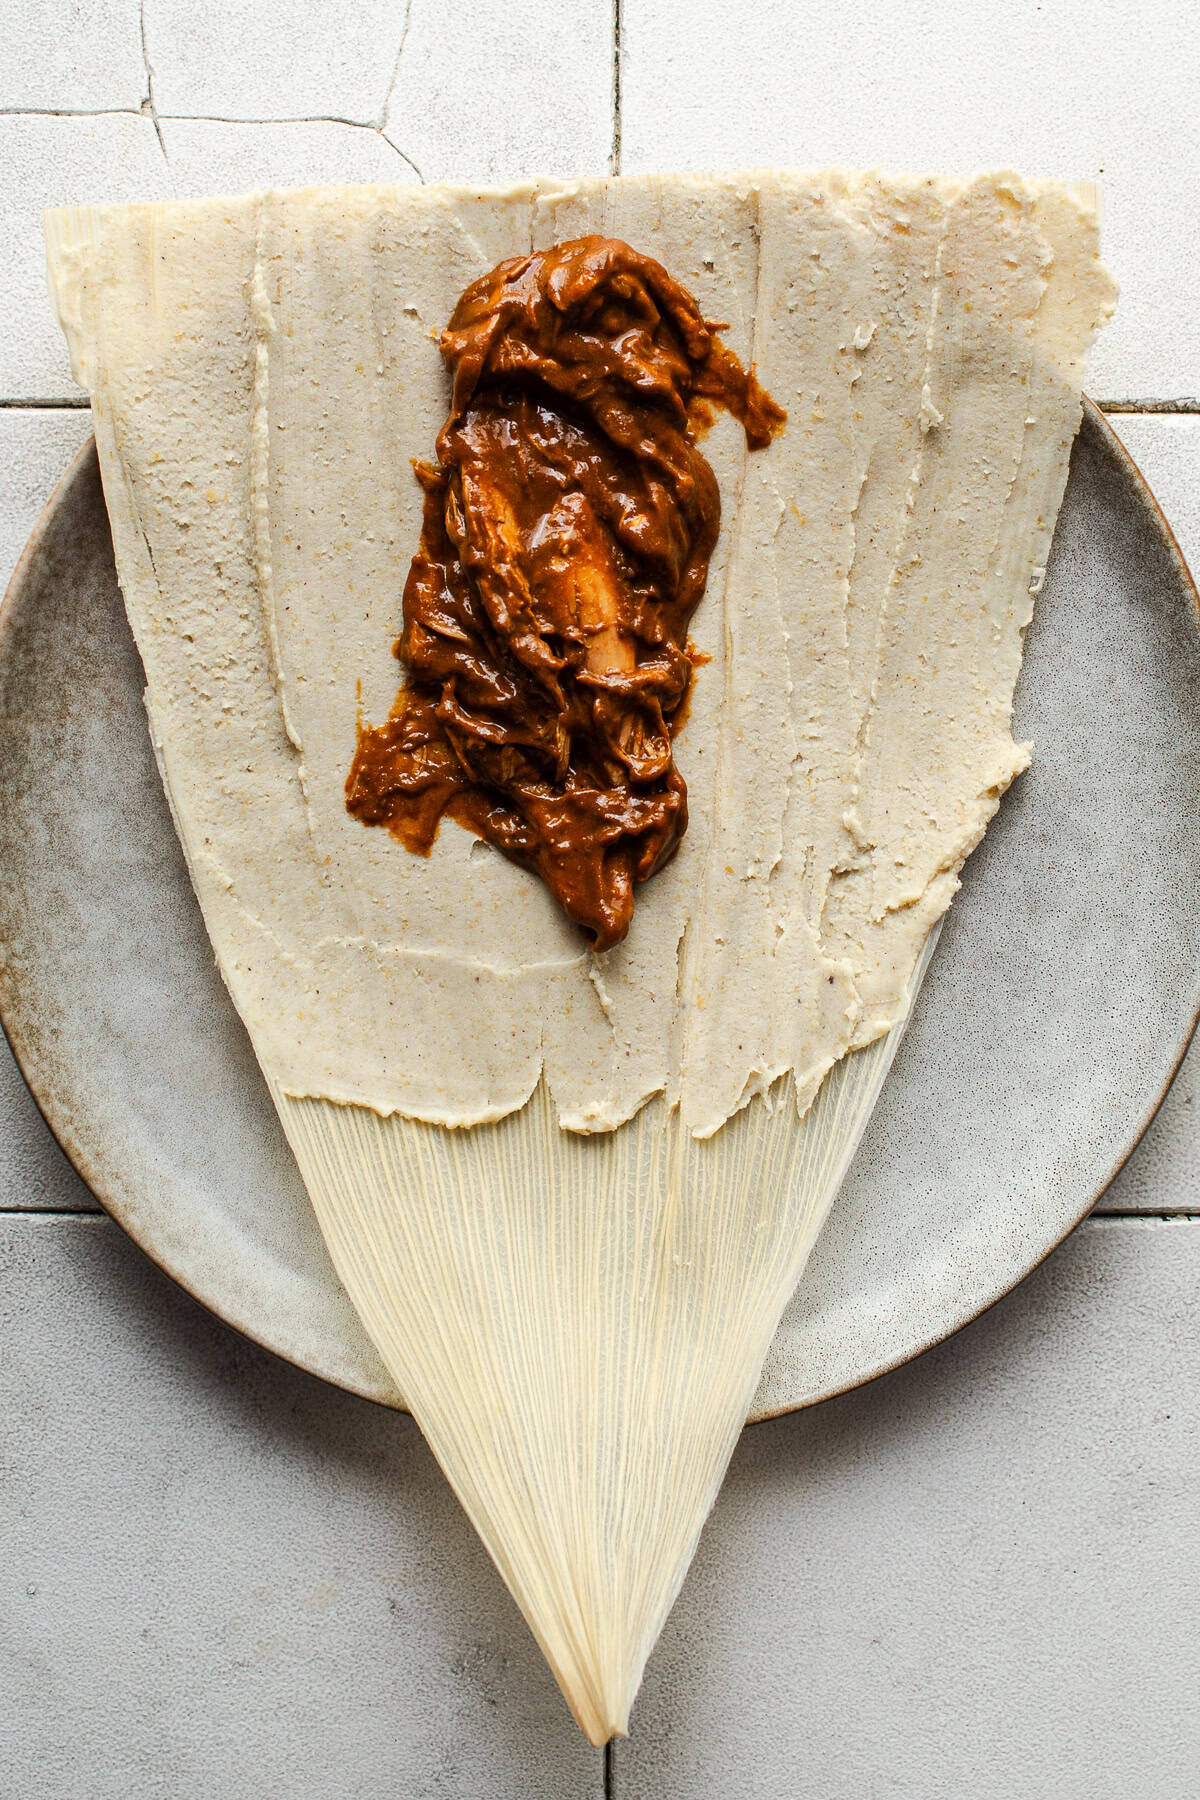
Assemble the tamales. Spread a thin layer of masa onto the smooth side of a softened corn husk, leaving the top third empty. Add a spoonful of chicken mole filling to the center and fold the husk closed.

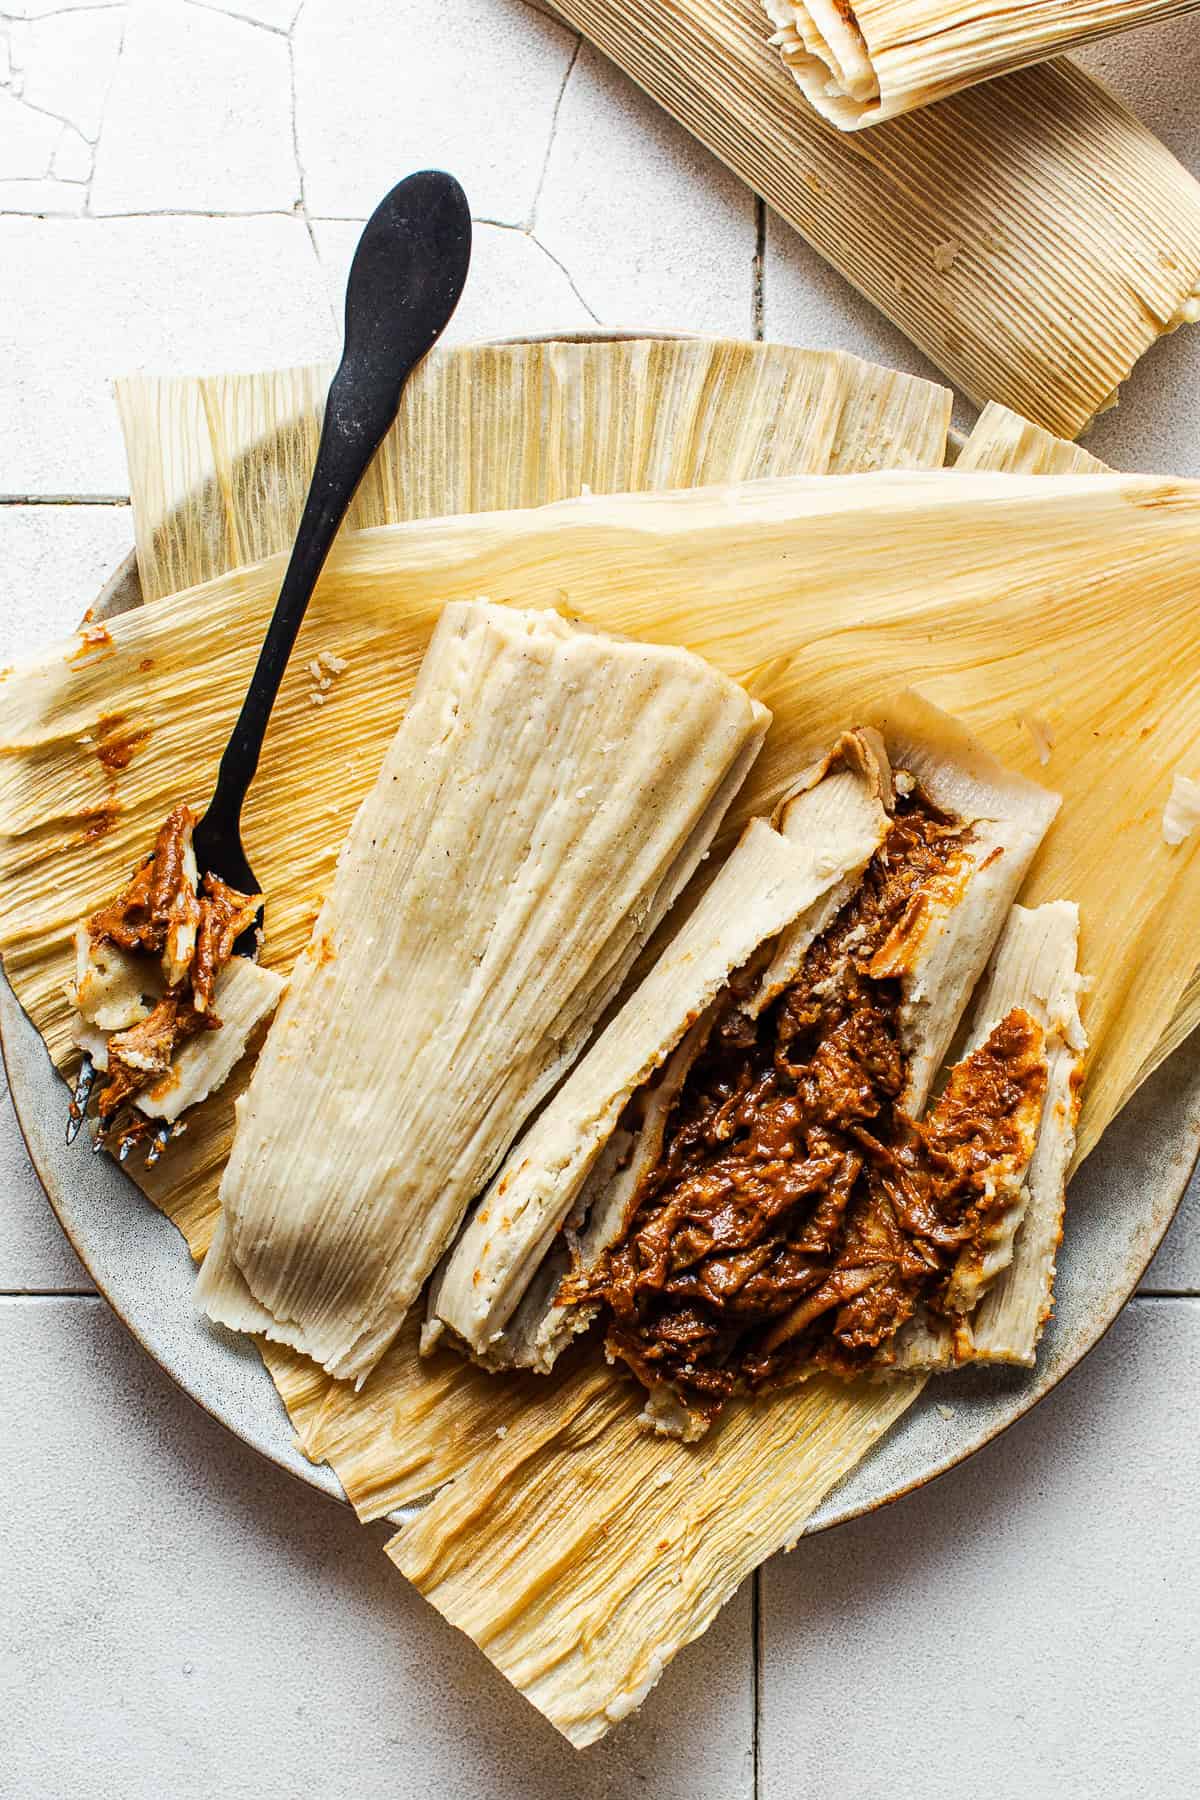
Steam and serve. Place the assembled tamales upright in a steamer and cook until the masa pulls away easily from the husk. Let them rest for a few minutes, then serve warm.
Recipe Tips & Variations
Prep and make ahead. You can make the mole filling up to 3 days in advance. The masa can also be made ahead and refrigerated; just bring it to room temperature before using.
Trim corn husks if needed. Make sure to separate the corn husks before soaking them in water so they are evenly soaked. Corn husks also come in a wide variety of shapes and sizes, so feel free to trim the ends to make them more uniform.
Add a layer of corn husks on the bottom of the steam pot. This helps prevent simmering water from splashing into the steamer and also creates gentler steam for your tamales.
Don’t skip the rest time. Tamales are a bit soft right out of the steamer but firm up as they cool. Give them 10 minutes before serving.
Use lard instead of oil. Swap the canola oil for an equal amount of lard for a more traditional, richer flavor.
Frequently Asked Questions
Yes. You can use a large pot with a steamer basket, or even a colander set over a pot of boiling water. Just make sure it’s covered tightly with a lid.
Remove one tamale, let it cool for 10 minutes, then try to peel back the husk. If the masa separates cleanly from the husk, they’re ready. If it sticks, steam for another 15 minutes and try again.
Yes. Let them cool completely, then freeze in a freezer-safe container for up to 6 months. Reheat by steaming for 15 minutes or microwaving for 1–2 minutes.
More Tamales to Make
Tamales de Mole
Ingredients
For the masa
- 4 cups plus 2 tablespoons masa harina
- 2 teaspoons fine salt
- ½ tablespoon baking powder
- 1 cup canola oil
- 3 ¼ cups chicken broth
For the mole filling
- 2 teaspoons olive oil
- 2 Roma tomatoes, quartered
- ½ medium white onion, roughly chopped
- 2 cloves garlic
- 3 guajillo chiles, stemmed and seeded
- 3 árbol chiles, stemmed
- ¼ cup roasted unsalted peanuts
- 12 grams Mexican chocolate (about ⅛ tablet of round disc)
- 4 cups chicken broth
- 1 (8.25-ounce) jar Doña Maria mole paste
- 2 teaspoons kosher salt
- 1 teaspoon ground cumin
- 3 black peppercorns
- 4 cups cooked shredded chicken (about 1 ½ pounds)
Instructions
- Prepare the corn husks: Add the corn husks to a large bowl or pot. Pour enough hot water over them to completely cover them. Cover the bowl with plastic wrap and let them soak for 1 hour to soften. Meanwhile, make the dough and prepare the filling.
- Make the dough: In the bowl of a stand mixer, add the masa harina, salt, and baking powder. Mix briefly to combine. Add the canola oil and mix using the paddle attachment on medium-low speed. The dough should feel a little crumbly, almost like wet sand, and should lightly hold its shape when pressed together.
- Slowly add the broth and mix for about 8-10 minutes on medium-high speed until the dough is fairly wet and well saturated. The dough should be soft, fluffy, and spreadable. If the dough is too dry, add more broth. If it’s too wet, add more masa harina. Cover and set aside.
- Make mole filling: In a large pot, heat the olive oil over medium heat. Add the tomatoes, onion, and garlic, and cook for 5-7 minutes until softened and starting to brown.
- Add the guajillo and árbol chiles, the peanuts, and the Mexican chocolate. Sauté for an additional 2 minutes until the chiles are toasted and fragrant. Add the chicken broth, bring to a gentle simmer, reduce the heat to low, cover, and cook for 15 minutes.
- Transfer everything to a large blender, and add the mole paste, salt, cumin, and peppercorns. Blend for several minutes until smooth.
- Pour the mole sauce into a large pot and stir in the shredded chicken. Cook on medium-low heat for 5 minutes, then set aside.
- Finish prepping the corn husks: Drain the water from the corn husks and pat them dry. Remove and discard any corn silk that may be on the husks. Lay the husks flat onto a baking sheet for easy access.
- Spread the masa: Grab a corn husk and identify which is the smooth side and which is the side with ridges. Place the smooth side face up into your palm or on a plate. Using a large spoon, grab a heaping spoonful of masa and place it in the middle of the corn husk. Using the back of the spoon, spread the masa in a thin layer to create a rectangle shape, leaving the top ⅓ of the corn husk empty.
- Add the filling: Spoon 1 ½ -2 tablespoons of mole filling into the center of the corn husk.
- Fold: Fold together the long edges of the corn husk like a book, and then fold it once more. Fold the pointy edge over so that only one side of the corn husk is open and exposed. Place in a bowl with the open end facing up, making sure to lean them against the side so it doesn't fall down. Repeat until all the tamales have been filled and assembled.
- Prepare the steamer pot: Fill the bottom of the steamer pot with water and cover with the steamer insert. Place the tamales in the steamer with the open end facing up, making sure to lean them against the side of the pot so they don't fall down.
- Steam: Cover tightly with the lid and place the steamer over high heat. Bring the water in the steamer pot to a boil (you should be able to hear it bubbling), then reduce the heat to low, and cook for 1 hour to 1 hour and 15 minutes. To test if the tamales are ready, remove one from the pot and let it cool slightly for 5 minutes. Carefully peel back the husk. If the masa separates cleanly from the husk, then they’re ready.
- Rest and serve: Carefully transfer the tamales to a baking sheet or serving platter and let them sit and cool slightly for 10 minutes. They may be a little squishy when you first take them out of the steamer, but will quickly firm up once they have time to cool. Serve and enjoy!
Notes
- Chicken. You can use homemade shredded chicken using my shredded chicken recipe, air fryer whole chicken recipe, or use a store-bought rotisserie chicken and shred at home.
- Mixing by hand. You can definitely make the masa dough without a stand mixer, it just requires some arm muscle. Mix together the dry ingredients, then incorporate the oil until the mixture is crumbly. Slowly add the chicken broth until well combined then continue mixing vigorously by hand for 8-10 minutes until light and fluffy.
- Using lard. You can swap the canola oil for an equal amount of lard for a more traditional, richer flavor.
- Storage and reheating. Store leftover tamales in an airtight container in the fridge for up to 1 week. To reheat, steam them for 15 minutes, warm them in a 350°F oven for 10 minutes, heat them on a hot griddle for 2 minutes per side, or microwave in batches for 1–2 minutes. They freeze beautifully, too. Just wrap them well and freeze for up to 6 months.
Nutrition
Nutrition information is automatically calculated, so should only be used as an approximation.
Photography by Ashley McLaughlin.