These authentic and irresistible Mexican Sopes can be layered with all of your favorite toppings like chicken, beef, beans, lettuce, cheese, and salsa. Made with only 4 ingredients, you can bake or fry them to perfection in only a few minutes!
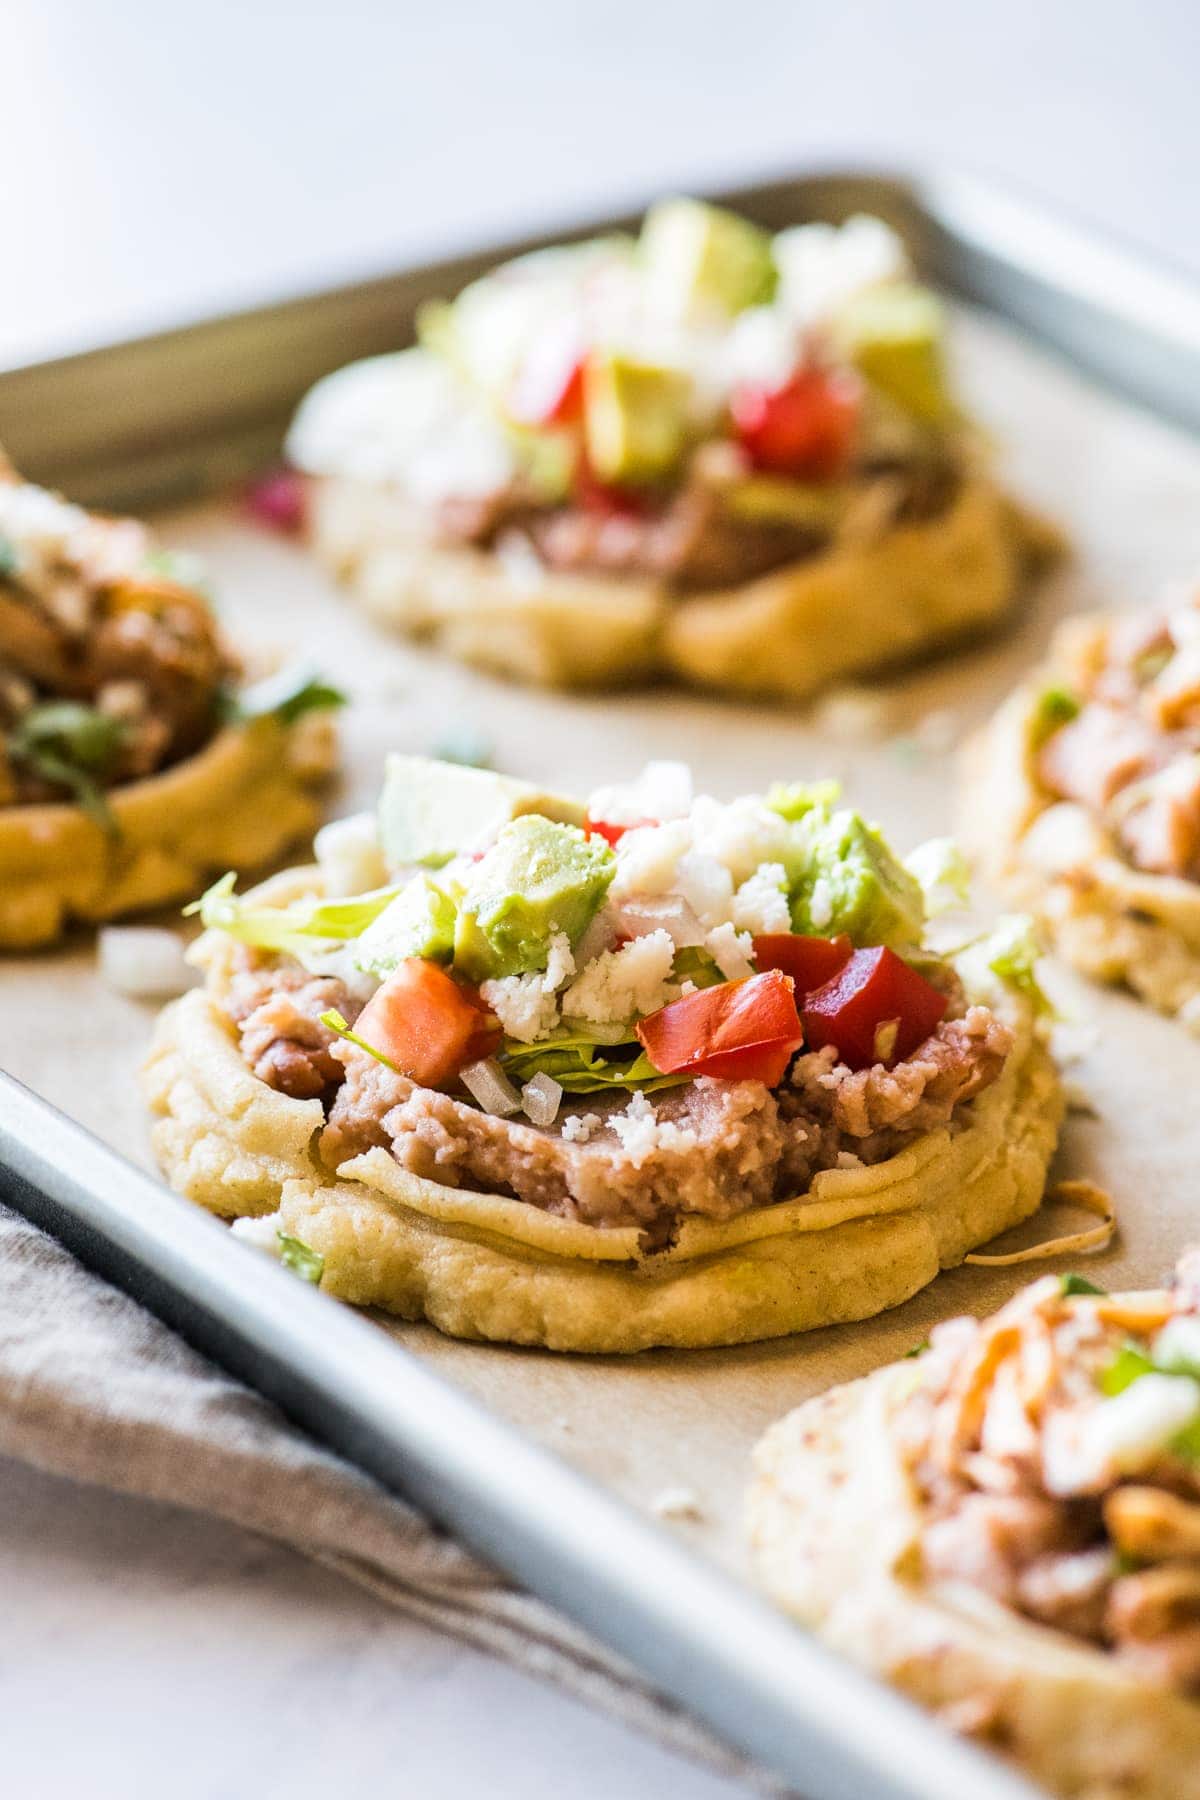
It’s hard not to love these Mexican Sopes. Made with 4 simple and budget-friendly ingredients, these small corn masa cakes are just like a corn tortilla but with a rim all around the edge. They’re the perfect base for all of your favorite toppings, like refried beans, carnitas, and salsa.
You can bake or fry this Mexican dish to the right amount of crispiness. When they’re done, store the sopes in the fridge for up to a week so you can have sopes whenever you want! All you have to do is reheat and then layer on any toppings you desire.
Serve your sopes with eggs and chorizo for a fun breakfast or with refried beans and cheese for a quick and easy snack. There is never a wrong time to enjoy them!
What are sopes?
Sopes (pronounced soh-pez) are a thick corn tortilla-like masa cake made from masa harina, water, salt, and oil. They originated in central Mexico and act as plates for an abundance of toppings, like chicken, vegetables, and salsa.
Sopes are also considered antojitos (meaning “little cravings” in English), which are appetizers or snacks that are popular late at night or as street food. Chilaquiles, elote, and tostadas are all examples of delicious antojitos!
These corn cakes are almost exactly like gorditas, which are made from a similar dough. The only difference is gorditas puff up and are stuffed on the inside rather than layered on top.
Want to Save This Recipe?
Enter your email and we’ll send it straight to your inbox. Plus new recipes each week!
Ingredients You Need
- Masa harina: The base of plenty of delicious Mexican recipes, masa harina is made from dried maize corn. This ground corn flour is used to make corn tortillas, atole, tamales, and more.
- Oil: You’ll need olive oil to add moisture to the dough as well as vegetable oil if you plan on frying the sopes.
- Salt: For flavor and balance in the dough.
- Water: A simple mix of hot water, oil, masa harina, and salt is all that’s needed to form the sopes dough.
How to make sopes
Make the dough: Whisk the masa harina and salt together in a bowl. Pour in the hot water and olive oil and mix until the liquid is absorbed. Use your hands to form the dough into a ball, then cover the bowl with a clean kitchen towel and let it rest for 20 minutes.
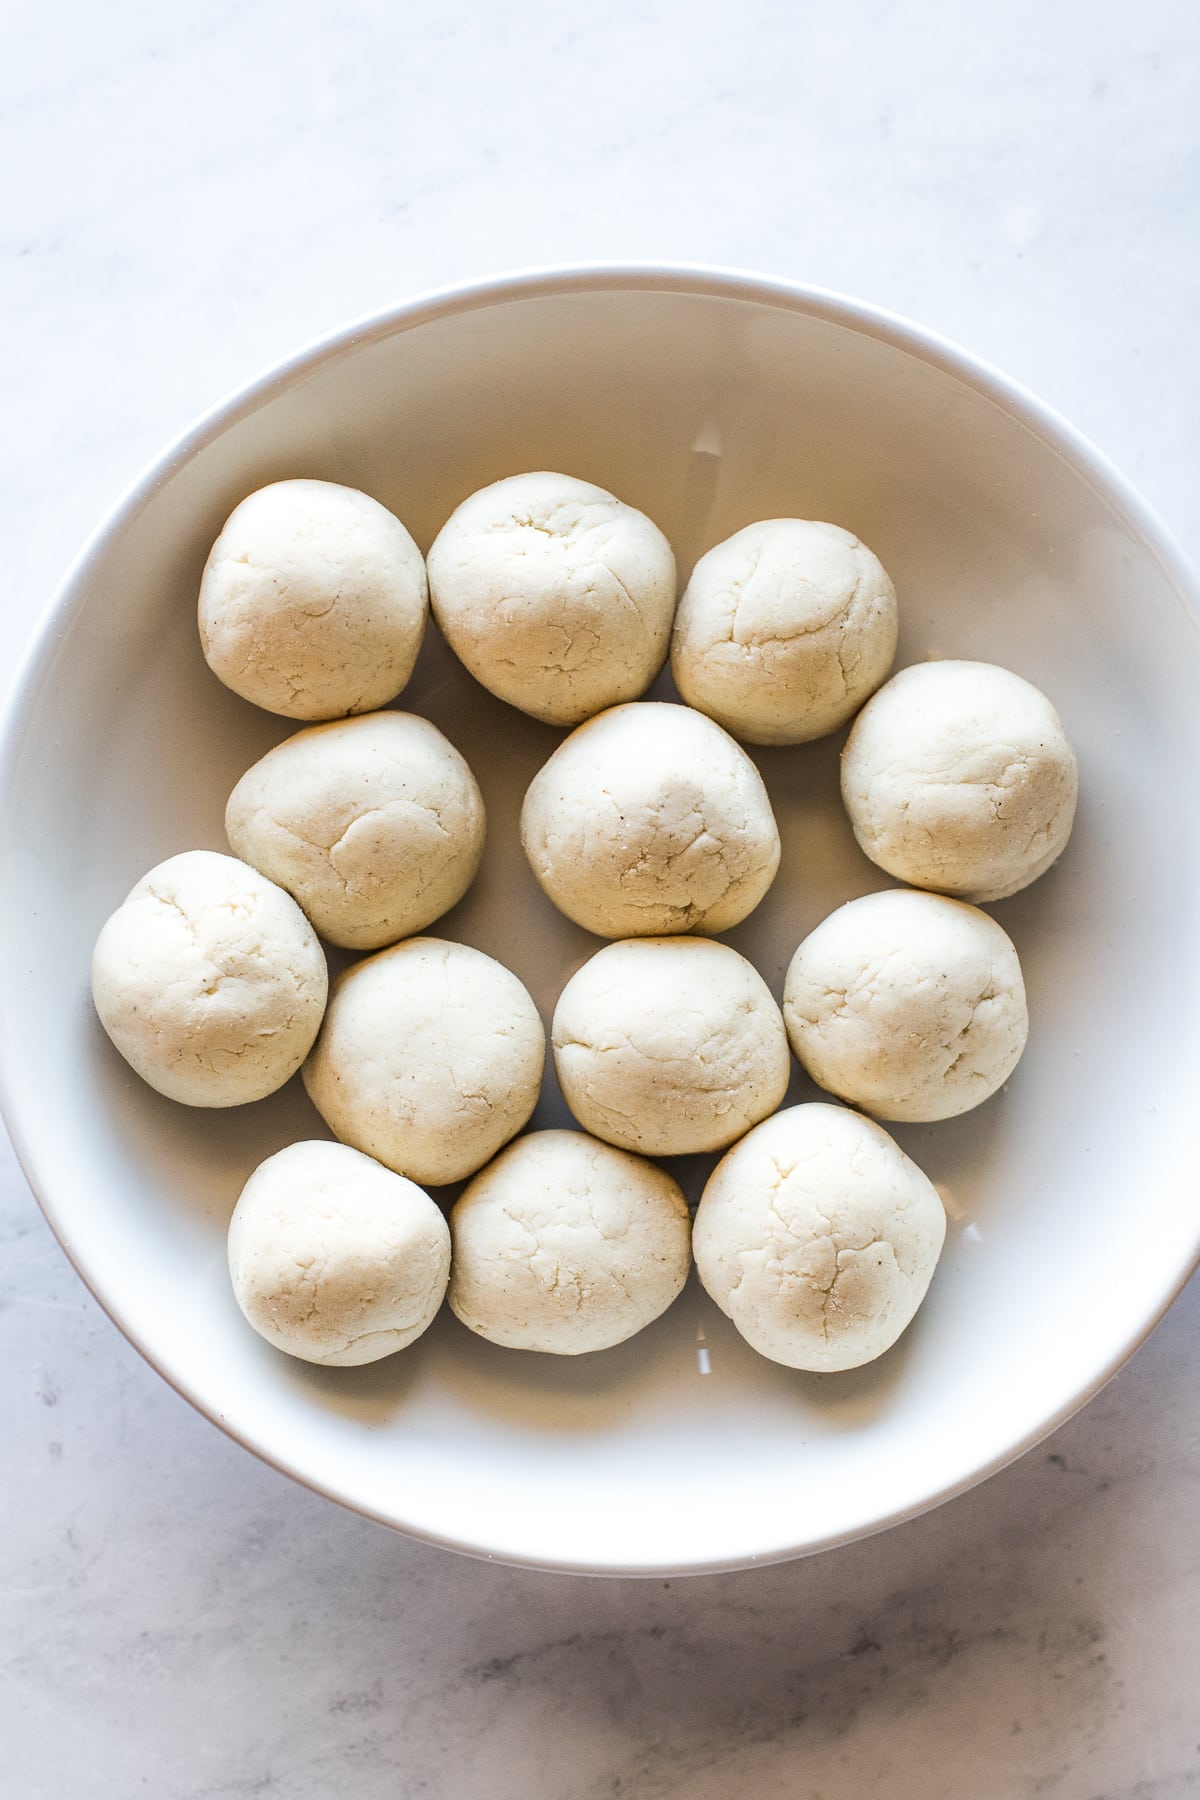
Divide the dough into balls: Divide the rested dough into 14 equal pieces. Roll each piece into a ball using your hands and place them back in the bowl. Keep the bowl covered so the dough can stay moist.
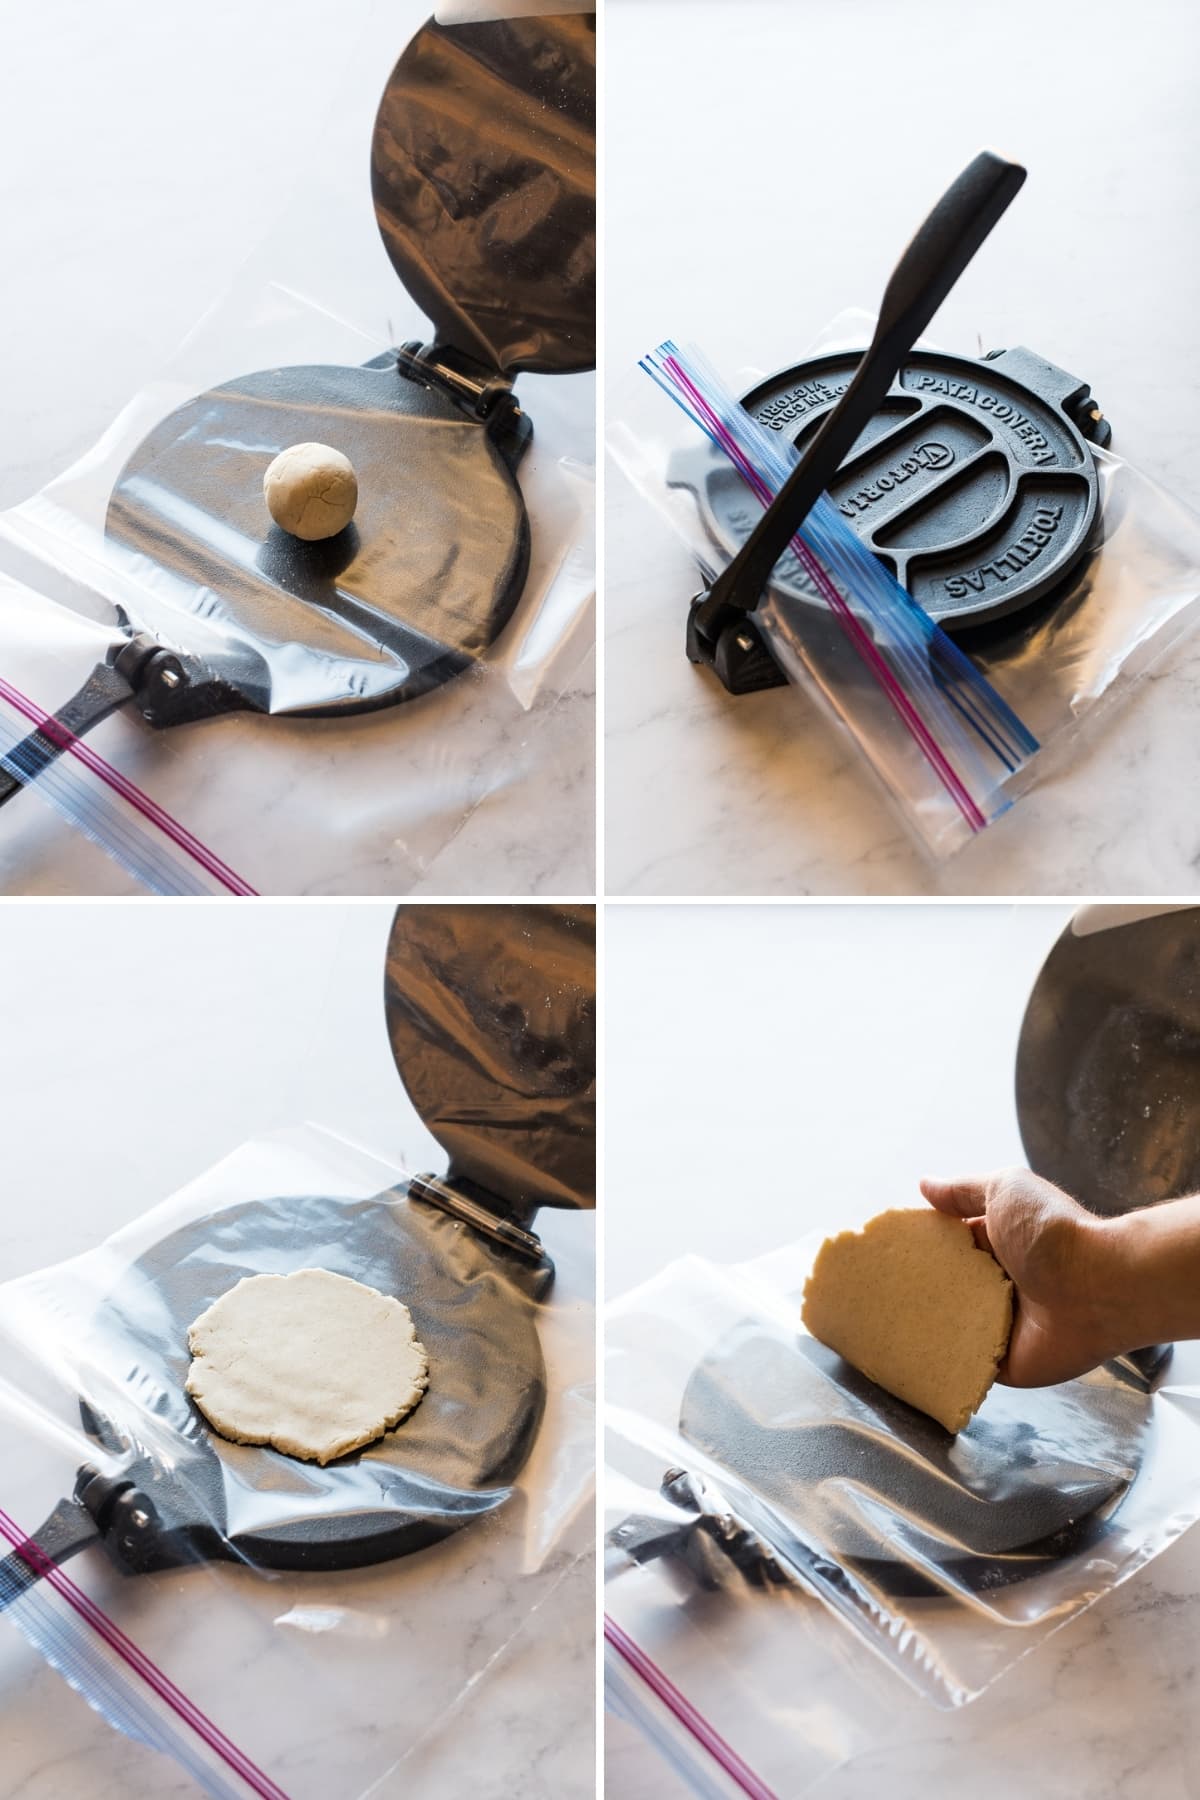
Press each ball of dough: Open a gallon-sized zip-top bag and cut the seams on each side so that it makes one large rectangular piece of plastic. Lay the plastic on the inside of a tortilla press. Place one dough ball in the middle, close the top, and gently press to flatten.
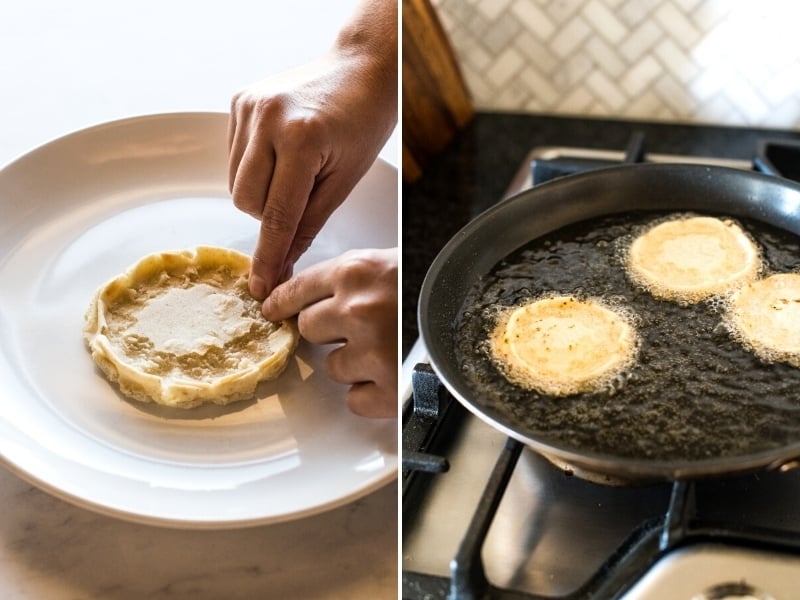
Form and cook the sopes: Cook each flattened piece of dough on a hot griddle or skillet like you would a corn tortilla. Cook each side for around 30-45 seconds until they have beautiful brown marks. Then, fry the formed sopes in a skillet with vegetable oil for about 2 minutes until crispy and light golden brown. Transfer the fried sopes to a paper towel-lined plate or wire rack to drain off any excess oil.
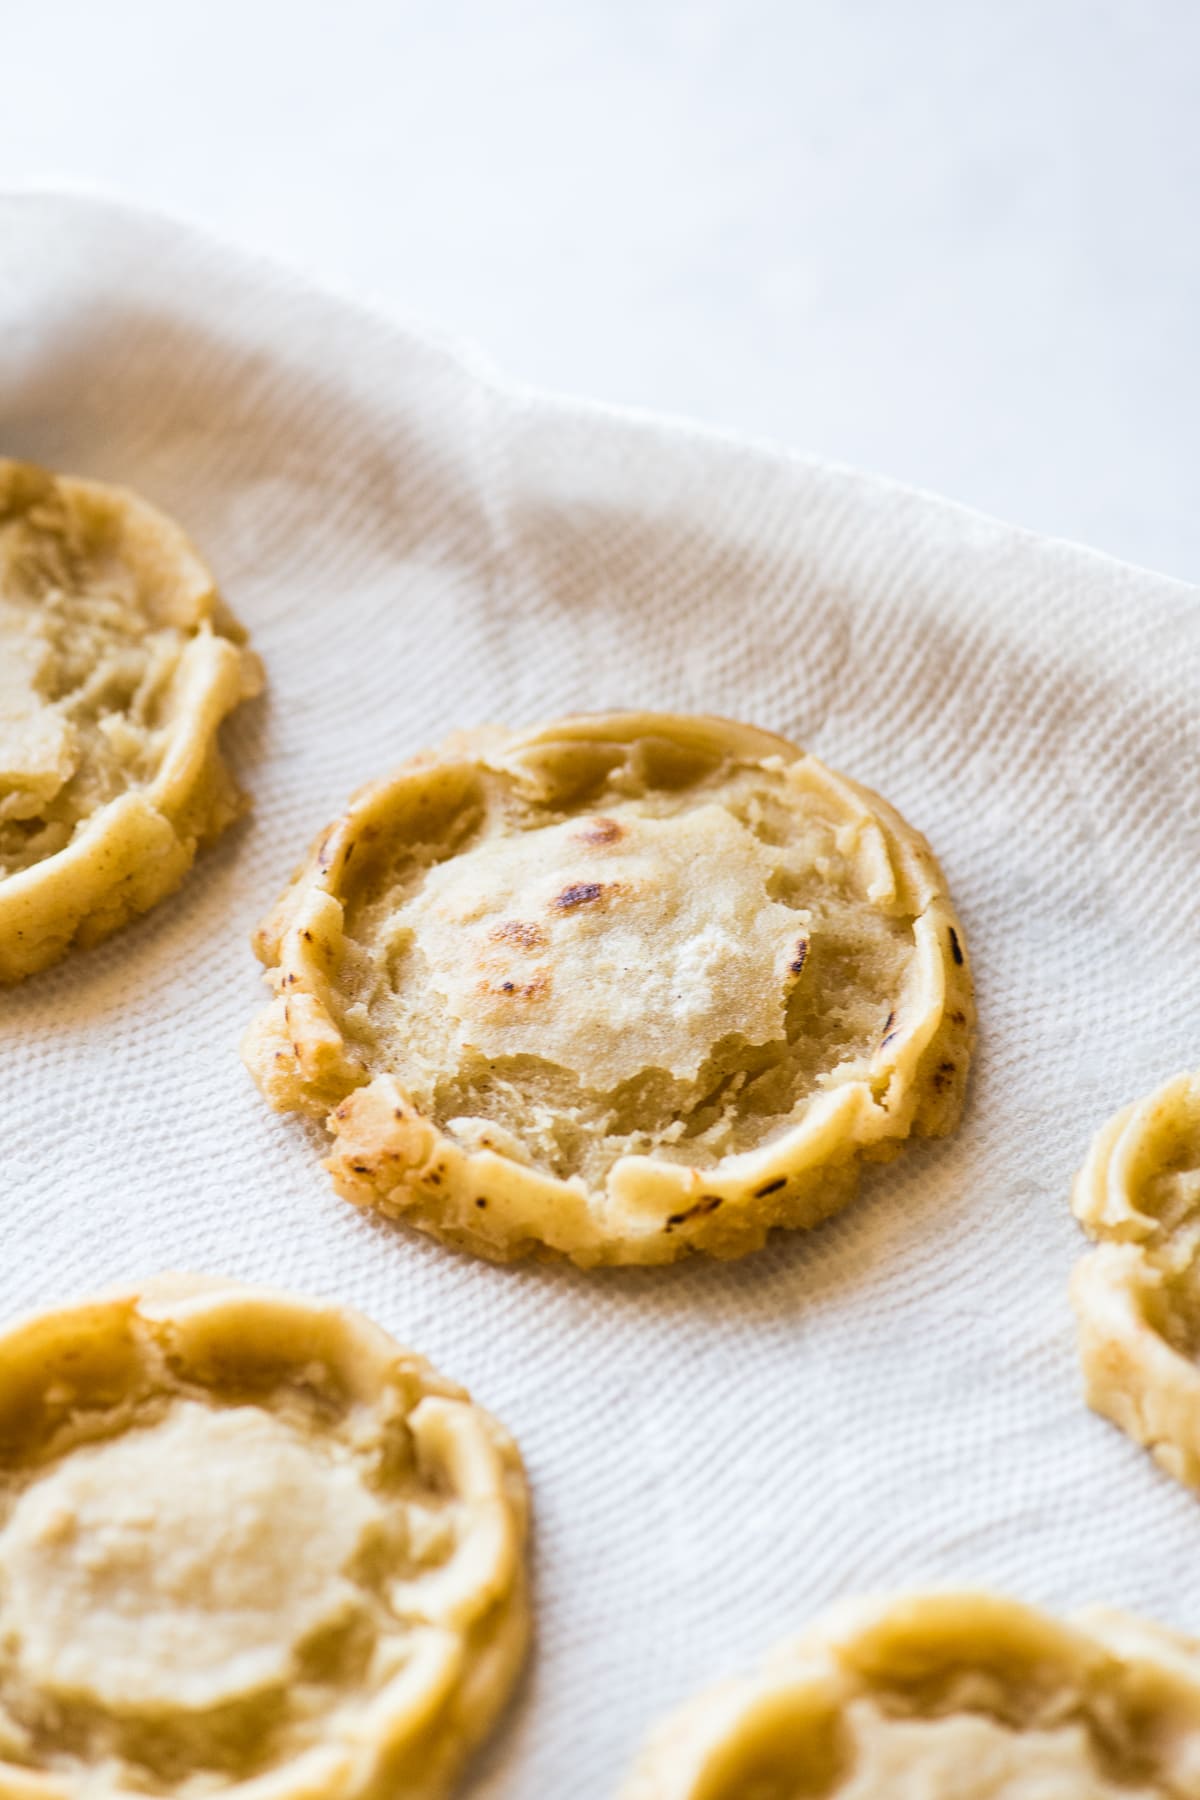
All that’s left to do is serve with your favorite toppings and enjoy! See below for suggested toppings.
Can you bake sopes?
If you’re not a big fan of frying, then baking is the way to go! It’s my family’s preferred cooking method, so I can attest to how crispy baked sopes really are (plus, you get to consume less oil). Here’s how to bake them:
- Prepare the dough, flatten, and form each piece as normal.
- Preheat your oven to 400ºF.
- Transfer the formed sopes onto 2 large baking sheets. Bake for 5 minutes.
Helpful Tips
- When flattening the dough, make sure the dough is thicker than a regular corn tortilla. If you over-flatten the dough, simply gather the dough, roll it into a ball, and try again.
- The dough should be firm and springy when touched, not dry or super sticky. If the mixture is too dry, add more water in small amounts until the dough is springy and holds together.
- I prefer to use a gallon-size zip-top bag or parchment paper rather than plastic wrap when flattening the masa balls. Plastic wrap tends to stick to the dough and the tortilla press. A zip-top bag or parchment paper is hassle-free!
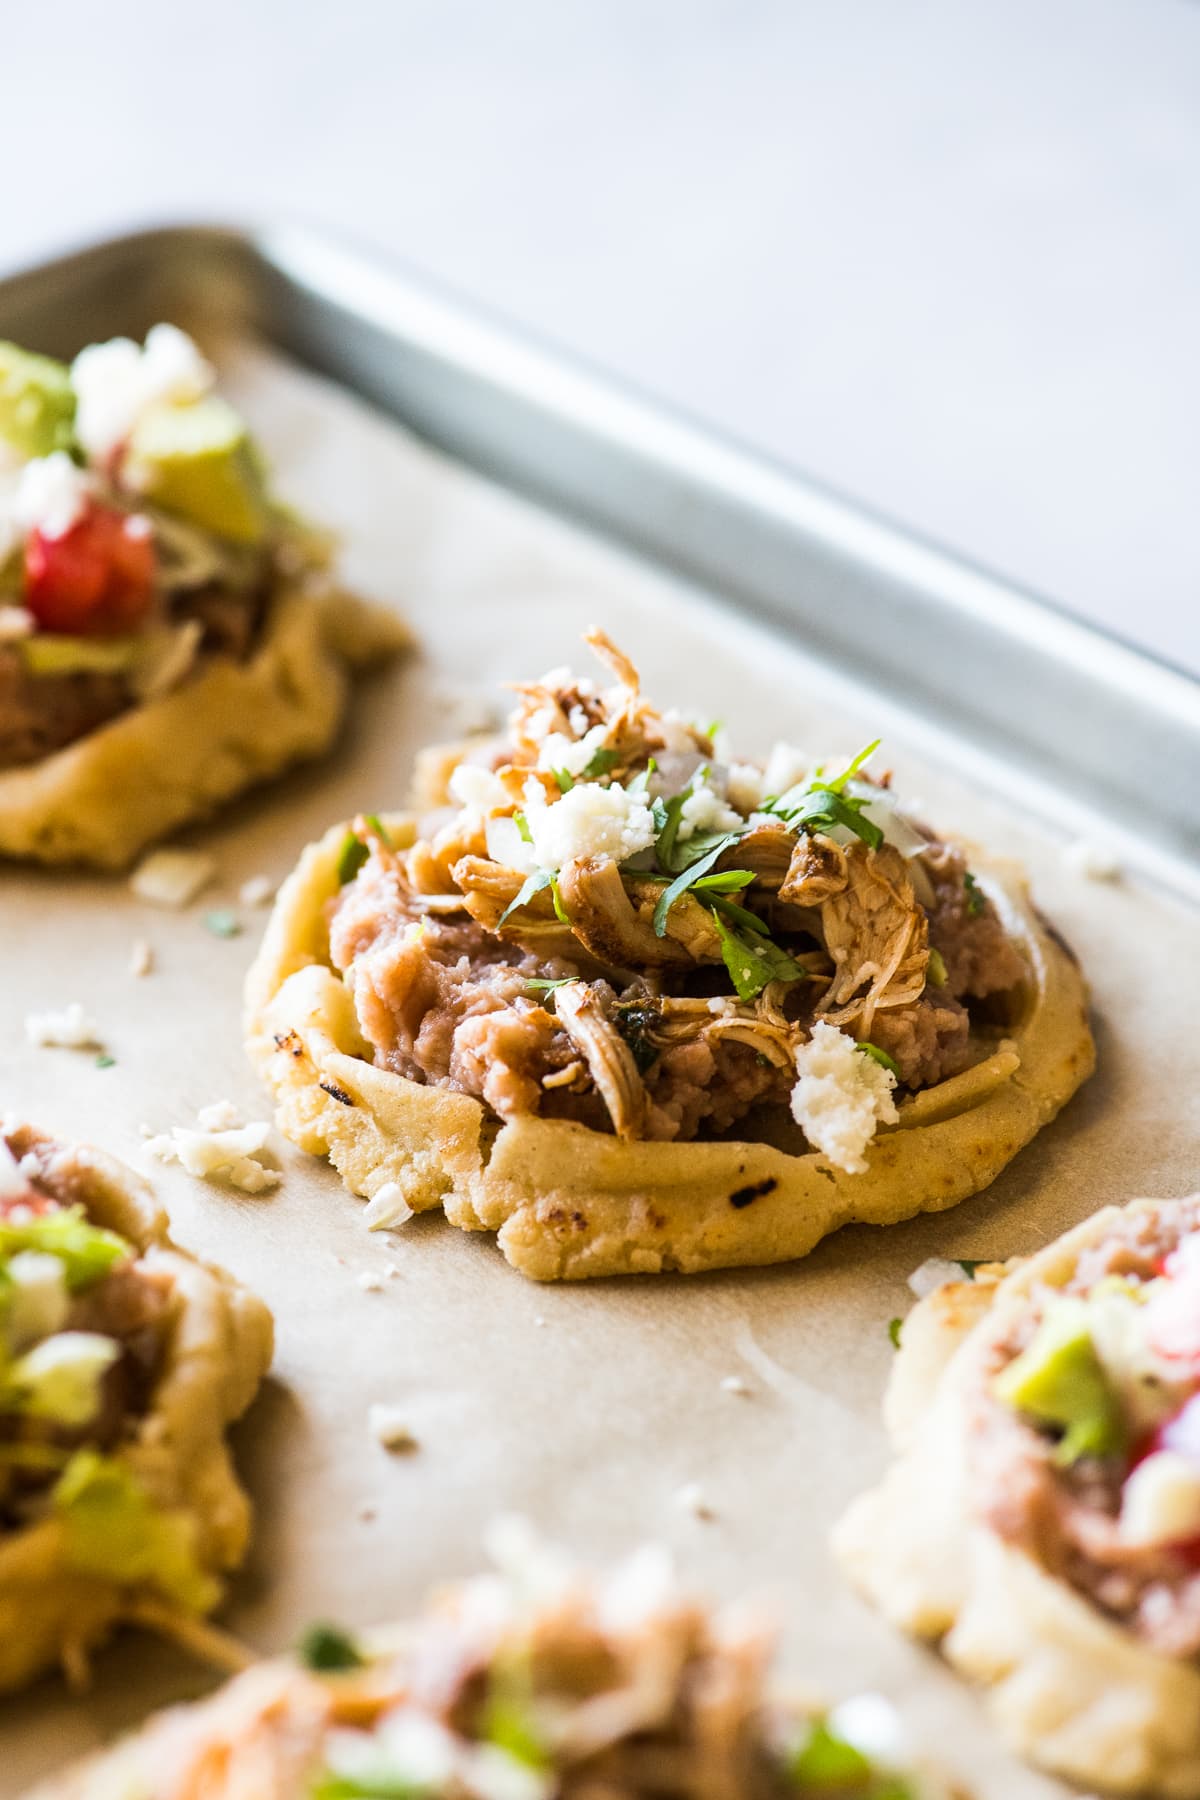
Toppings for sopes
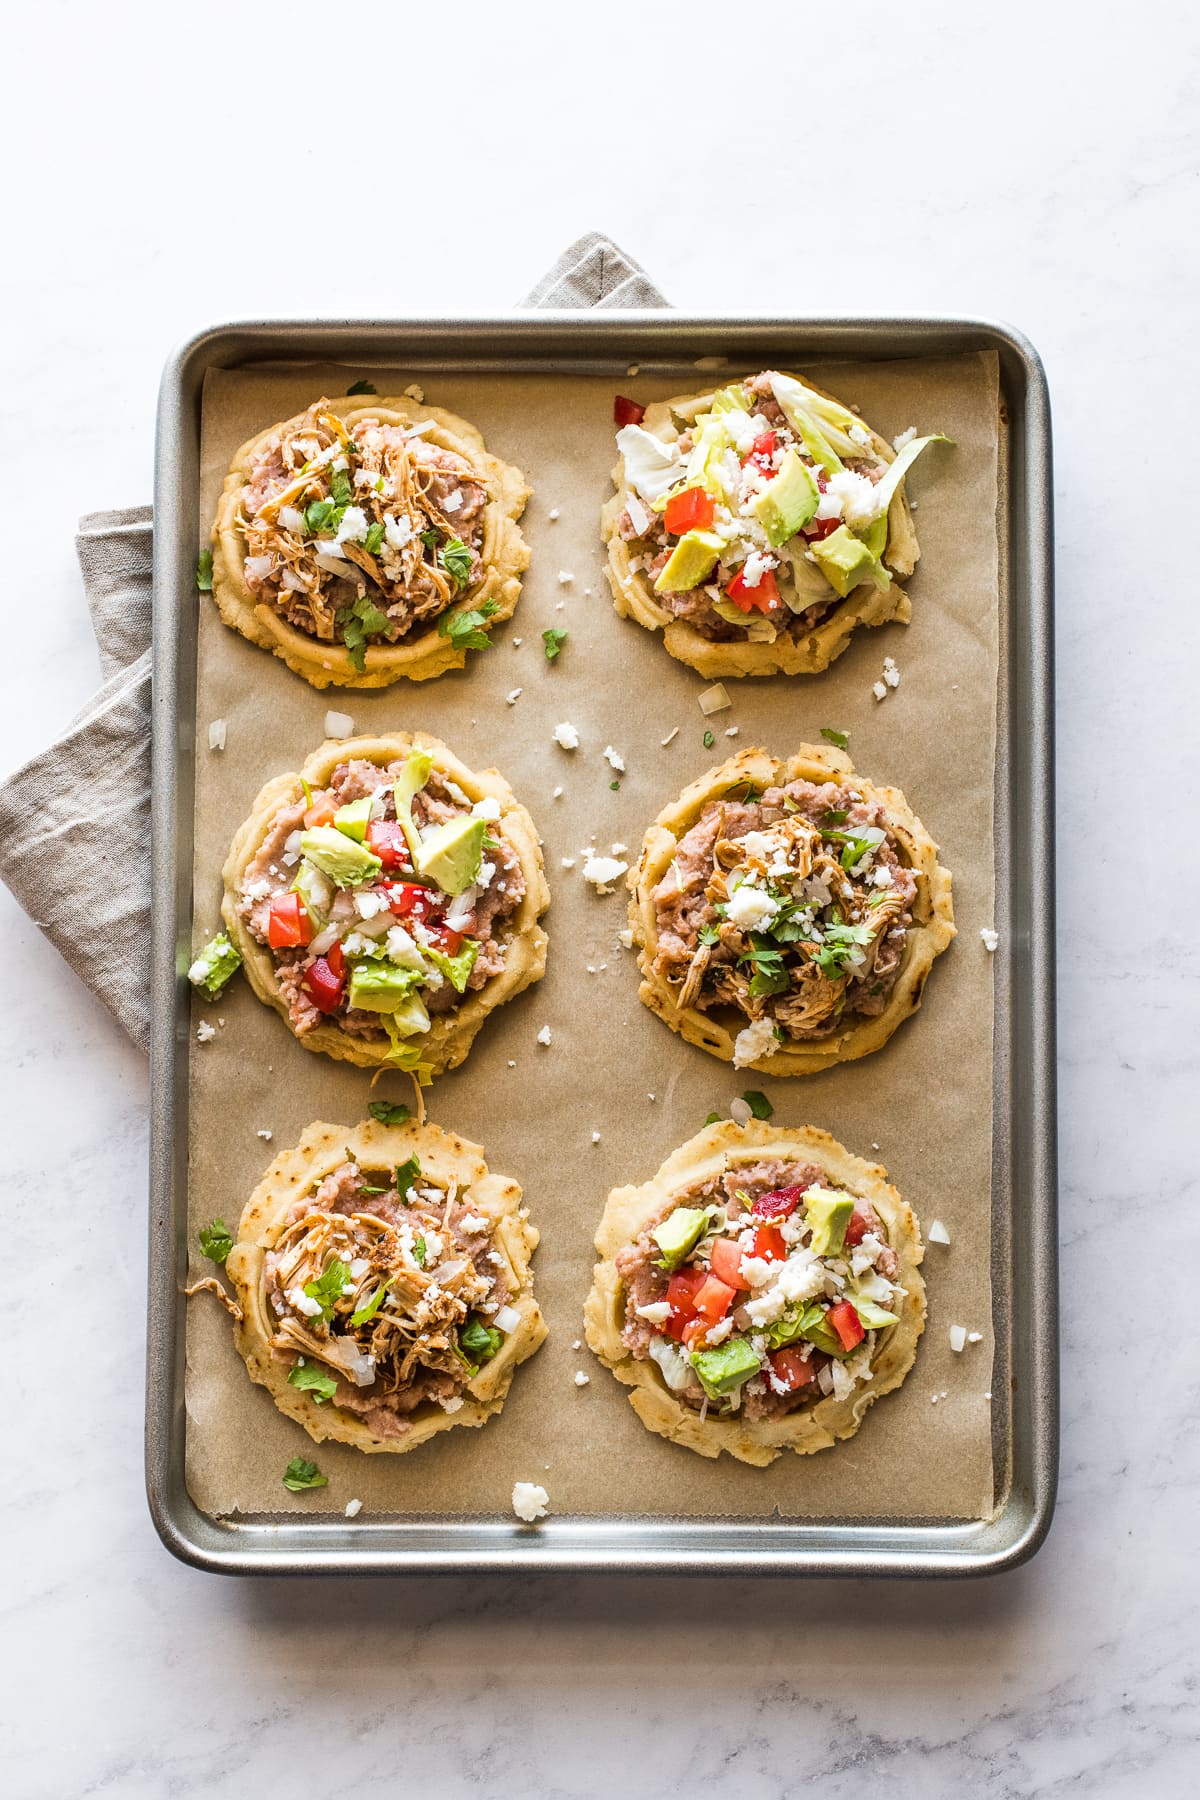
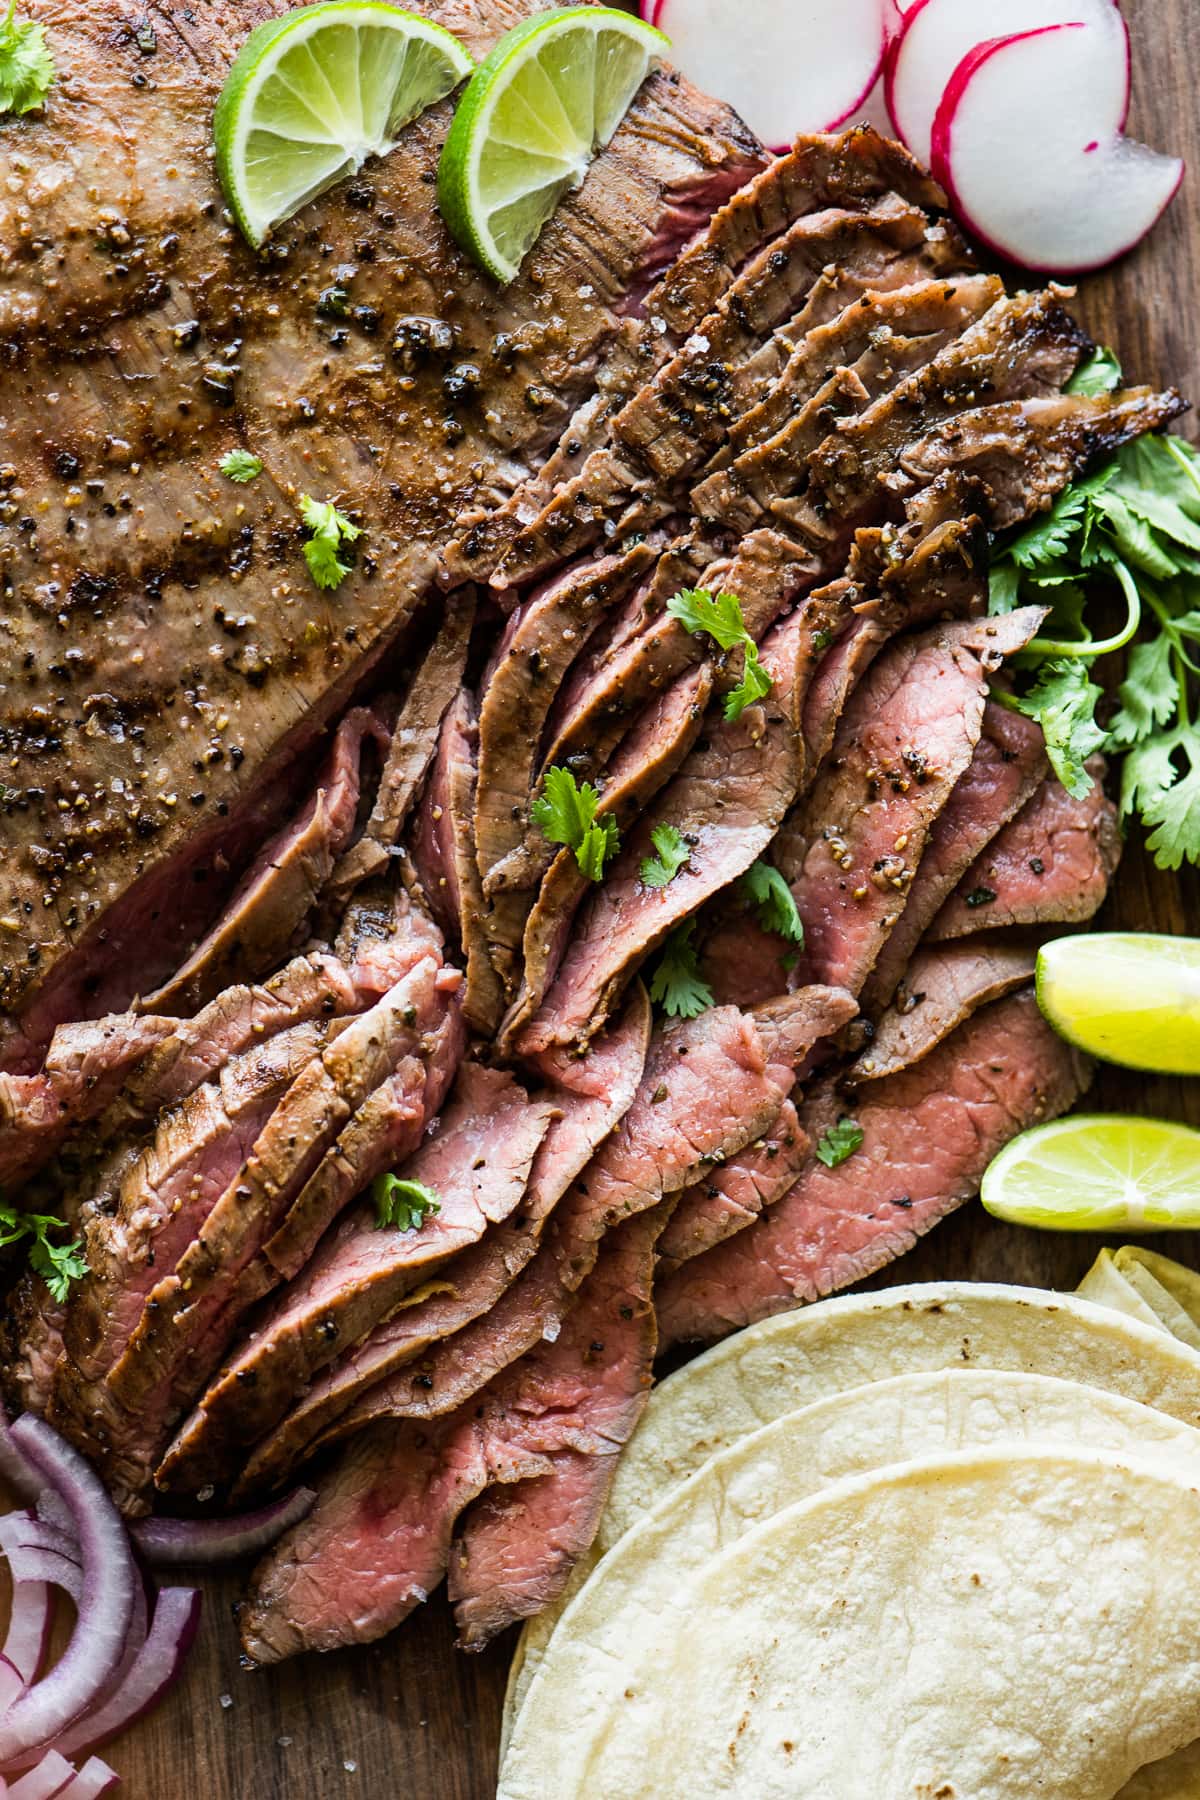
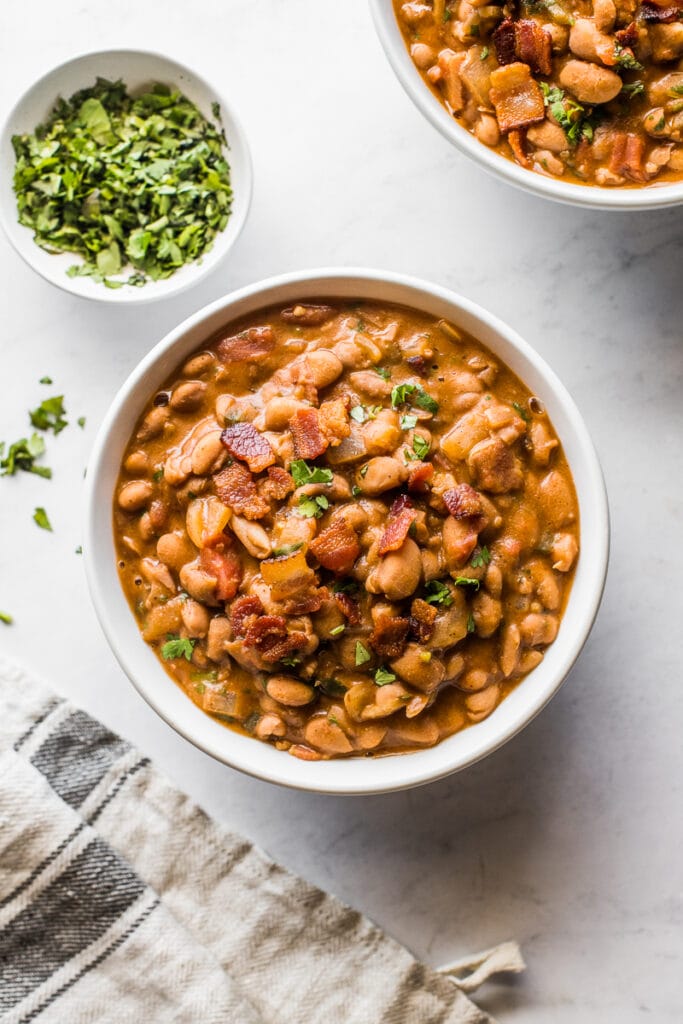
Keep things simple with a generous helping of refried beans, queso fresco, picadillo, shredded chicken, barbacoa, or carne asada, chopped lettuce, thinly sliced cabbage, and chile de arbol salsa on top of your sopes.
They’re also great topped with any Mexican leftovers you have in the fridge! Just garnish it with a little cilantro, diced onion, and your favorite hot sauce, and dig in.
Making ahead, storing, and reheating
To make ahead of time, prepare the ball of dough as normal and then wrap it tightly in plastic wrap. You can keep it in the fridge for a few days or before forming the sopes. Alternatively, fry all of the sopes, store in the fridge, and then reheat to serve later.
To store, keep the cooked sopes in an airtight container in the fridge for up to 1 week. You can also freeze them for up to a month. Leave the frozen sopes to thaw in the fridge overnight before reheating.
To reheat, pan-fry or bake the sopes for a few minutes or until they’re back at the desired level of crispiness.
More Mexican Recipes
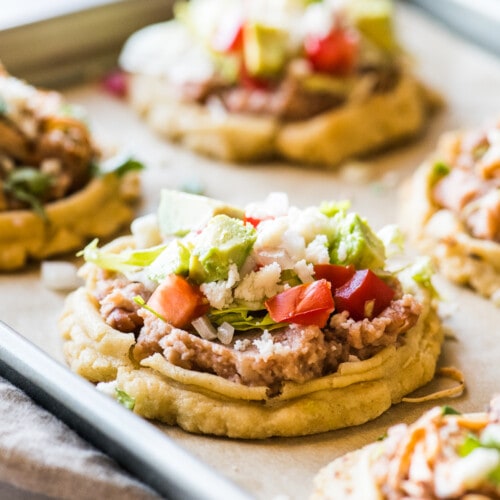
Sopes Recipe
Video

Ingredients
- 2 cups masa harina
- 1 teaspoon fine salt
- 1 ½ cups warm water, plus more as needed
- 1 teaspoon olive oil or lard, optional
- 1-2 cups vegetable oil, only if frying
Instructions
- In a large bowl, combine the masa harina and salt. Stir in the water and oil until a dough forms.
- Using your hands, knead the dough until it fully comes together and all the water is absorbed, about 3 minutes. To make sure it’s ready, grab a small piece and roll it into a ball. Press down on it with a finger. If the edges of the dough crack, the dough is too dry. If the dough sticks to your skin, it’s too wet. Add more water or masa harina as necessary.
- Divide the dough into 14 equal portions, then roll each into a ball. Cover them with a clean damp cloth or plastic wrap to keep the dough moist while you press and make the sopes.
- Heat a griddle or skillet over medium-high heat until hot. While the griddle is heating up, cut the seams off of a large resealable plastic bag so that it makes one large rectangular piece of plastic. Alternatively, you can use parchment paper instead.
- Lay the plastic or parchment paper on the open tortilla press and place 1 dough ball on the bottom half. Fold the other side of the plastic or parchment paper over the dough and gently close and press the upper portion of the tortilla press to flatten it out. Open the tortilla press, carefully peel back the plastic or parchment paper, and transfer the dough to your hand. It should be slightly thicker than a typical corn tortilla.
- Cooking 1 or 2 at a time, place the dough on the hot griddle and cook for 15 to 20 seconds. Flip and cook the other side for 15 to 20 more seconds. Both sides of the dough should looks cooked and lightly seared. You don't want to cook it all the way through like a corn tortilla.
- Transfer the dough to a plate and let it cool for about 30 seconds. When cool enough to handle, pinch the edges around the entire dough using your thumb and index finger to create a rim. (see photos in post for examples)
- Cover the sope with a towel and repeat until all the sopes have been formed.
- To bake: Preheat oven to 400°F. Transfer the sopes to 2 large baking sheets and bake for 5 minutes to fully cook the sopes.
- To fry: Heat vegetable oil in a large skillet over medium-high heat. Once the oil is hot, fry the sopes 2 or 3 at a time, flipping frequently, for about 2 minutes until light golden brown. Drain the sopes on paper towels or a wire rack.
- Serve the sopes with desired toppings like beans, cheese, ground beef, shredded chicken, shredded lettuce, salsa and enjoy!
Notes
Nutrition Information
This post was updated in February 2021 with new photos and slightly modified recipe instructions.








Leave a Reply