This post may contain affiliate links. Please read our disclosure policy.
These grilled shrimp skewers scream summer! Made with a margarita-inspired marinade of tequila, agave, jalapeño, soy sauce, and garlic, these juicy and flavorful shrimp are perfect for grilling. Topped with plenty of lime juice, this Mexican take on grilled shrimp skewers is fresh and flavorful.
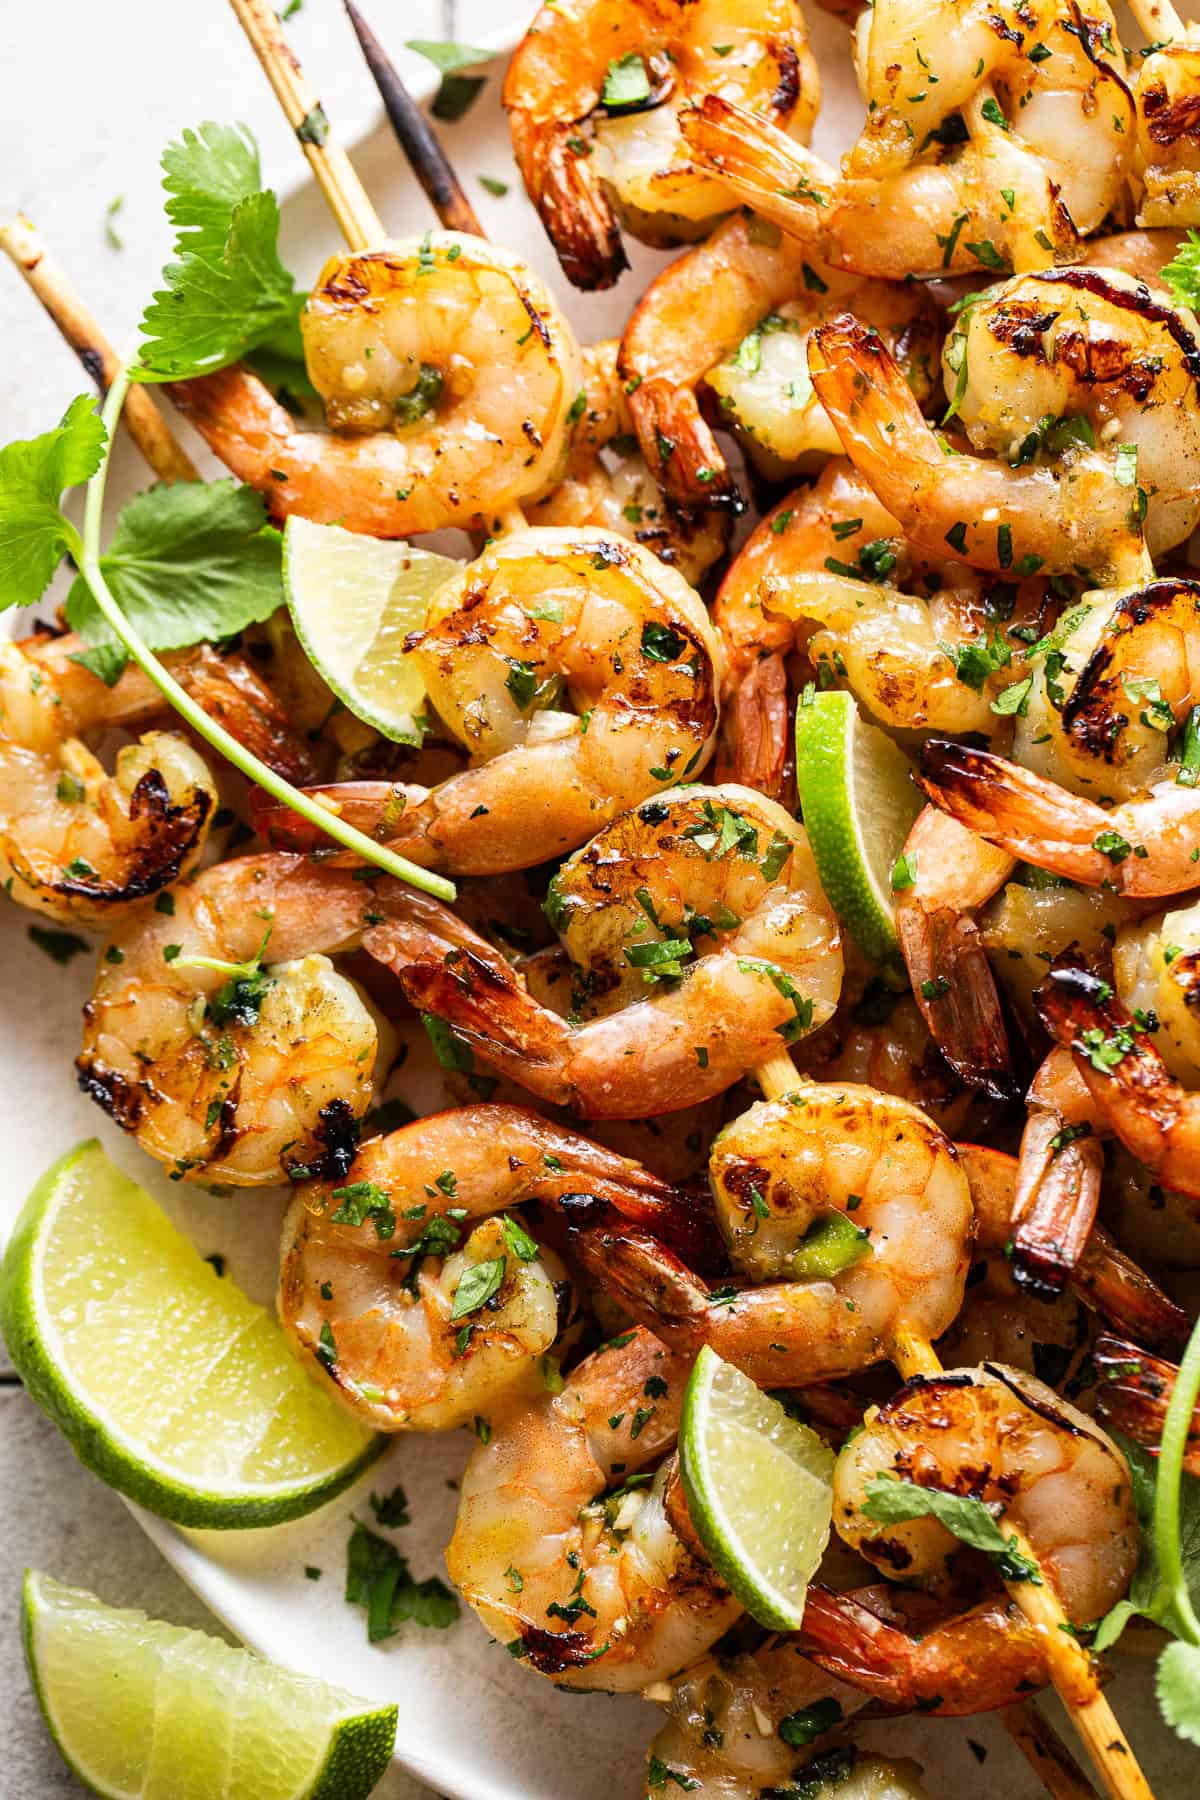
When warmer weather comes along, I find myself wanting to grill for almost every meal. Pollo asado, carne asada, chimichurri chicken – I want it all! Grilling just makes everything taste better in my opinion.
If you’re looking to try something new on the grill this summer that’s easy, flavorful, and a healthier option, I recommend my grilled shrimp skewers.
I wanted to recreate the flavor profile of a refreshing margarita, so I made a marinade featuring those signature flavors like tequila, agave, salt, and some savory components like garlic, jalapeño, and soy sauce, all topped off with lime juice. Here’s why you’ll love this recipe:
- It’s easy. All the shrimp cooks together on the skewers, making it easy to whip up and clean up afterward.
- It’s healthy. Grilled shrimp is a great healthier meal option, packed with protein. You can easily pair it with grilled vegetables like juicy bell peppers for a healthy meal.
Ingredients in Grilled Shrimp Skewers
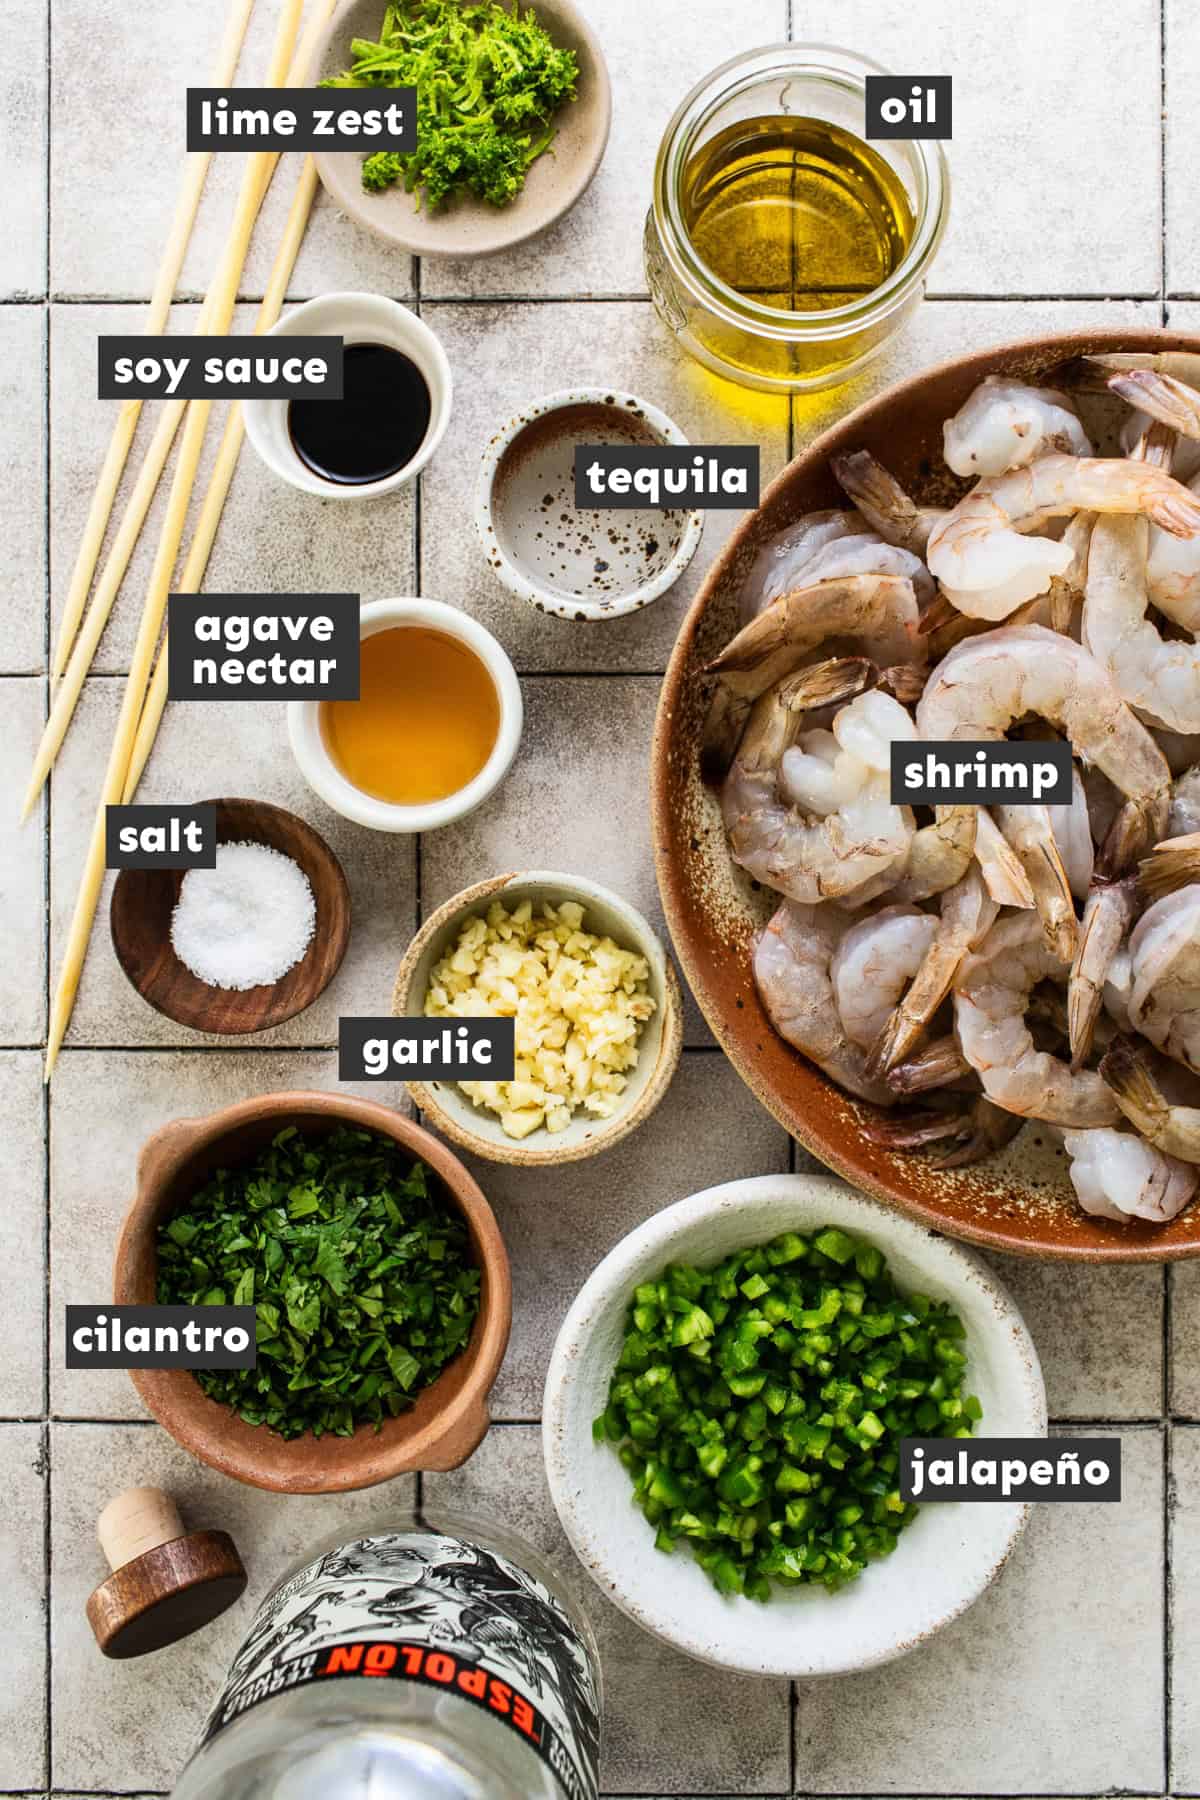
- Large shrimp: Using large shrimp is important so they hold their shape on the skewers. You can also use extra-large or jumbo shrimp.
- Garlic cloves: Garlic cloves add lots of flavor to the shrimp and I prefer to use it over garlic powder.
- Jalapeño: I wanted the earthy and slightly sweet flavor of jalapeños, but without the heat, so I left the seeds out. Feel free to leave them in for a spicy kick.
- Salt: This shrimp marinade is very simple, so making sure to taste for salt to bring out all the flavors of the fresh ingredients is important. I like to use kosher or sea salt.
- Agave: I wanted to mimic the flavors of a classic margarita, so I added a hint of sweetness by using a touch of agave nectar. You can also use honey instead.
- Tequila: I recommend using blanco tequila for a bright and punchy flavor that pairs well with the other savory ingredients, but any tequila works. You can also leave this out completely and use white wine vinegar instead.
- Soy sauce: A splash of soy sauce adds great depth of flavor with its sweet and savory taste.
- Lime juice: Lime juice brings a fresh element and ties together all the margarita-inspired flavors. Make sure to add it at the end instead of in the marinade so the shrimp doesn’t become tough and rubbery.
- Wooden skewers: Soaking the skewers is super important so they don’t burn and disintegrate when grilling.
How to Make Grilled Shrimp Skewers
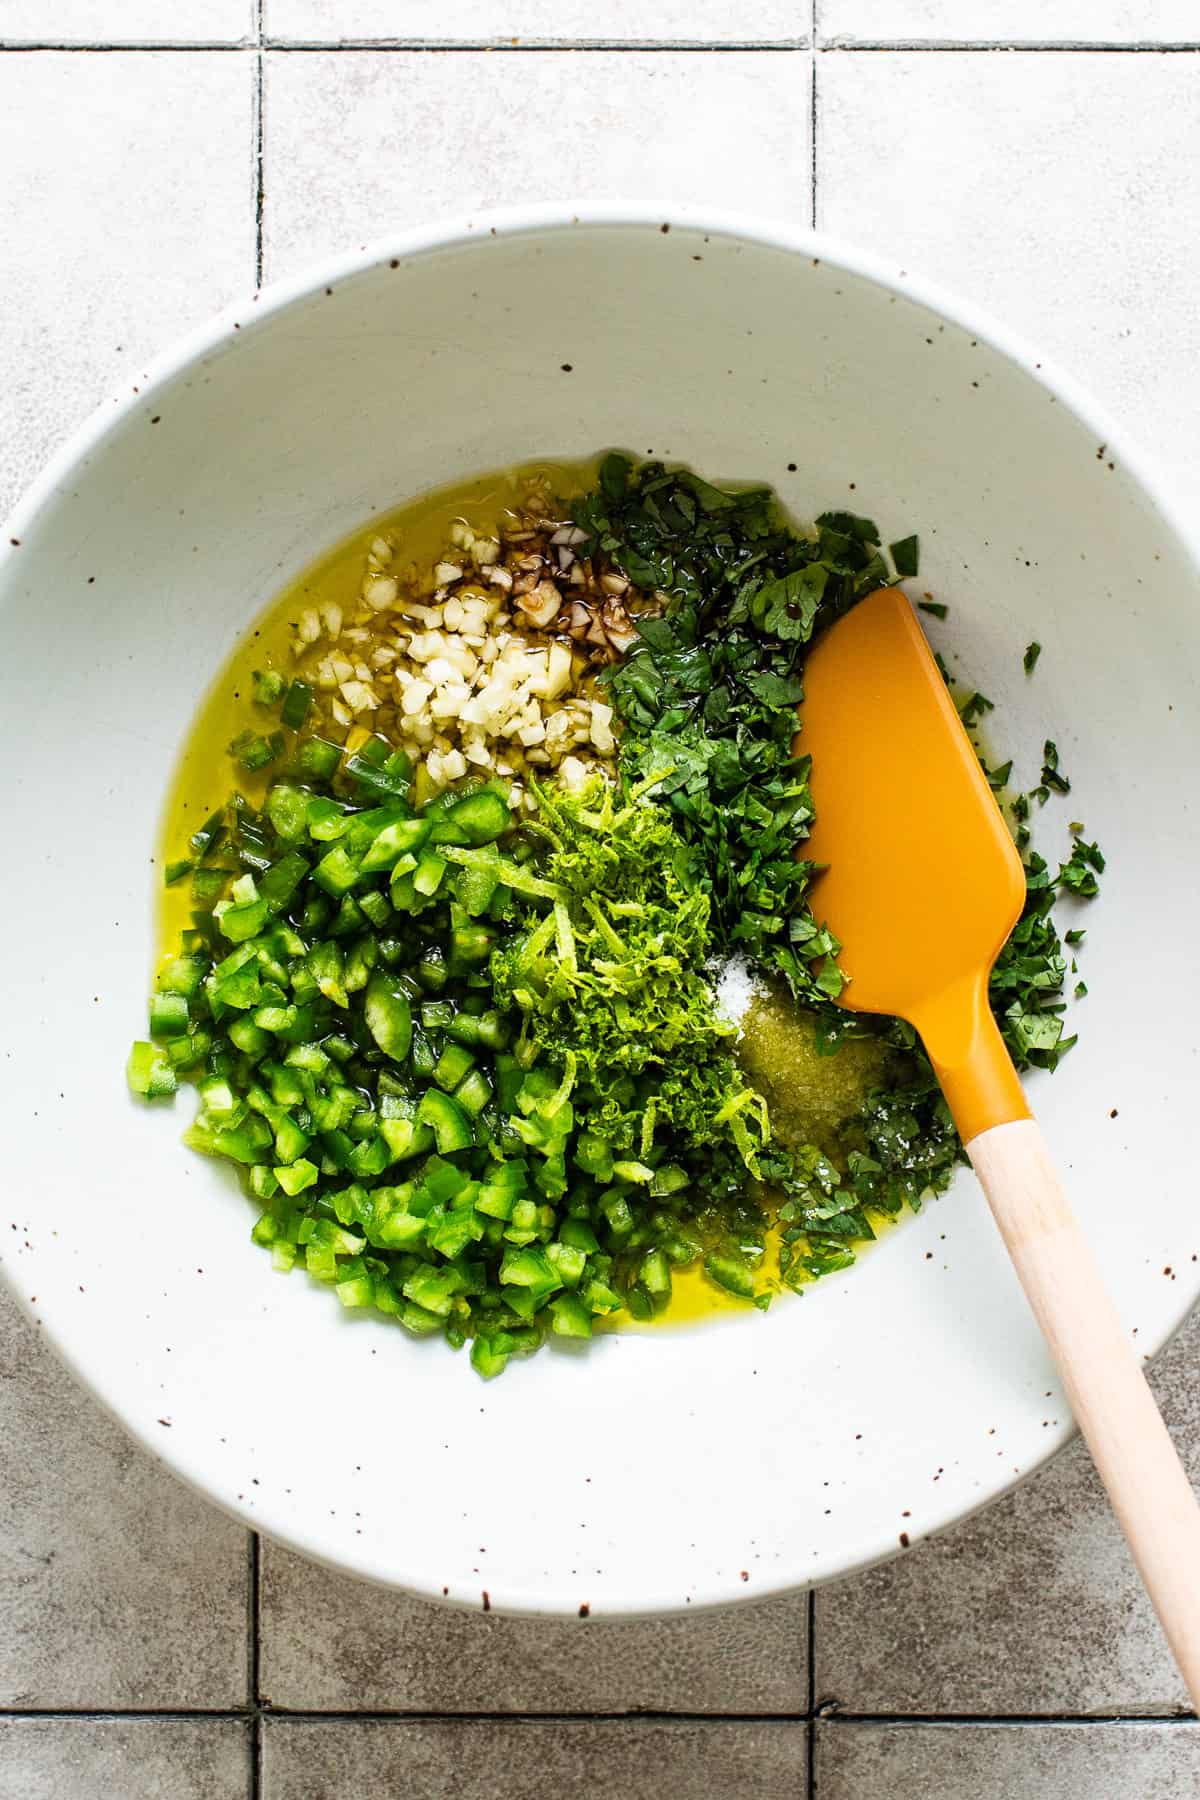
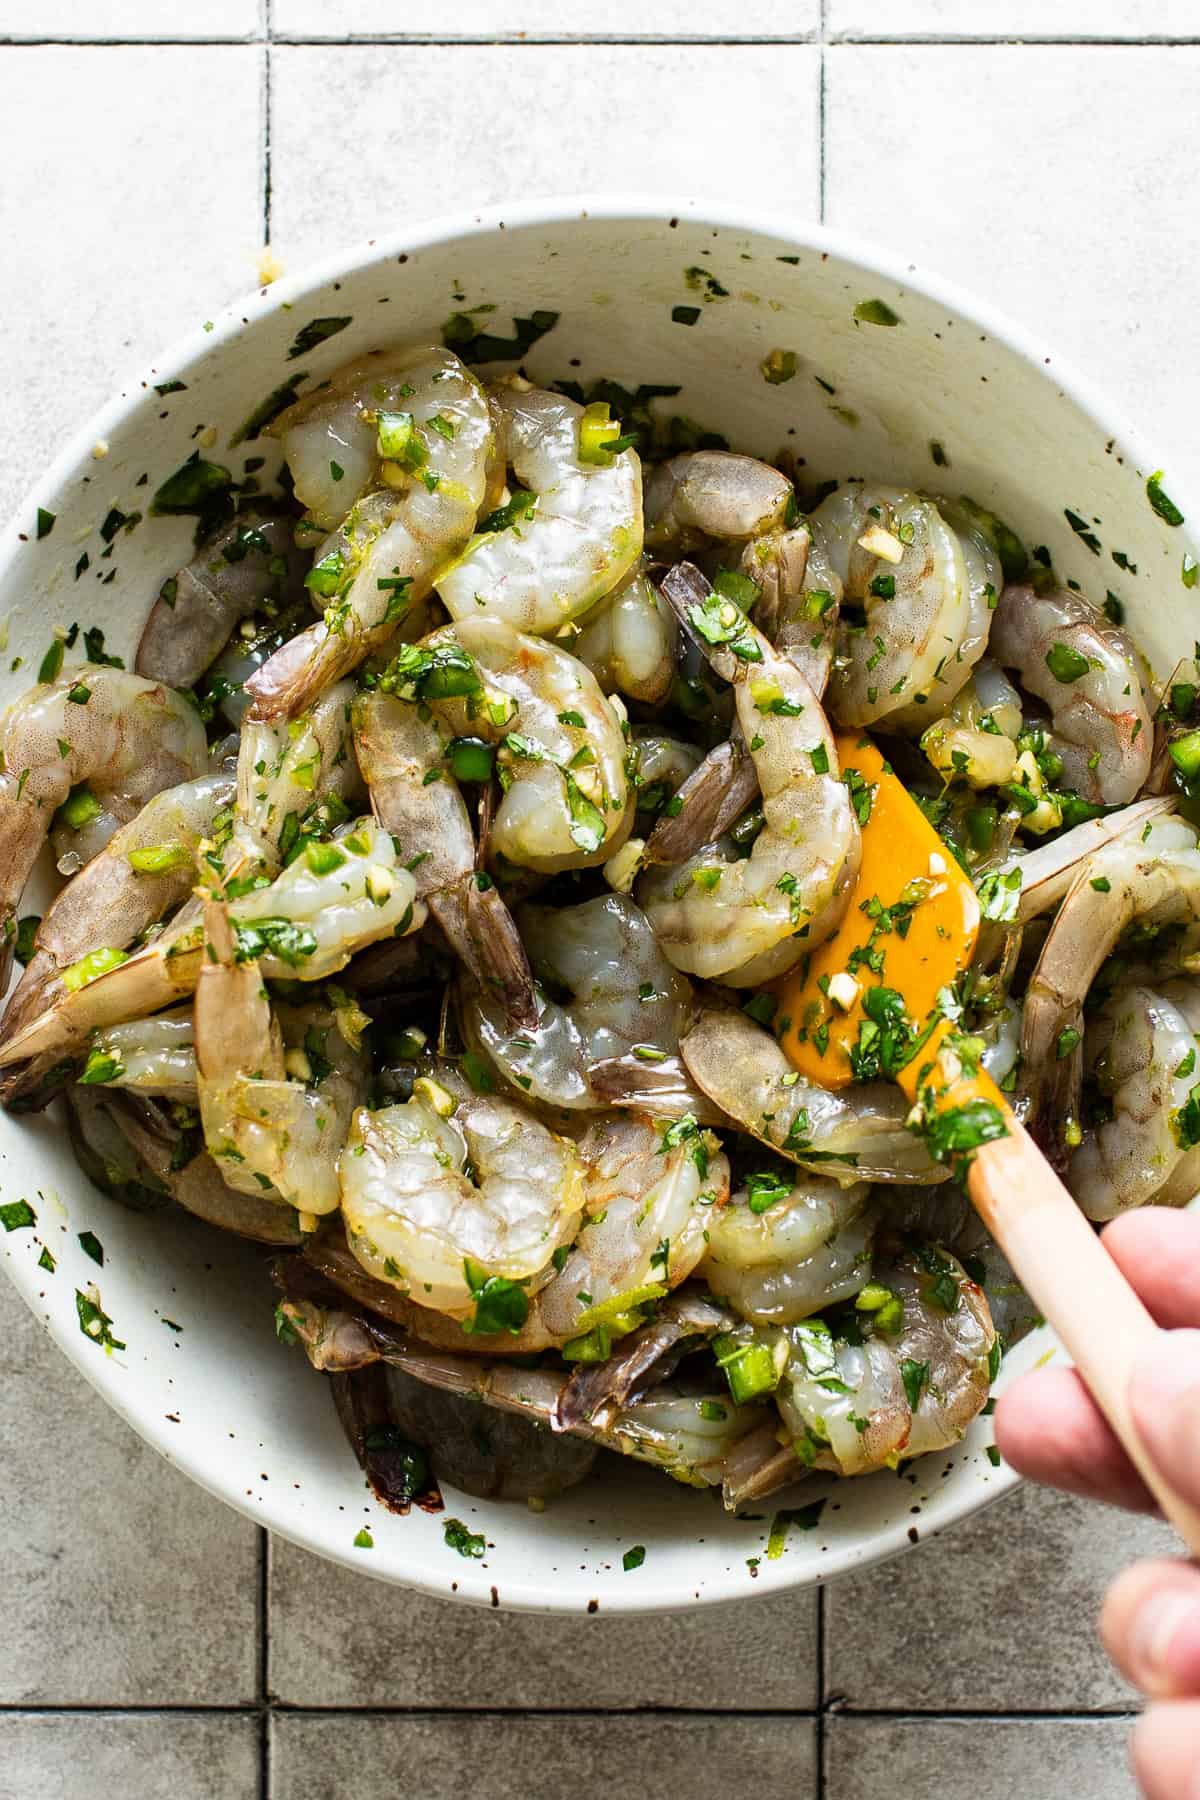
Make the marinade by mixing together olive oil, garlic, jalapeños, agave nectar, tequila, soy sauce, lime zest, and salt in a medium bowl.
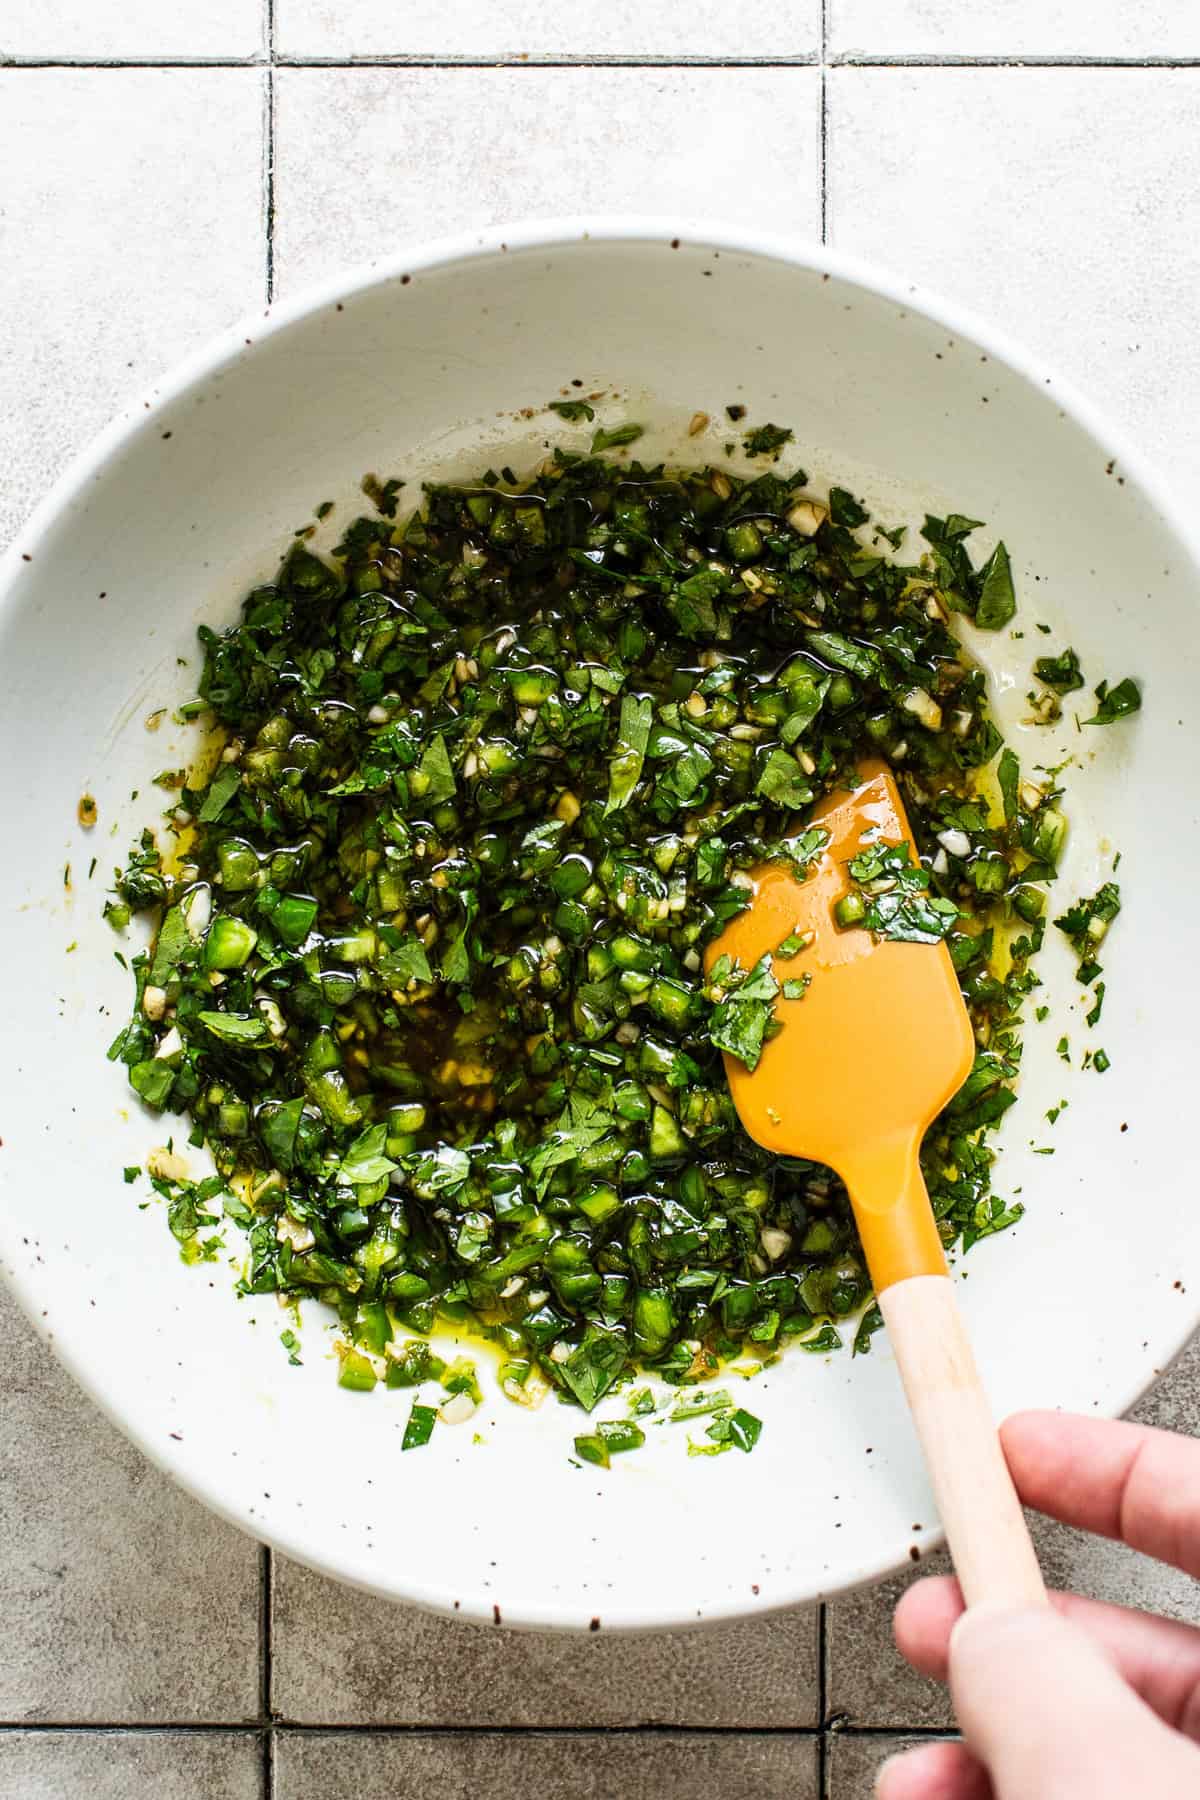
Add the shrimp and toss to combine. Cover and marinate in the refrigerator for at least 15 minutes or up to 2 hours.
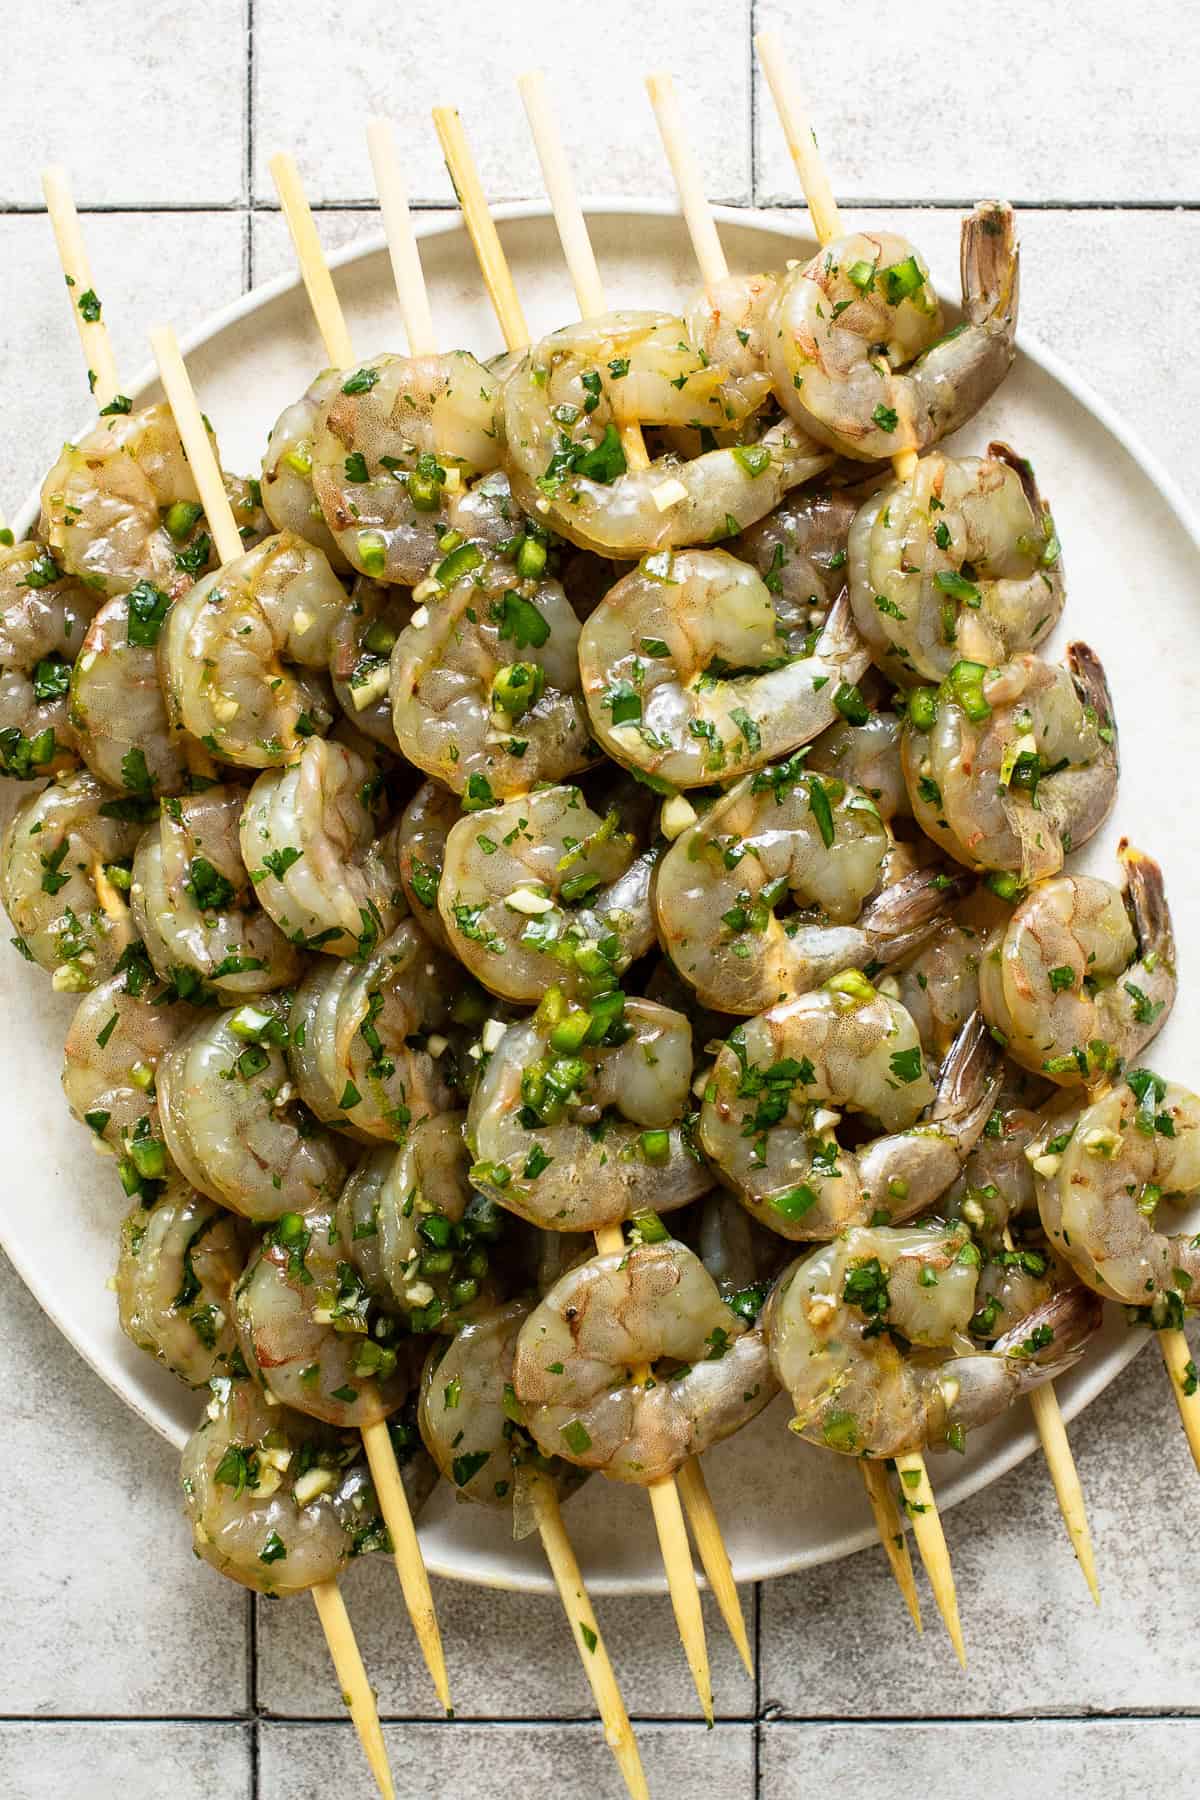
Soak the wooden skewers fully in water to prevent them from disintegrating while grilling. You can do this while the shrimp is marinating. Alternatively, you can use metal grilling skewers that can be reused over and over again.
Skewer 4 to 6 shrimp onto soaked wooden or metal skewers.
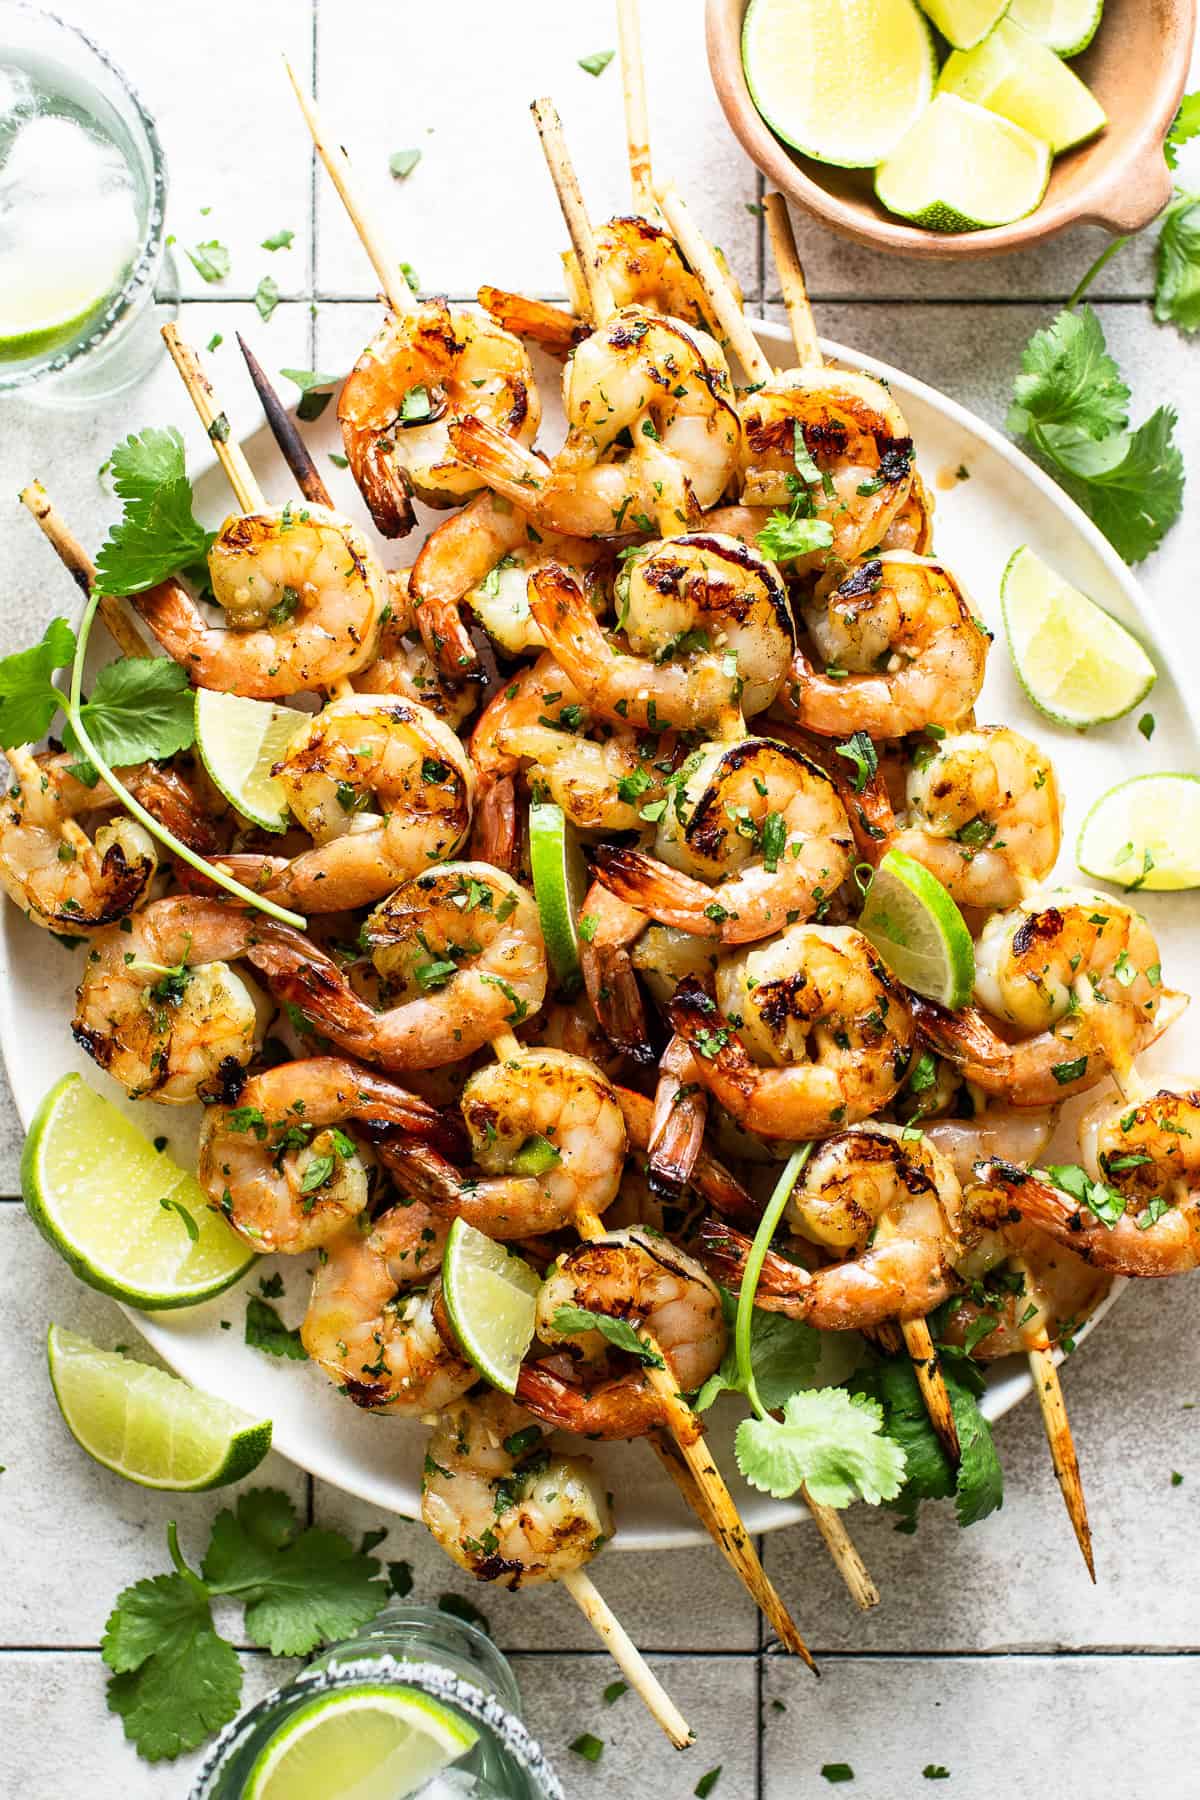
Heat a grill or grill pan to medium-high heat and grill the shrimp for 2-3 minutes per side until the shrimp is pink and opaque.
Garnish with fresh lime juice and serve.
Recipe Tips
- Add lime at the end. The acidity in lime juice can “cook” the shrimp, like in ceviche and aguachile, which is why I don’t recommend adding it to the marinade and instead squeezing fresh lime juice on your skewers right before serving.
- Don’t have a grill? You can cook these in a grill pan or bake at 450°F for 5 to 7 minutes until fully cooked through.
- Make it spicy. Leave the jalapeño seeds in the marinade for a spicy kick.
Serving Suggestions
Grilled shrimp skewers are super easy since they are usually served as a whole meal, but they can also be easily paired with lots of delicious and fresh Mexican sides. Here are some ideas:
- Serve on a bed of cilantro lime rice or Mexican rice.
- Pair the shrimp with fresh salsas and veggies like calabacitas, Mexican roasted vegetables, black bean and corn salsa, cucumber salsa.
- Serve with a tall glass of refreshing agua de pepino, agua de piña, horchata.
Storing and Reheating
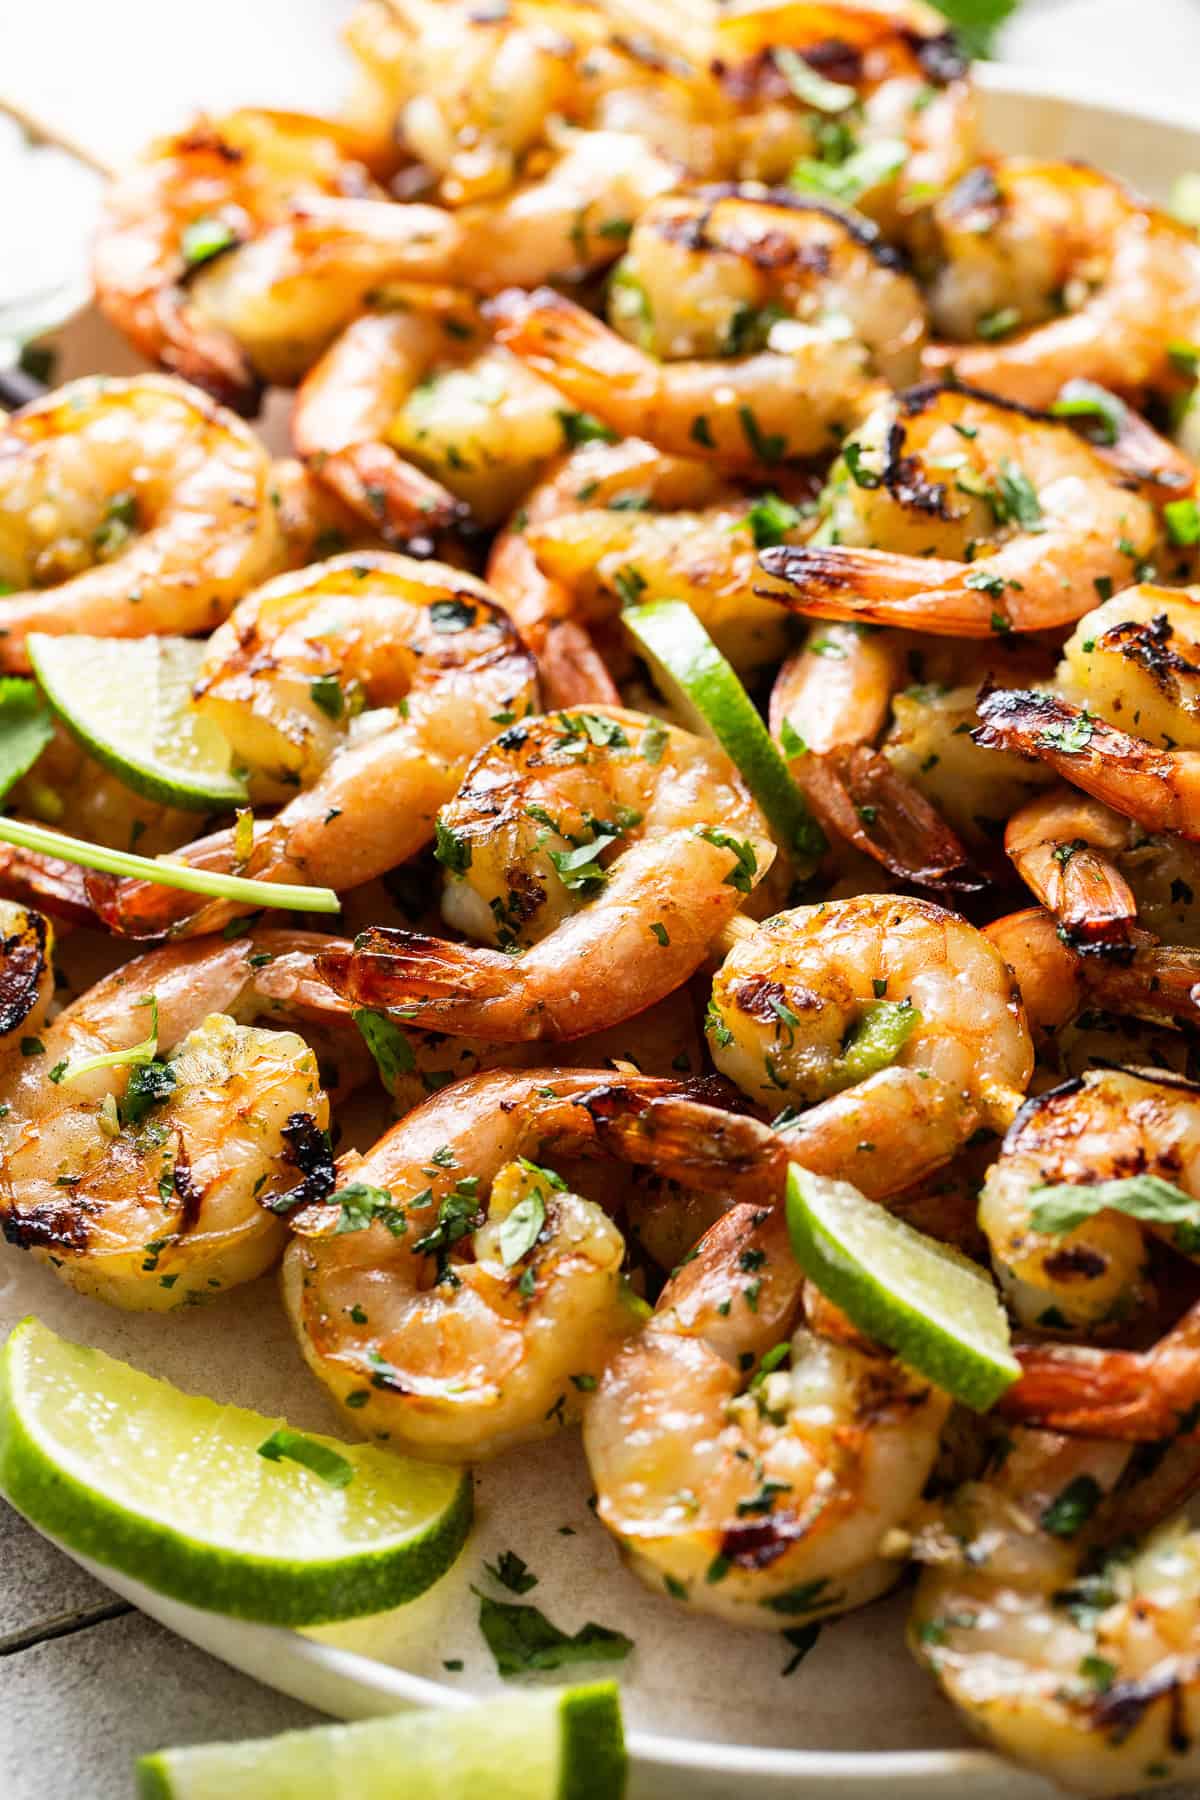
To store, remove the shrimp from the skewers, store in an airtight container, and refrigerate them for up to 3 days.
To reheat, place the shrimp in the microwave for 1-2 minutes until warmed.
More Shrimp Recipes
If you tried this Grilled Shrimp Skewers Recipe or any other recipe on Isabel Eats, don’t forget to 🌟 rate the recipe and let me know how it went in the comments below! I love hearing about your experience making it!

Grilled Shrimp Skewers
Ingredients
- 2 pounds large shrimp, peeled and deveined
- ⅓ cup olive oil
- ¼ cup chopped cilantro, plus more for garnish
- 4 cloves garlic, minced
- 2 jalapeños, stemmed, seeded, and minced
- 2 tablespoons agave nectar
- 2 tablespoons blanco tequila
- 1 ½ tablespoons soy sauce
- Zest of 1 lime
- ½ teaspoon kosher salt, plus more as needed
- Lime wedges, for serving
Instructions
- Whisk together the olive oil, garlic, jalapeños, agave nectar, tequila, soy sauce, lime zest, and salt in a medium bowl.
- Add the shrimp and toss to combine. Cover and marinate in the refrigerator for at least 15 minutes or up to 2 hours.
- Skewer 4 to 6 shrimp onto soaked wooden or metal skewers.
- Heat a grill or grill pan to medium-high heat and grill the shrimp for 2-3 minutes per side until the shrimp is pink and opaque.
- Garnish with cilantro and serve with fresh lime wedges.
Notes
- Add lime at the end. The acidity in lime juice can “cook” the shrimp, like in ceviche and aguachile, which is why I don’t recommend adding it to the marinade and instead squeezing fresh lime juice on your skewers right before serving.
- Make it spicy. Leave the jalapeño seeds in the marinade for a spicy kick.
- Don’t have a grill? You can cook these in a grill pan or bake at 450°F for 5 to 7 minutes until fully cooked through.
- Using wooden skewers? Don’t forget to soak them. This is an important step so they don’t completely burn during grilling.
Nutrition
Nutrition information is automatically calculated, so should only be used as an approximation.
Photography by Ashley McLaughlin.
This post was originally published in June 2017 and has been updated with new photos and an updated recipe with better tips and tricks.






Delicious and so easy to make.
Look forward to making more of your recipes.
Delicious! Really better than any restaurant shrimp I’ve had. We used frozen, raw, peeled and deveined shrimp. Perfect!
Thanks for letting me know, Elaine! I’m so happy you liked it!
Can I use frozen uncooked shrimp?
Yes.
AMAZING RECIPE! I didn’t have the olive oil, so I used sunflower oil instead. Came out PERFECT! Really delicious, quick and easy to make.
My husband and I both LOVED this and will make again SOON.
Thanks, Julia! I’m so glad you and your husband liked it! Sometimes simple tastes so good, right?!
Loved this recipe and it was such a hit, I am doing it again for a large church end of summer concert BBQ item. You’ll get lots of thumbs up with this recipe!!!!
I’ll be sending my guests to my Pinterest page for your recipe!
Tasha, thank you so much! I’m so happy everyone like it 🙂 I appreciate the nice feedback!
This is now our to go fro shrimp! I’ve made it 3 times in the last month!! Delicious!!!!!
Yay! That’s awesome, Dayna. I’m so glad you like it! I’m hoping to update the photos very soon, too 🙂 So stay tuned!
With or without the shells
Hi, Joseph. Thanks for asking! It’s without the shells.